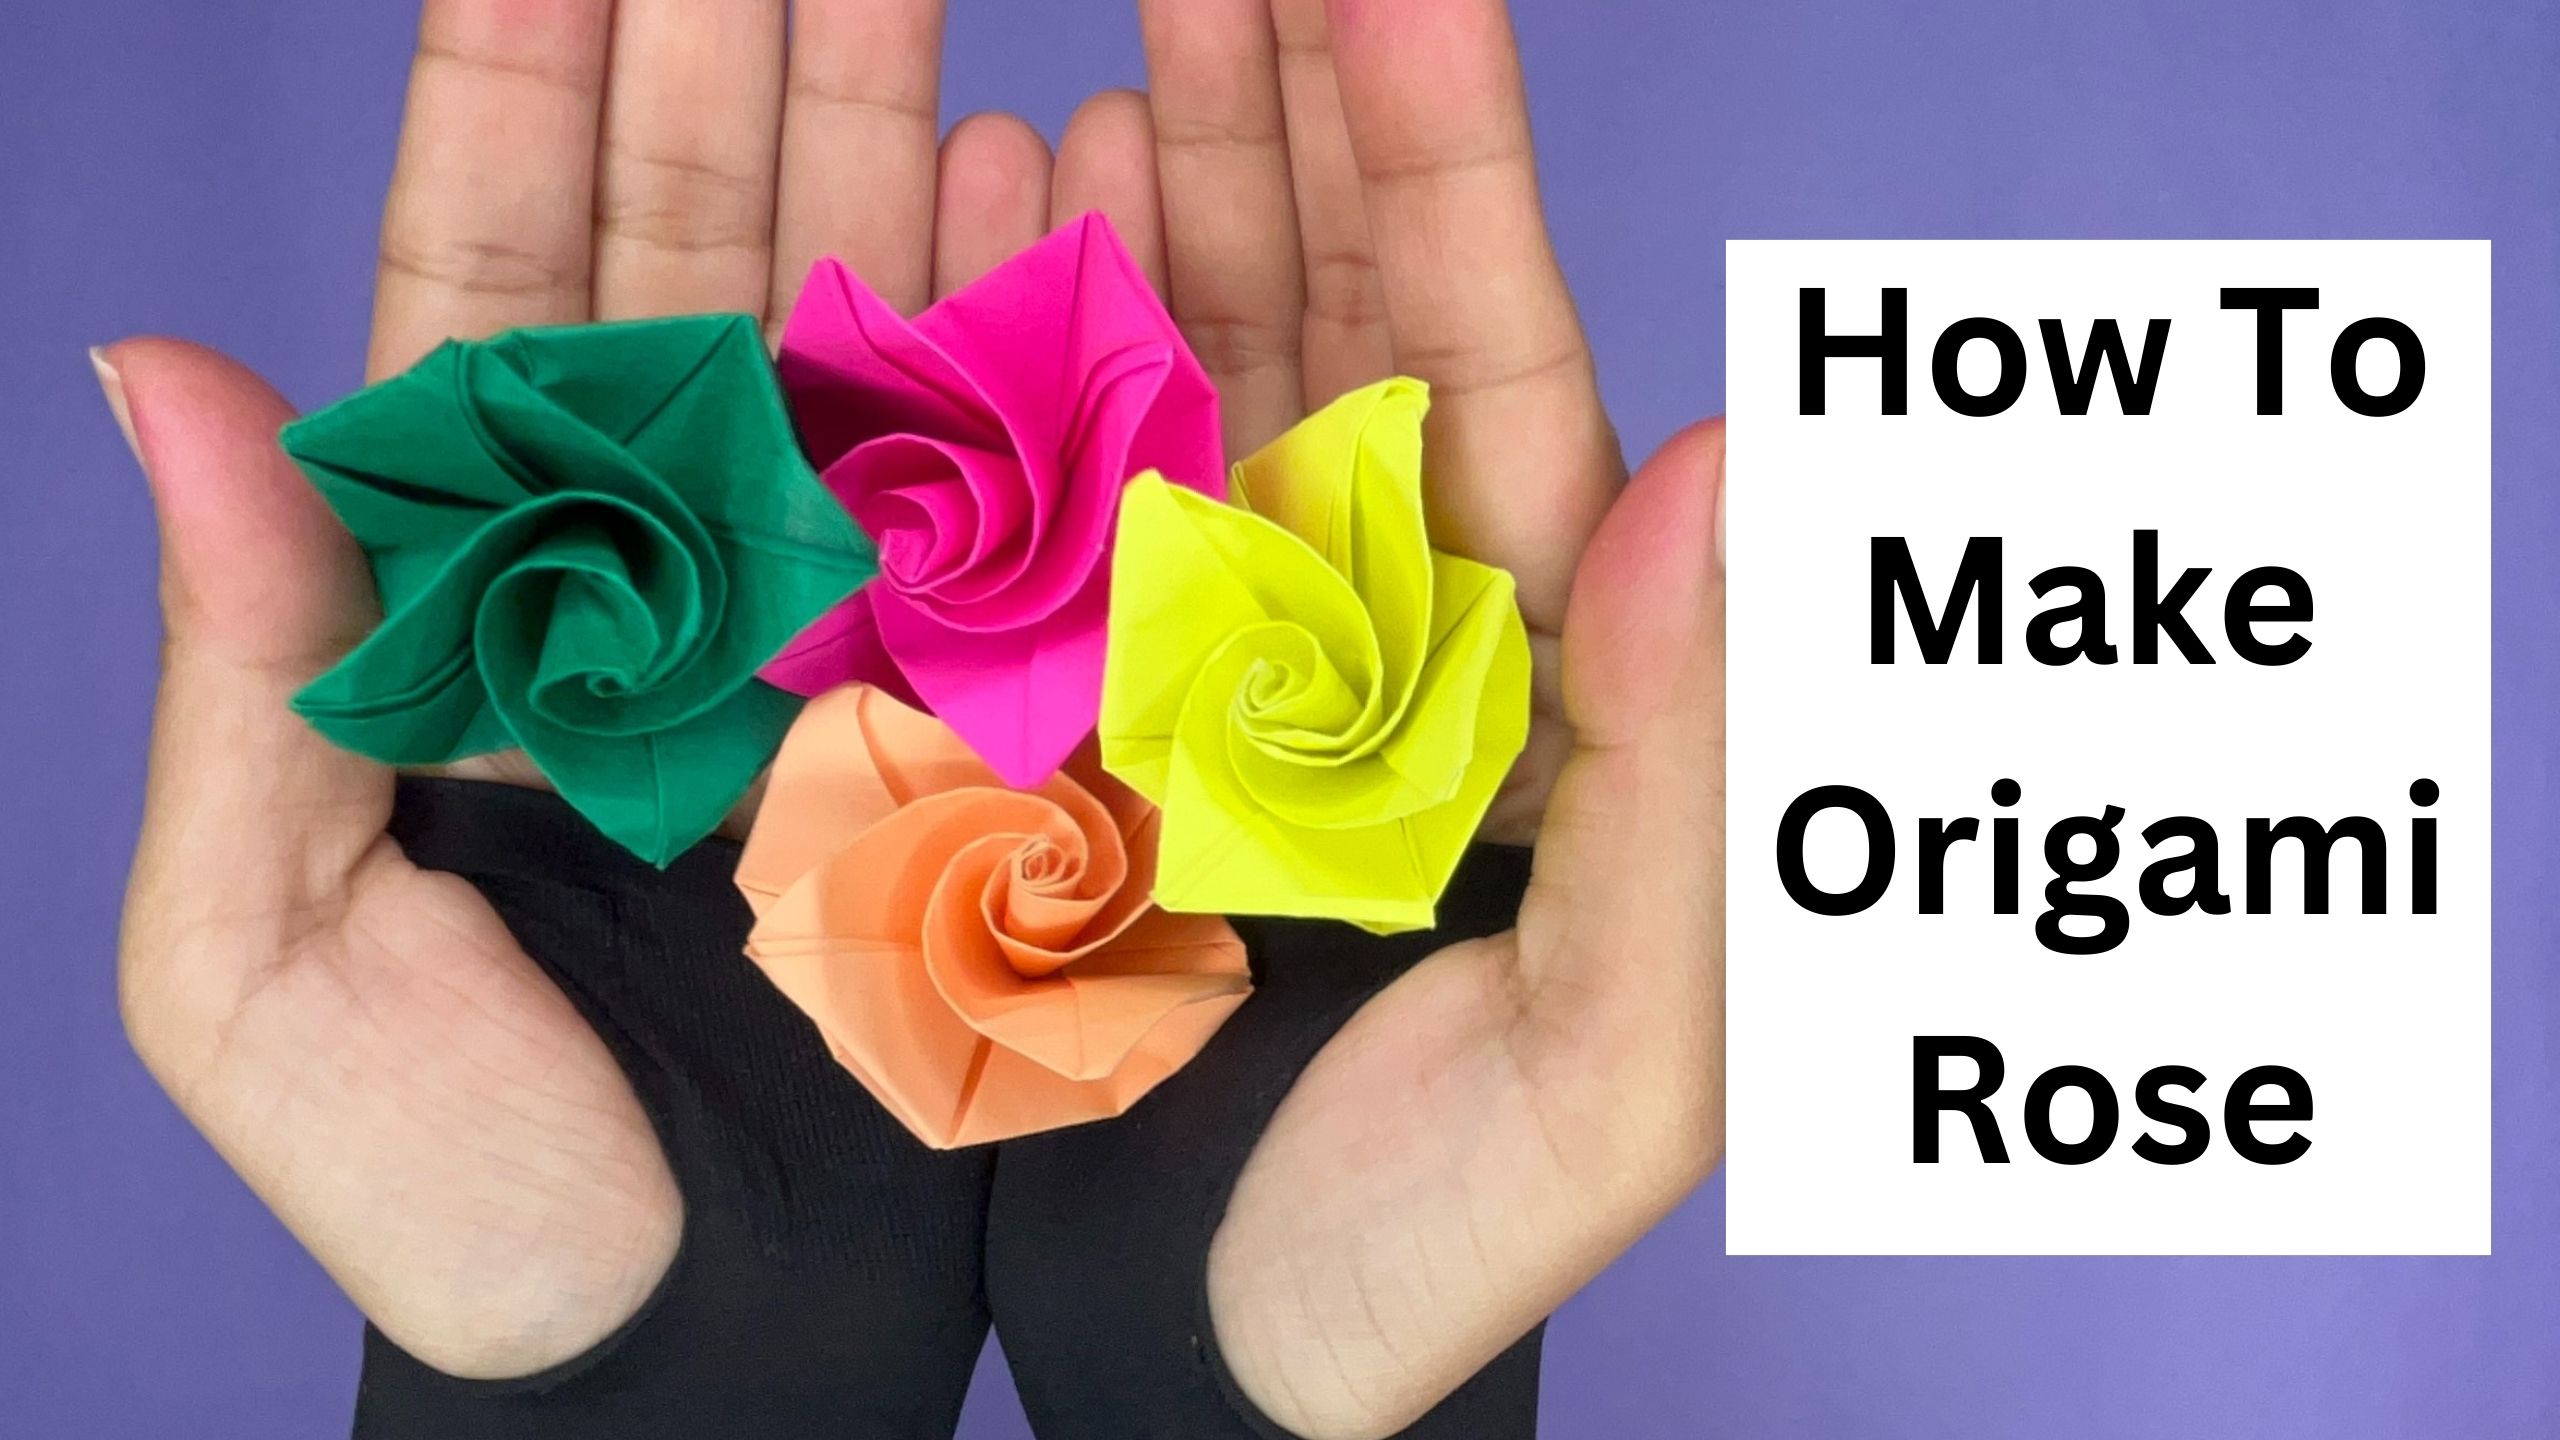
One popular and simple origami project for newbies is the origami rose. You can use these origami roses for school assignments or just as decorations. The magical skill of origami is creating a unique origami rose using just a square piece of paper.
Origami is a simple and enjoyable method of making lovely paper creations. You can create impressive origami crafts for your friends and family with these folding techniques. A lot of easy origami crafts can be created by using a single piece of paper like the origami boat.
Following this easy step-by-step guide to making a paper rose is meant for beginners and kids. By using some simple folding techniques, one can easily get these beautiful origami roses.
Simple origami folds and vibrant paper can be used to create lovely roses. To get started, grab a sheet of paper and adhere to the easy steps.
Step-by-Step Tutorial on How To Make Easy Origami Rose
An enjoyable and satisfying craft project is making different types of origami crafts. If your a beginner you can check our easy tutorial of How To Make A Origami Heart.
Since origami roses require few supplies, they are a simple craft to complete. Here’s how to make an easy origami rose using these easy steps:
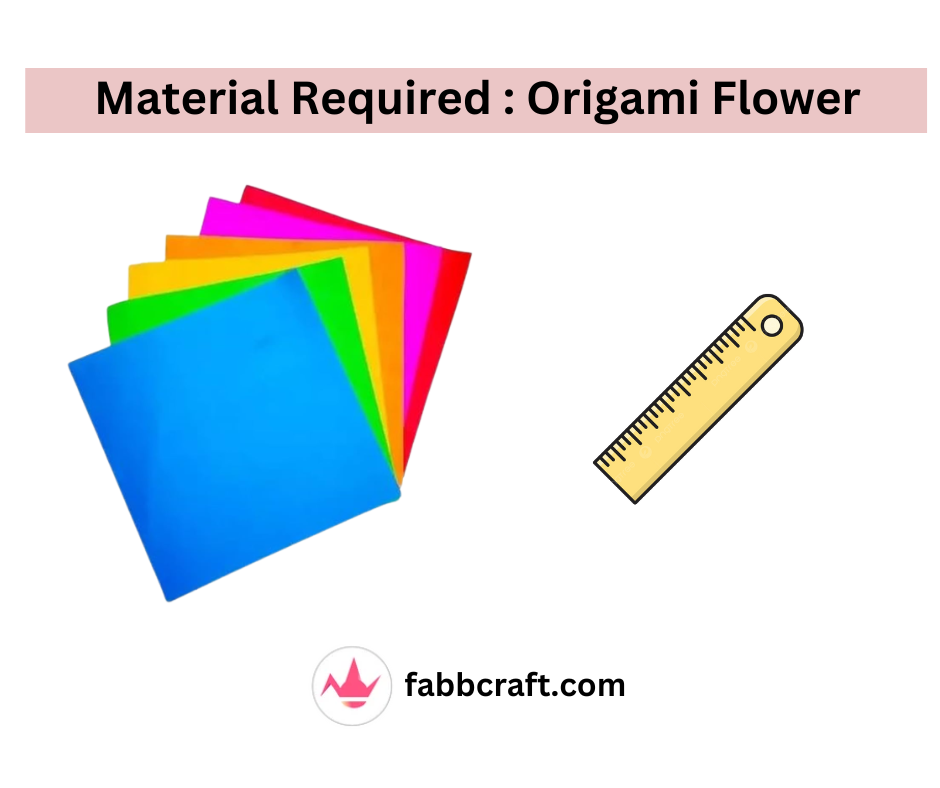
Material You’ll Need :
Any preferred colour paper : Dimesion – 15 cm X 15 cm
Measuring Scale
STEP 1 – Cut The Paper
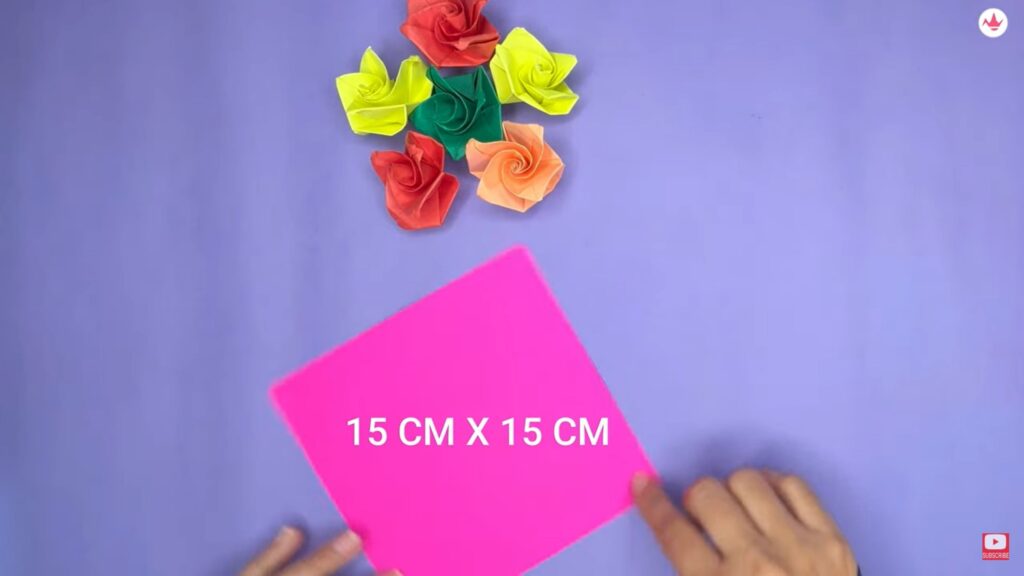
Take any preferred colour paper of your choice of dimension 15 cm by 15 cm. Or any other size you wish to maintain the square shape.
STEP 2 – Fold The Paper
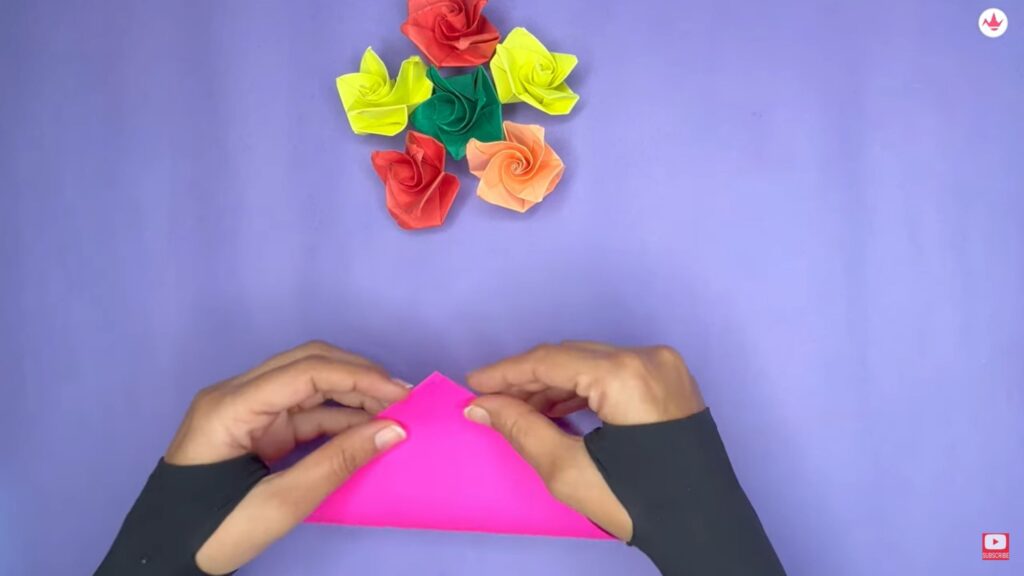
Make the perfect crease using folding techniques. Fold the square paper from bottom to top and crease.
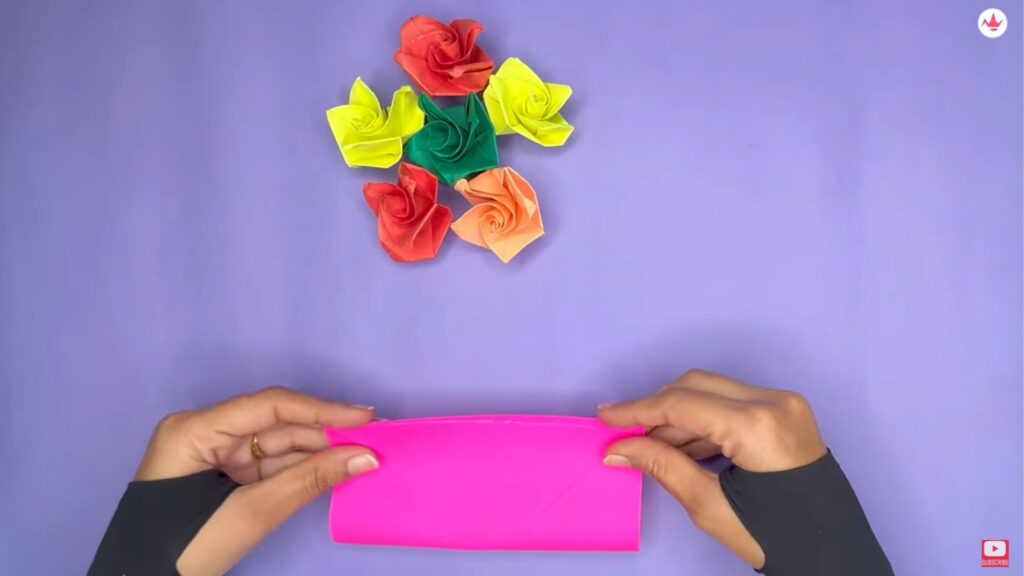
Unfold and make another fold from the right end to the left end of the paper and crease well.
STEP 3 – Star Fold
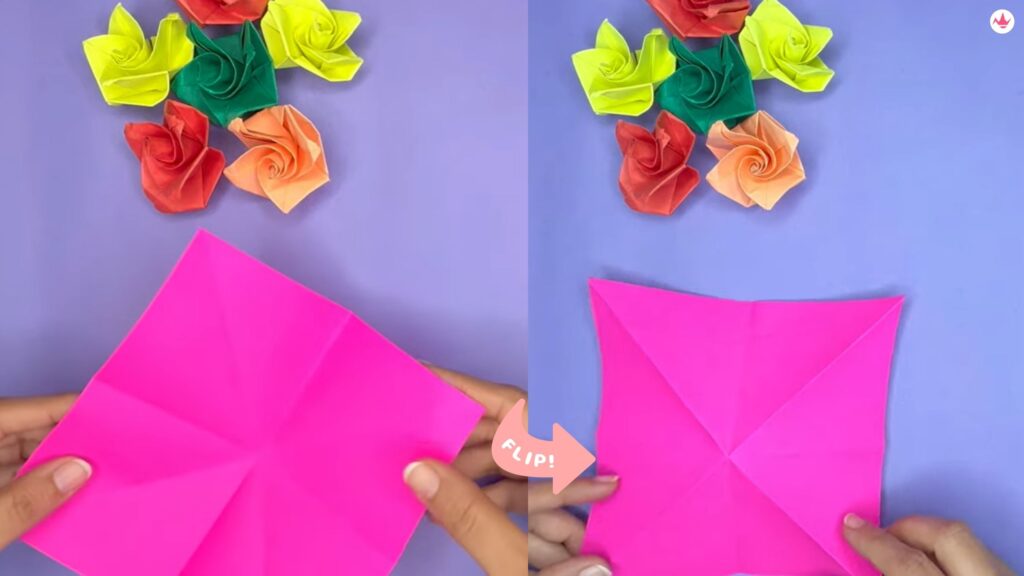
Unfold the paper completely. Fold the diagonal crease and the vertical and horizontal crease inward and you will view a crisscross crease created on the paper and a centre point is created at the middle of the paper, crossing all four lines star pattern.
STEP 4 – Flatten The Star
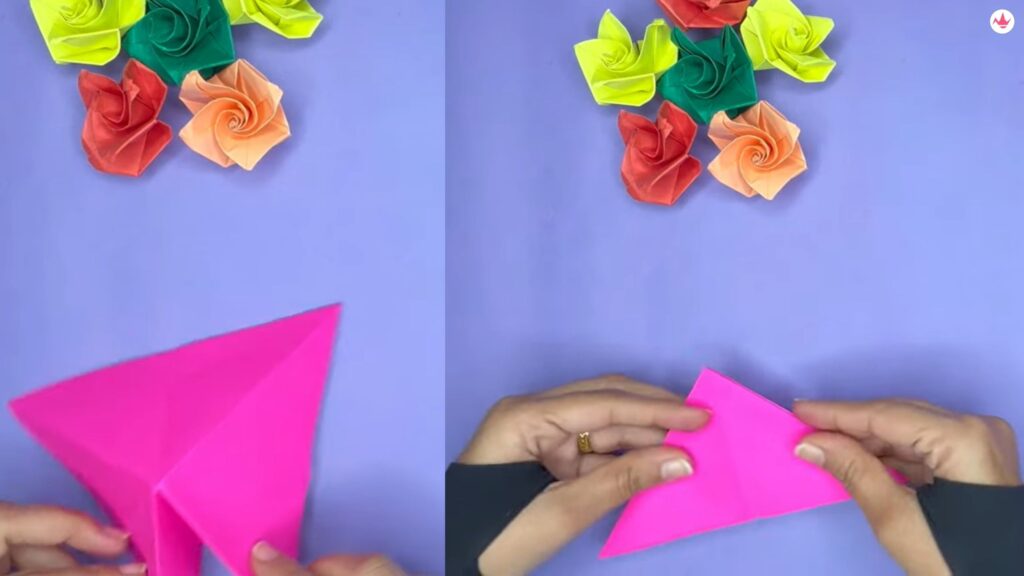
Join all the four sections together by flattening the star. Once you join it, a triangle shape will be formed.
STEP 5 – Fold Up
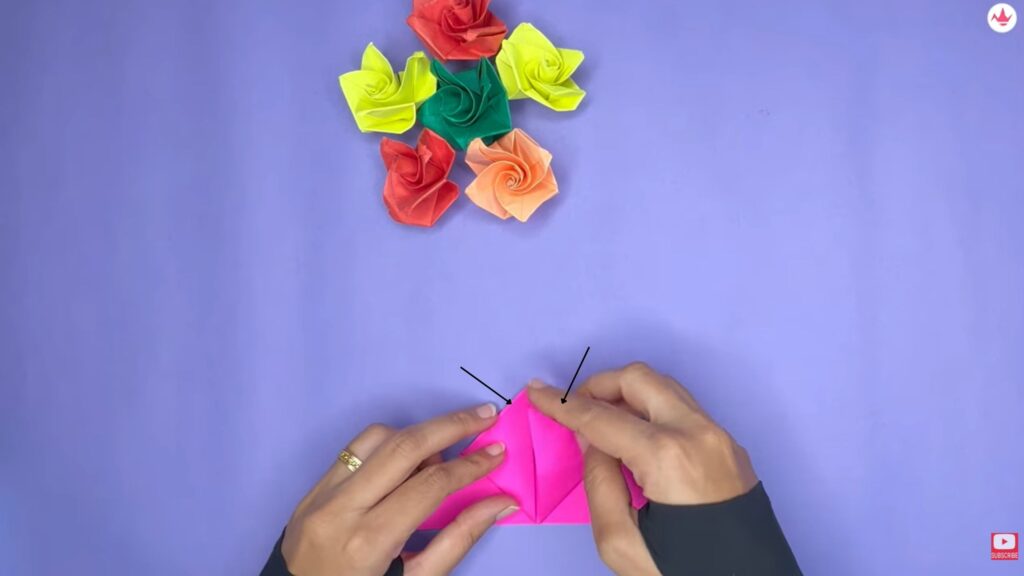
Fold up the bottom corners as seen in the picture with the arrows mentioned. Once the fold is made up, join the with the top corner of the triangle shape.
STEP 6 – Open Pockets And Fold
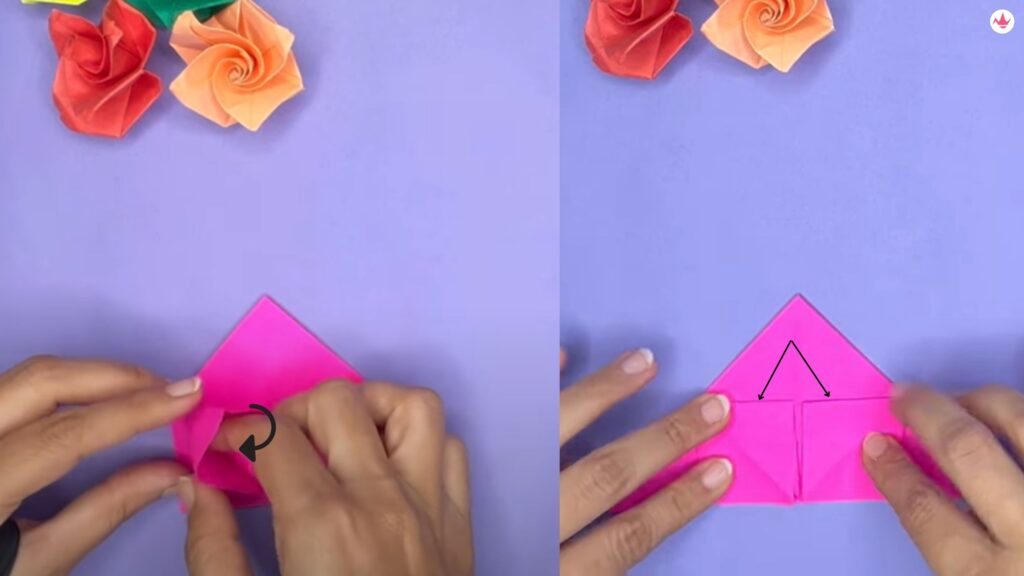
In the above step, we folded the paper, which created the pockets inside. Now, open the pockets of the inner side gently and move on right and left directions, creating two small cubes on the bottom of the traingle shape.
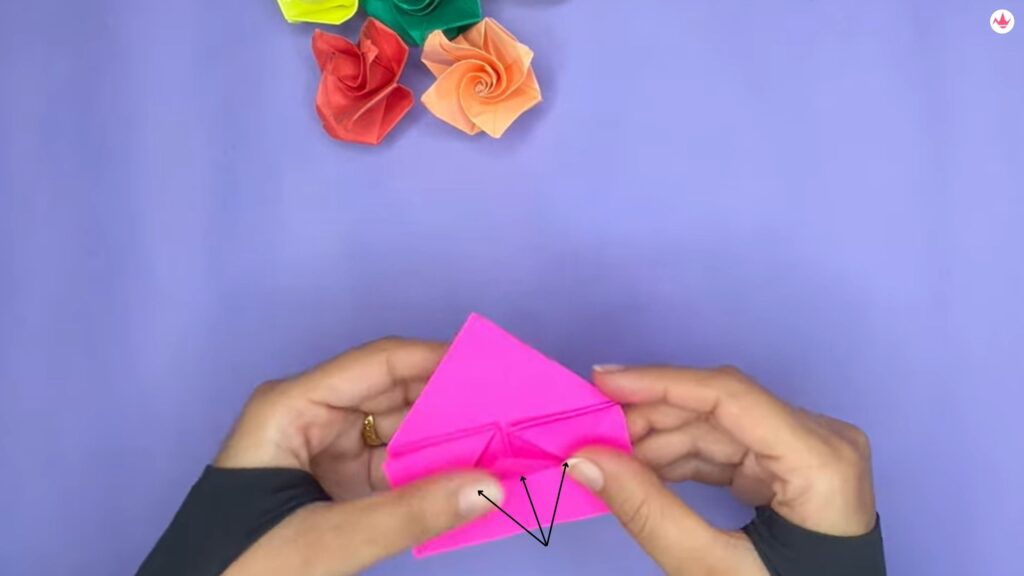
Fold up the two side parts and the middle bottom paper towards the upside creating a minute triangle shape.
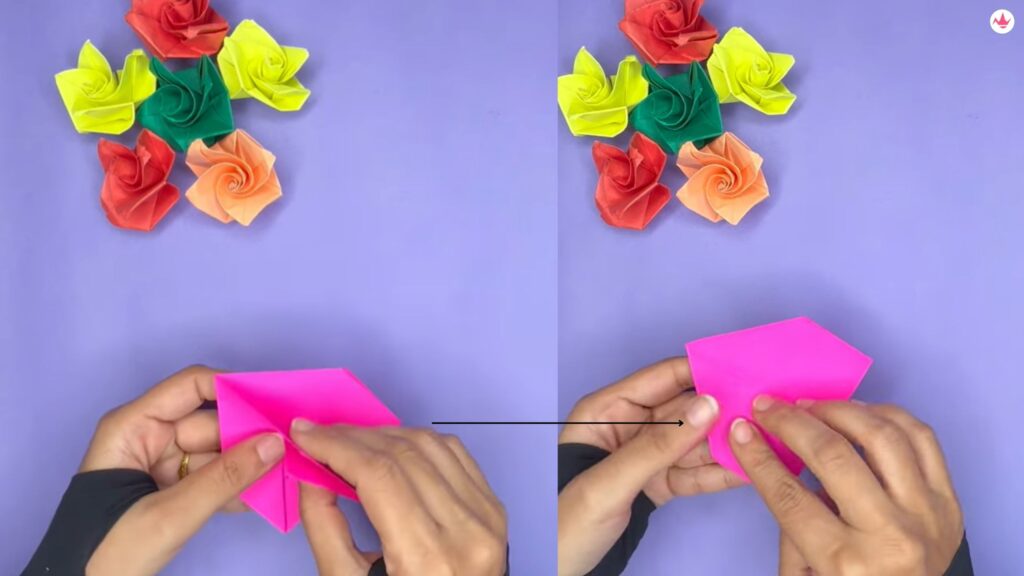
Turn the Paper from the other side and flip a section to the other side.
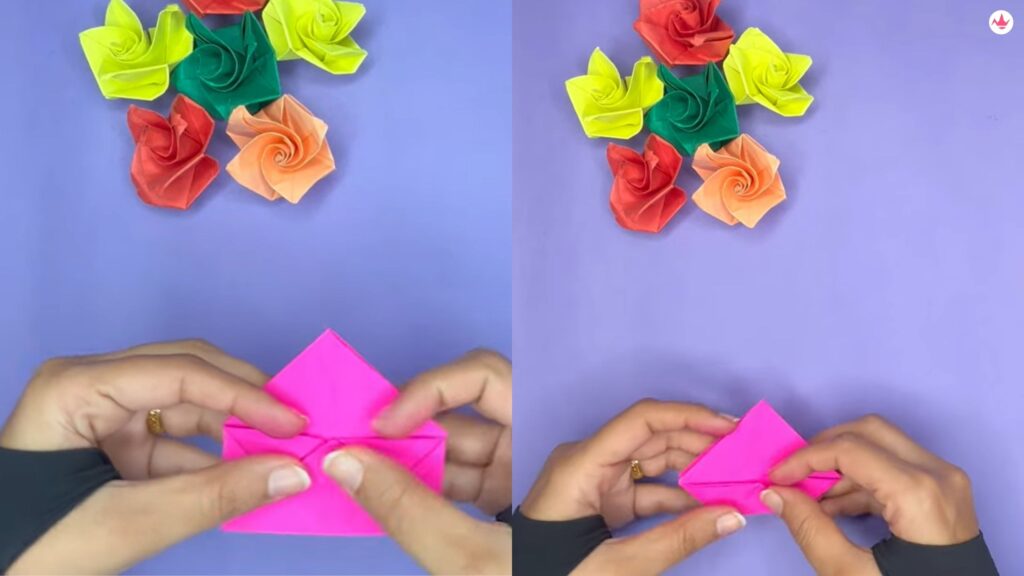
Similar to the above steps make the same fold-up process on the other side of the paper making three small triangles.
STEP 7 – Bottom Crease
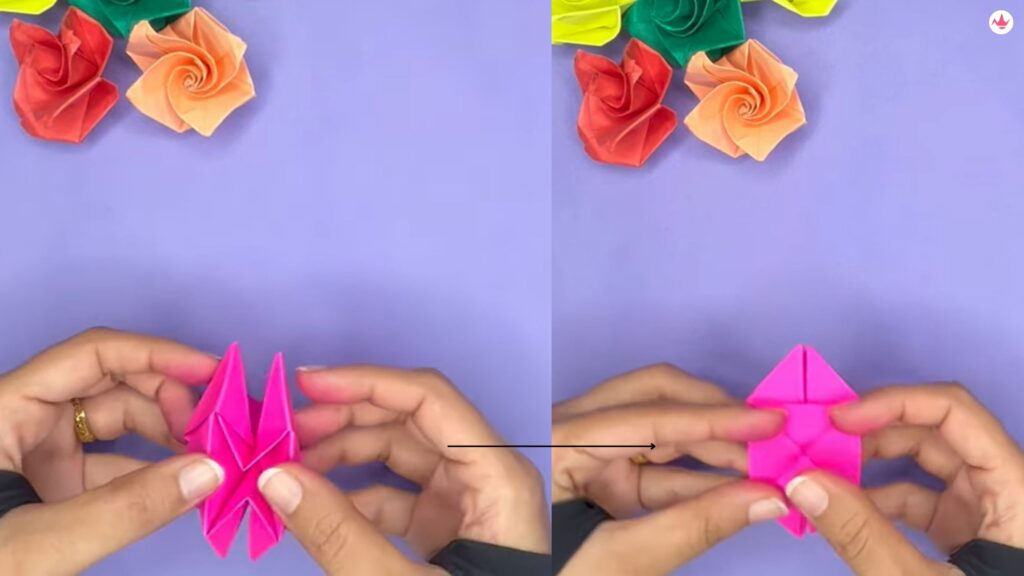
By holding the current pattern which is created following the instructions, bring the bottom side to the front side and carefully open the bottom side.
Continue to open untill the bottom pattern become flat and crease.
You can also Read: How To Make Origami Fish
STEP 8 – Hold And Twist
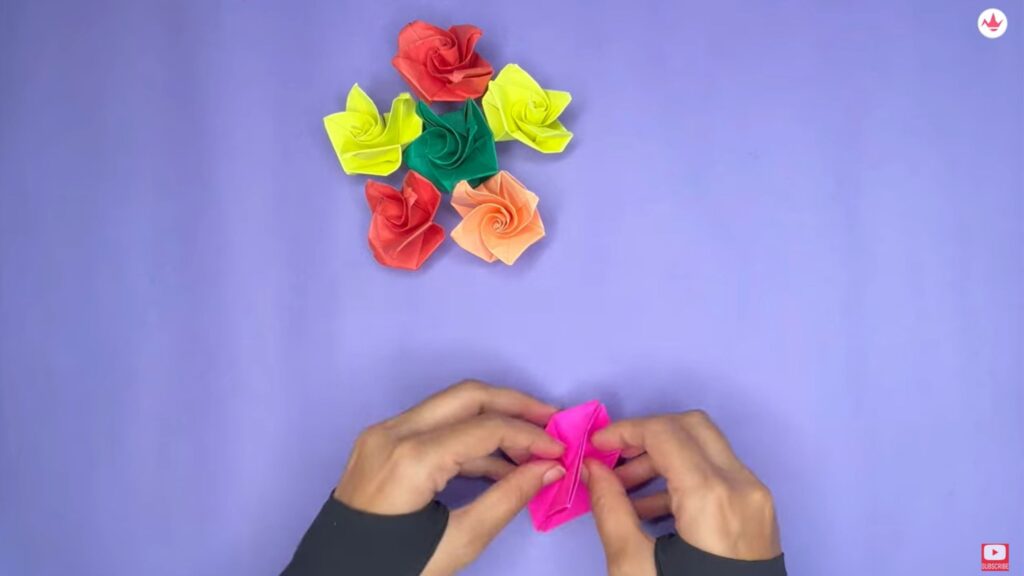
Flip the pattern and gently press the top part of the paper structure.
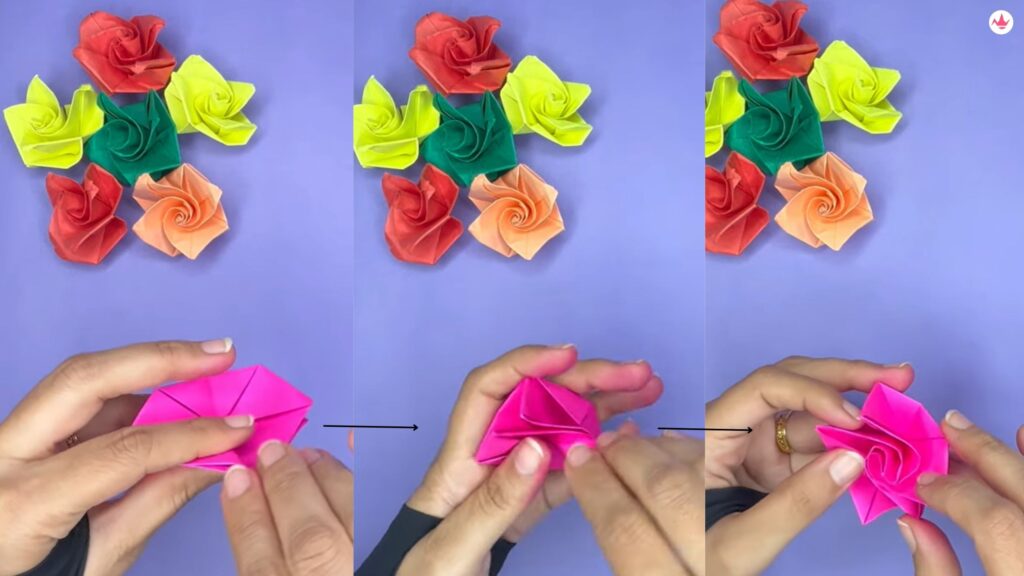
Now, considering the top point of the paper structure slowly, twist the paper in clockwise pattern. While you twist the paper please make sure to hold the bottom of the structure in other hand firmly.
Twist until the paper rose blooms and the strcuture looks like an origami rose.
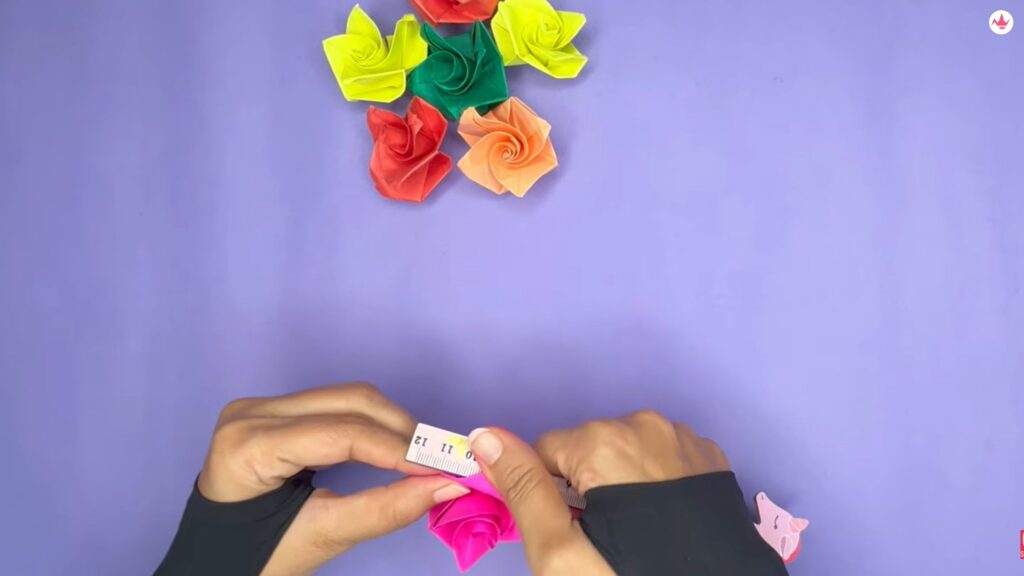
Take a scale or any flat object to give a curvy appearance to the paper rose which will give a beautiful effect to the rose leaves.
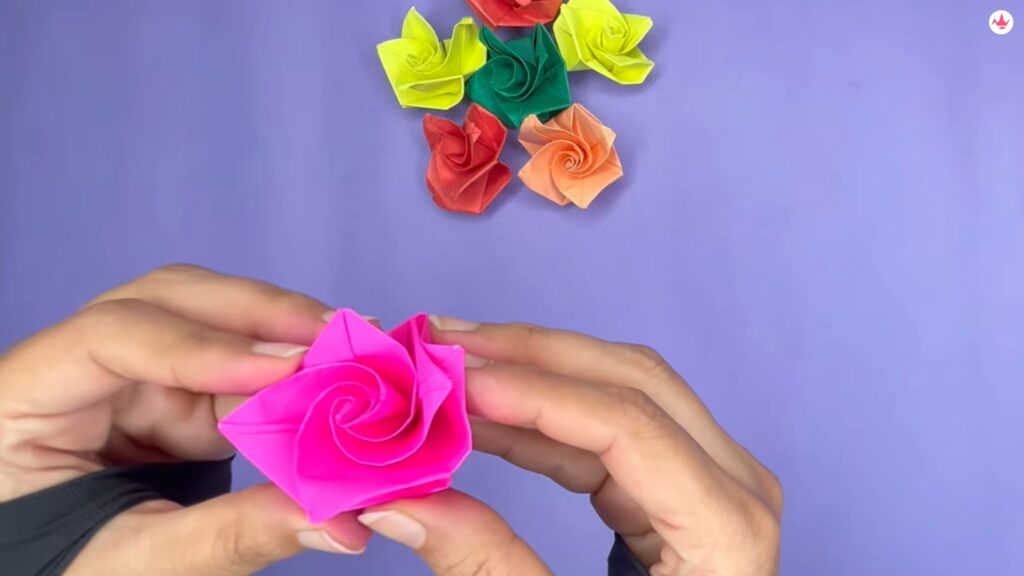
The twisting of the paper gives the outcome to this beautiful origami rose and to make paper rose is ready!
Try making these easy paper roses, with different colours and a bunch of roses will look amazing together.
If you enjoy creating origami and are a beginner, you should try creating origami frog, which are simple interests kids adore. Kids can express their creativity with origami activities, which involve changing a basic sheet of paper into various fascinating and detailed designs. This simple origami rose is perfect for kids to play with different colours and patterns.
Precautions to keep in mind for making the easy Origami Rose :
- Make sure to use square paper only for making this craft.
- While making the folds, use your hands gently for the craft.
- Twist the paper gently, while following the instructions, so that the paper does not tear.
- Hold the structure bottom firmly, while twisting to get perfect rose leaves.
- The paper for this craft should be lightweight and avoid thick paper, for making this origami rose.
Origami is a fun and captivating hobby, enjoyed by individuals of all ages, but particularly by kids. It uses the skill of paper folding to make a variety of objects, creatures, and shapes.
Although its precise beginnings are unknown, origami has a long and rich history in Japanese culture. Many people identify origami with Japan, where it is thought to have originated many centuries ago.
Origami is an art and a Japanese folding technique craft for kids and adults. Important components of origami include precision, creativity, and the exploration of geometric shapes.
Kirigami and origami share some similarities, but they are distinct paper crafts with different techniques and outcomes.
There are many origami crafts for beginners. Easy boats, aeroplanes, cranes, stars are some examples of easy origami craft. You check the easy origami tutorials on fabbcraft.com

