
Origami, the ancient Japanese art of paper folding has taken the world by storm, and with it comes a world full of imagination and possibilities. From delicate cranes to intricate modular designs, the art of origami has been successful in capturing the attention of people all over the world. Not only that it is now one of the popular crafts for school.
Today, let us see how to make a paper sofa set in this easy origami sofa step by step guide. This craft sofa is a really enjoyable activity for kids and adults. So what are you waiting for? Gather your supplies and let’s get folding!
How To Make Origami Couch And Sofa
Materials You’ll Need:
- Origami Papers
- Glue
- A flat surface
How to make the base of the sofa seat
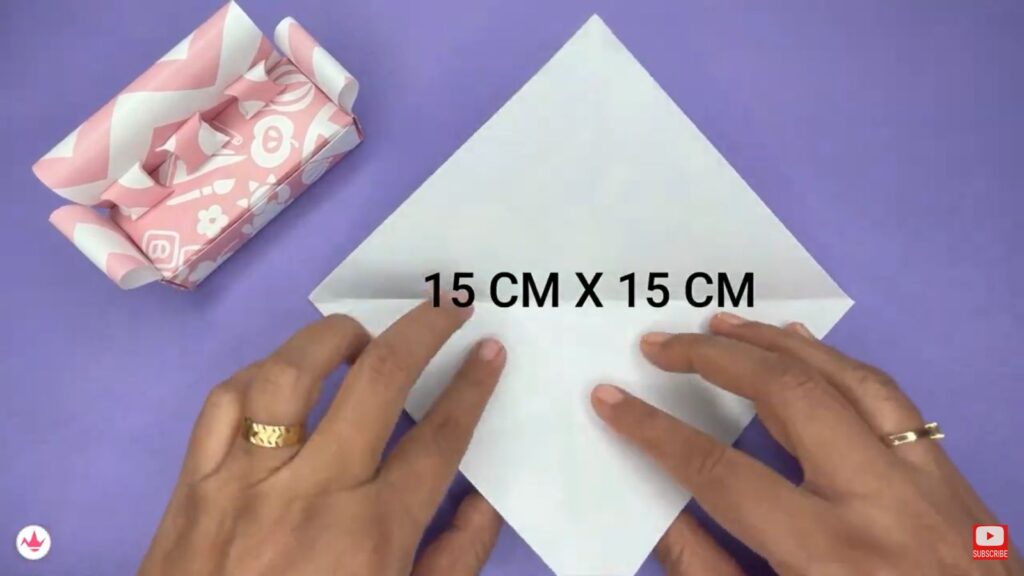
Step 1: Take An Origami Sheet
Begin by taking a sheet of origami paper, colored side facing down.
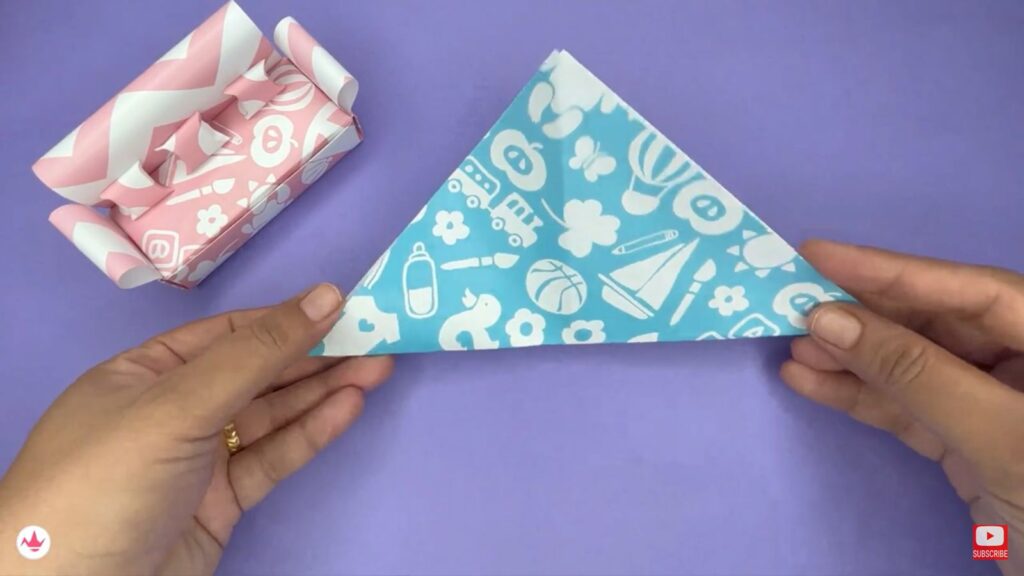
Step 2: Fold It Into A Triangle
Fold the sheet into a triangle, and ensure that the sides are properly aligned to make your paper sofa.
Also Read: Origami Boat
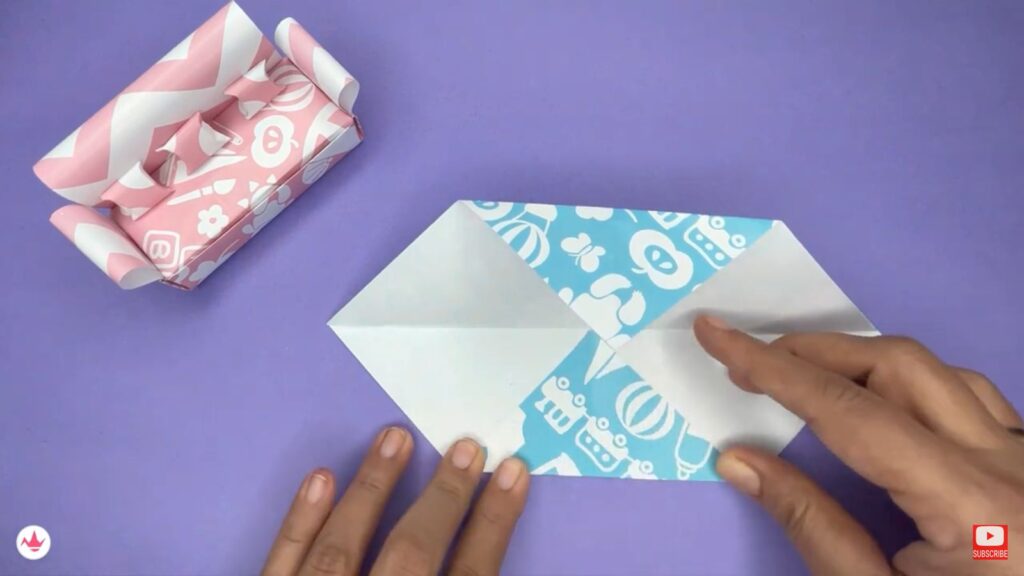
Step 3: Fold The Sides To Middle Crease
Now, unfold the diagonal and fold the upper and bottom sides, so they meet the middle crease.
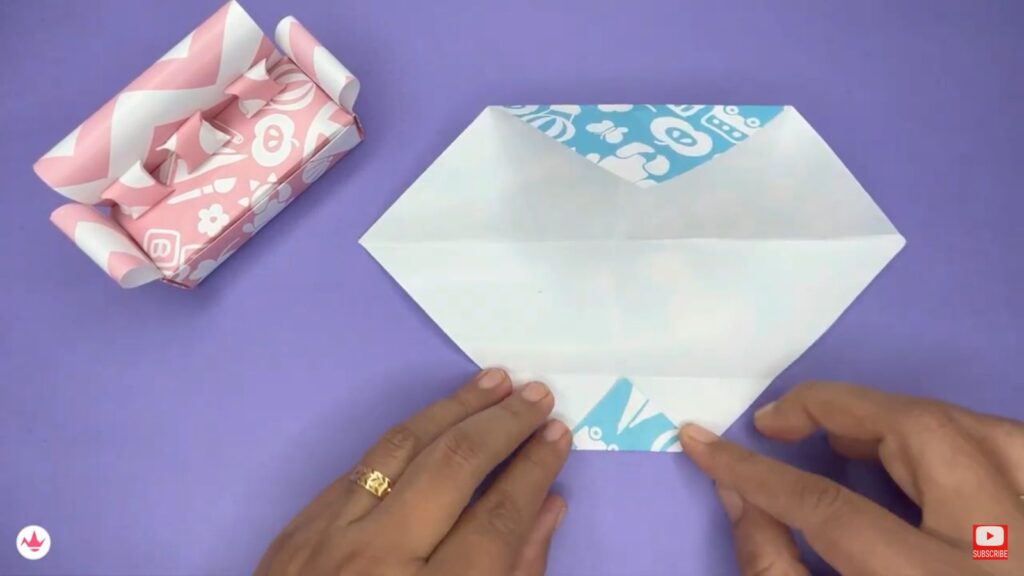
Step 4: Unfold And Fold Corner Edges To Upper Crease
Unfold it now and you will see several lines that are parallel to each other. Fold the upper sides to meet the crease above them.
Also Read: Origami Bag
Also Read: Origami Envelope
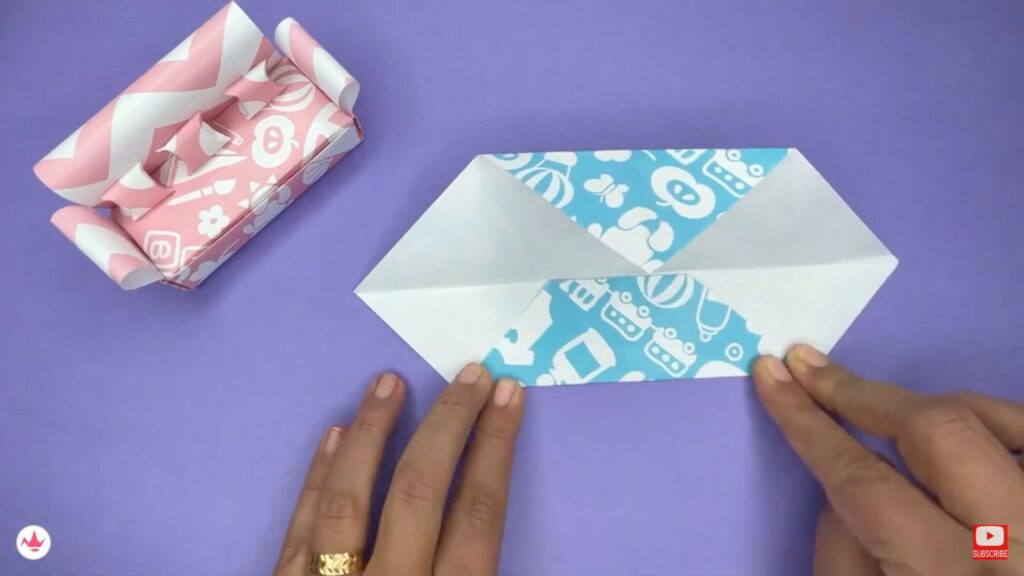
Step 5: Fold The Crease Too
Keep the triangle folded and fold the crease alongside it too.
Step 6: Repeat With Other Side
Repeat the same with the other side. This is one of the best DIY crafts.
Step 7: Fold The Upper Crease
Now, fold the upper creases too, so your origami can look something like this.

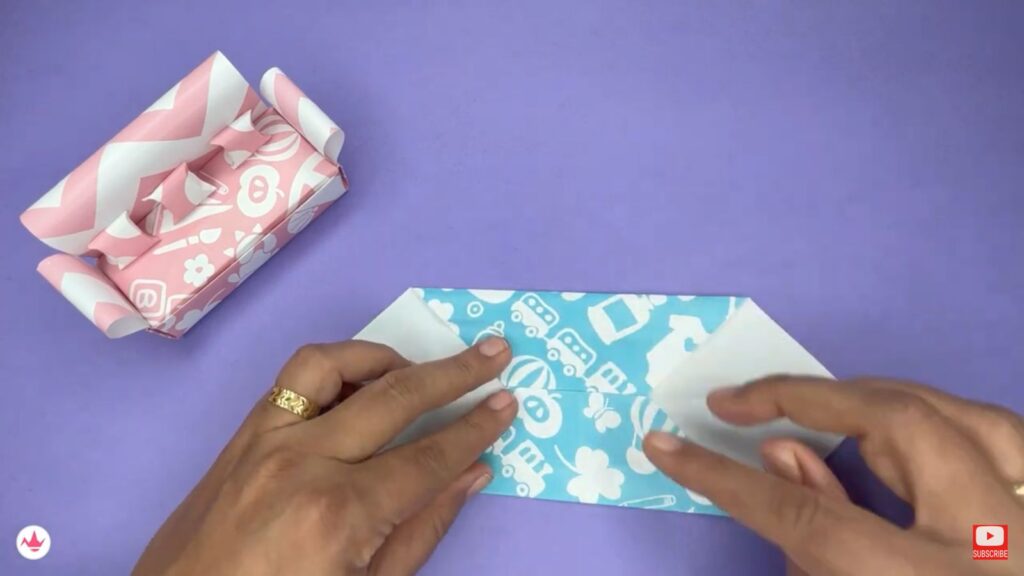
Step 8: Unfold Except Step 5 Crease
Unfold the creases, except the one that we did in Step 5.
Step 9: Fold The Open Sides To Their Upper Creases
Now, fold the other two open sides in the same way so they meet the creases above them and unfold.
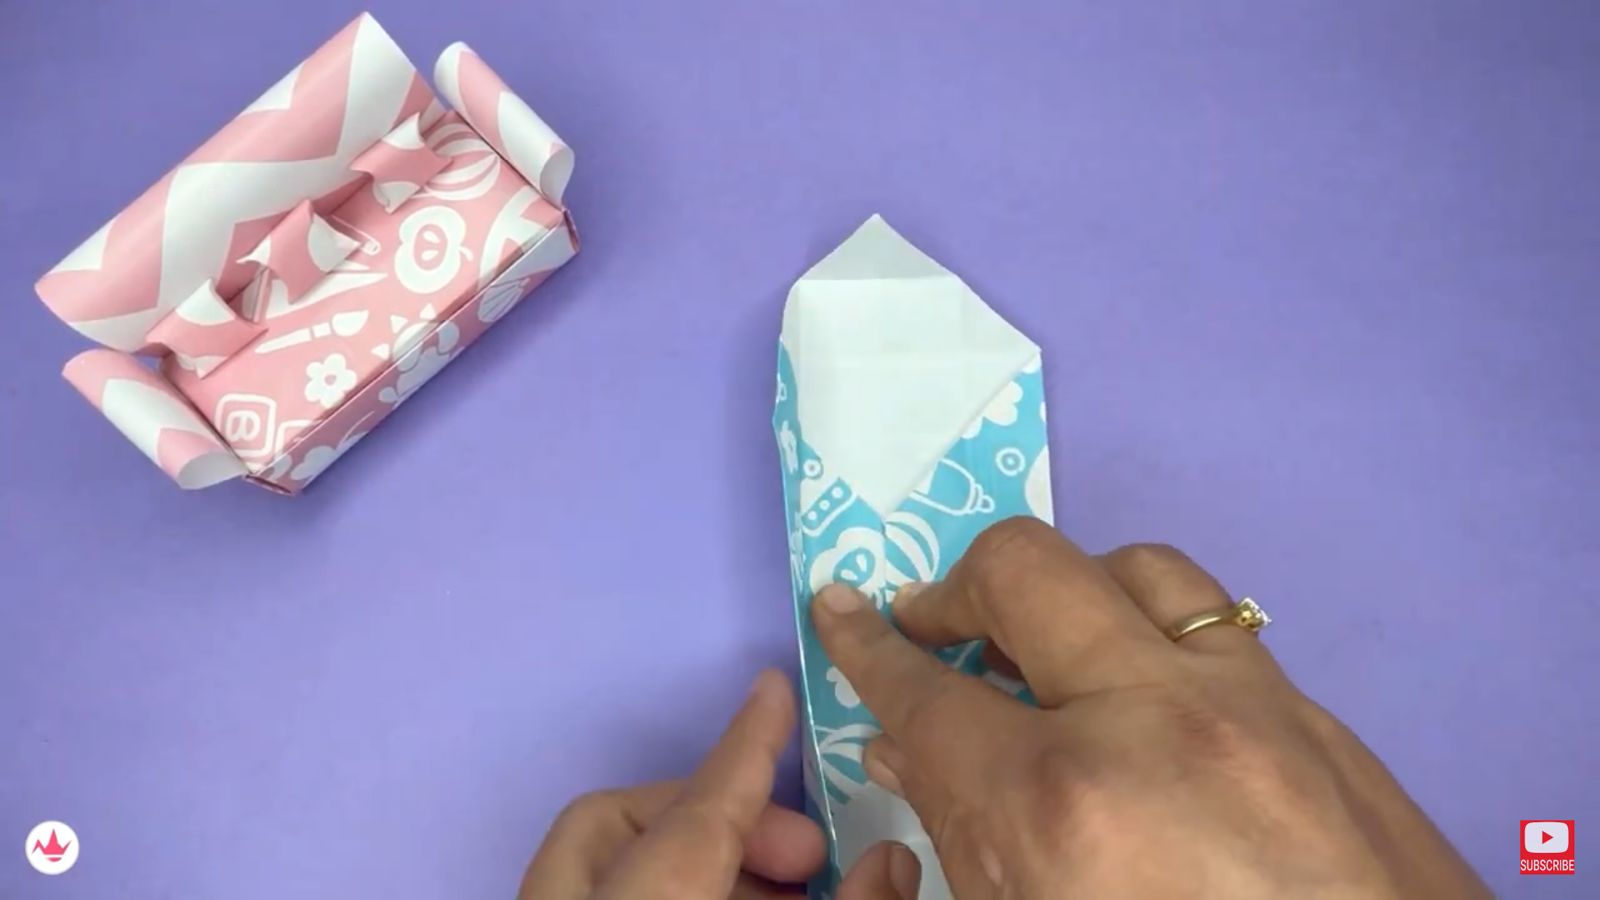
Step 10: Pull Up The Left And Right Sides
Pull up the left and right crease so it makes a box-like structure.
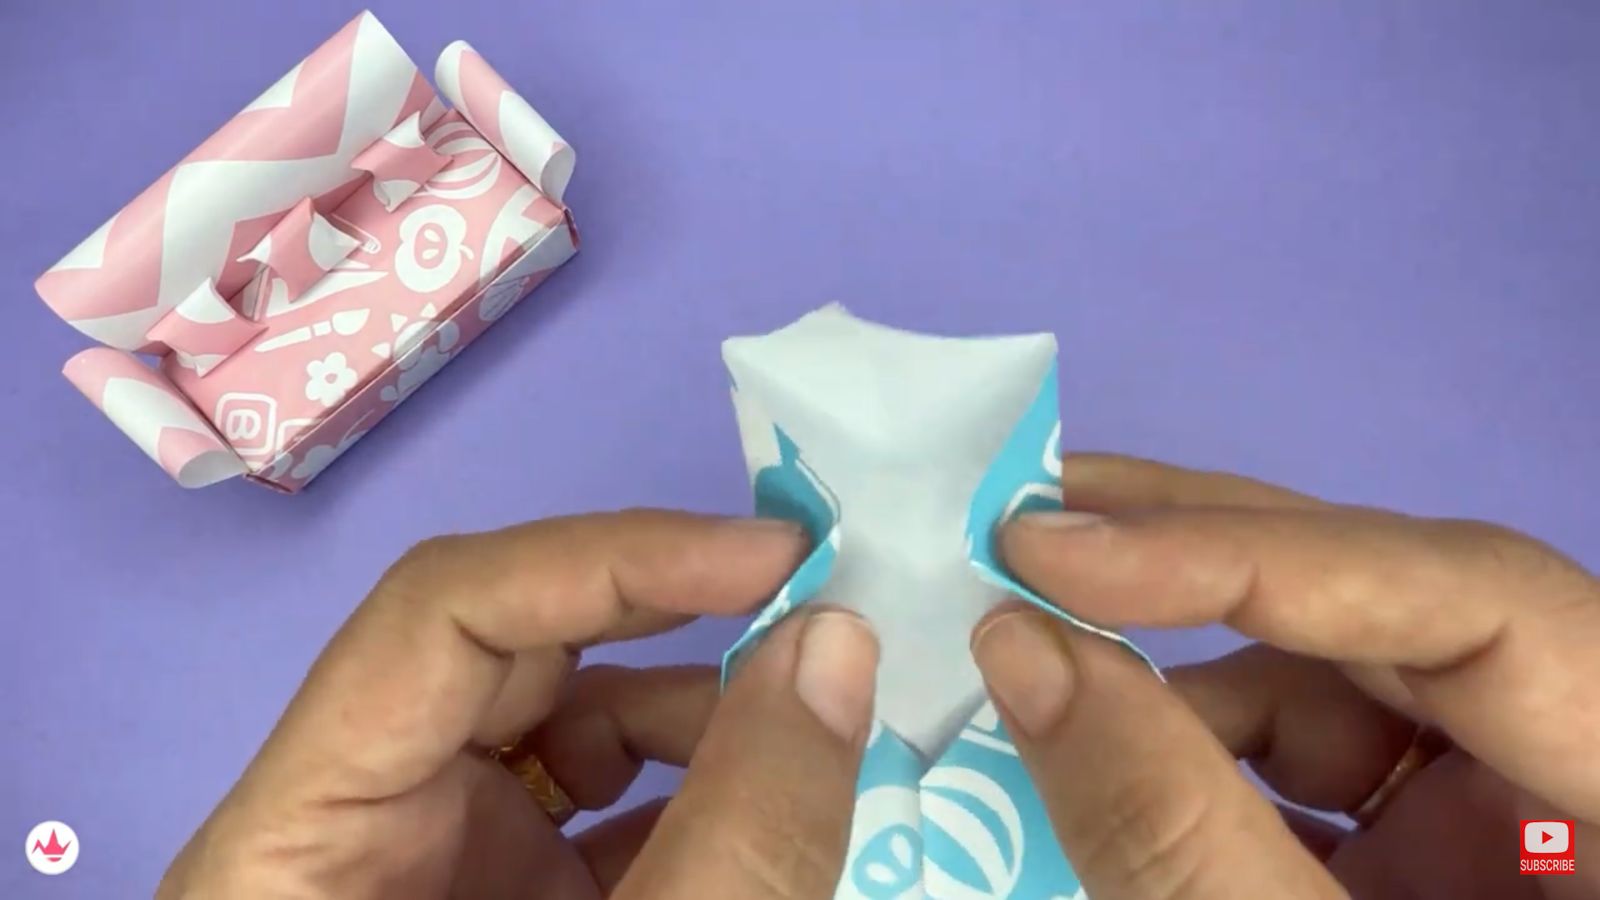
Step 11: Fold The Open Sides Inwards
Take the other open sides and fold them alongside the creases already made. This DIY craft is very popular among crafts for school.
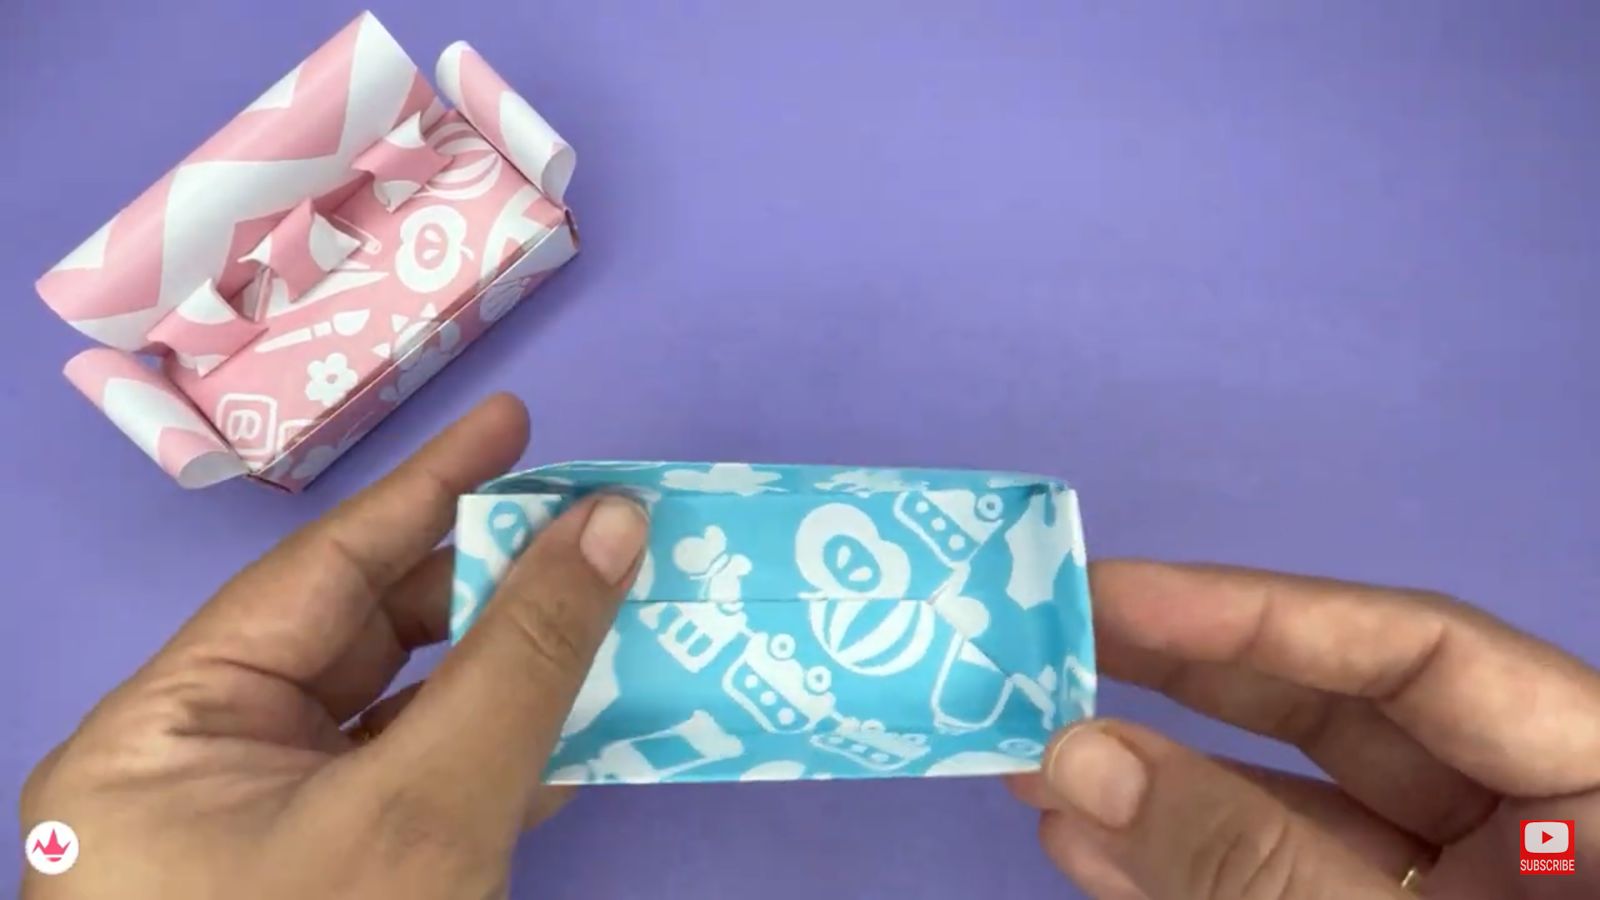
Step 12: Repeat With The Other Side And The Sofa Base Is Done
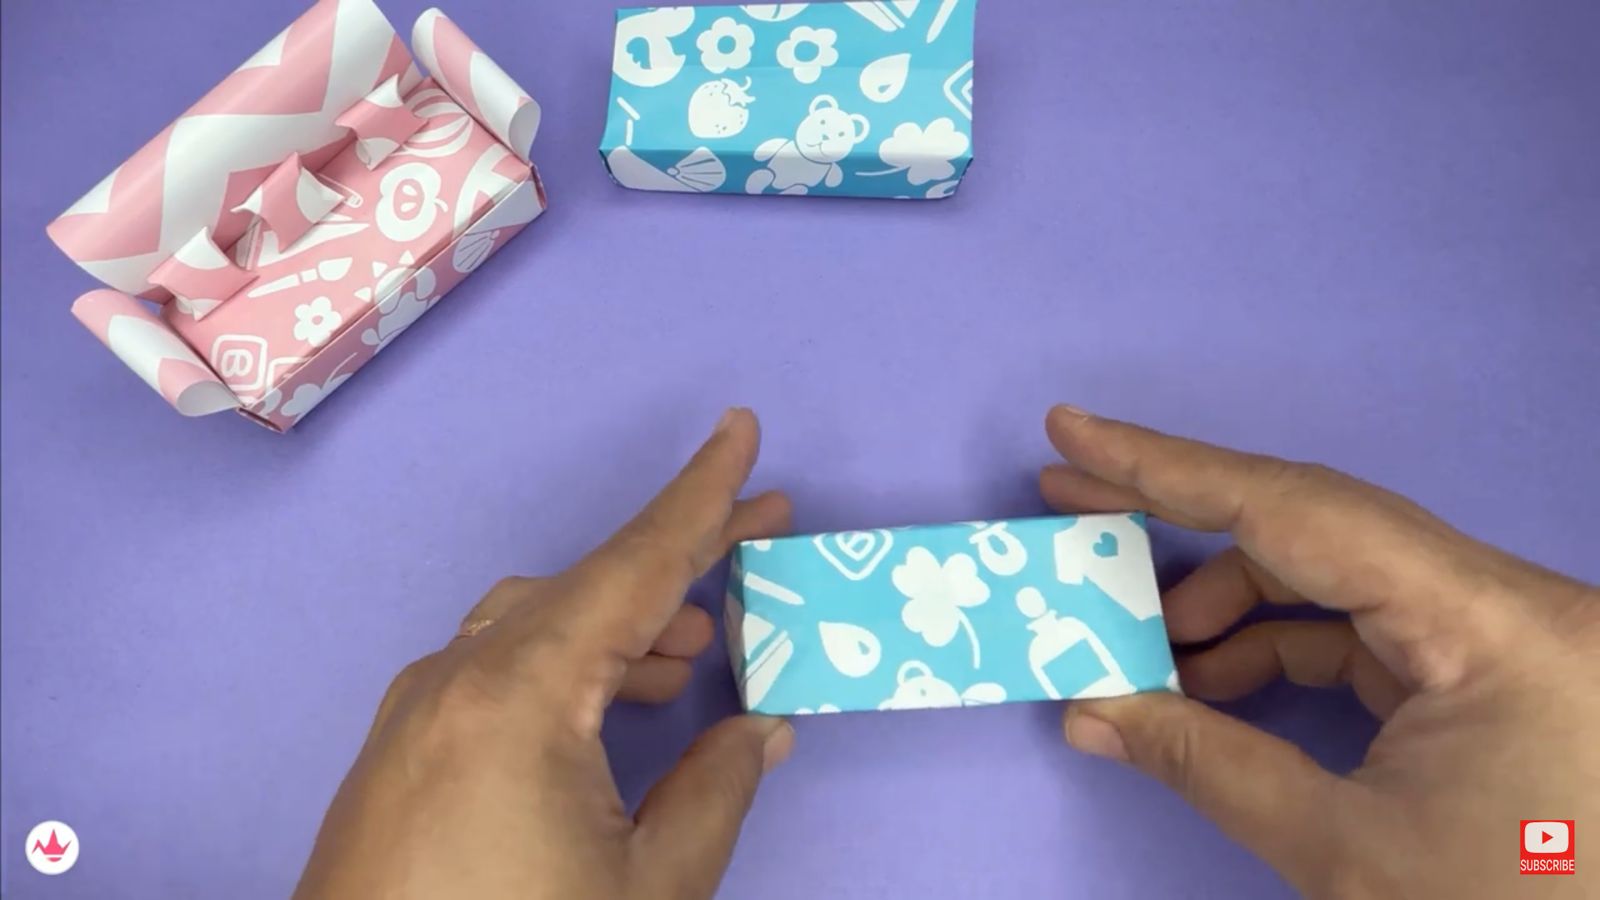
Repeat it on the other side too and you will have the first base of the paper sofa seat with this origami sofa step by step guide.
How To Make The Other Base Of The Sofa Seat
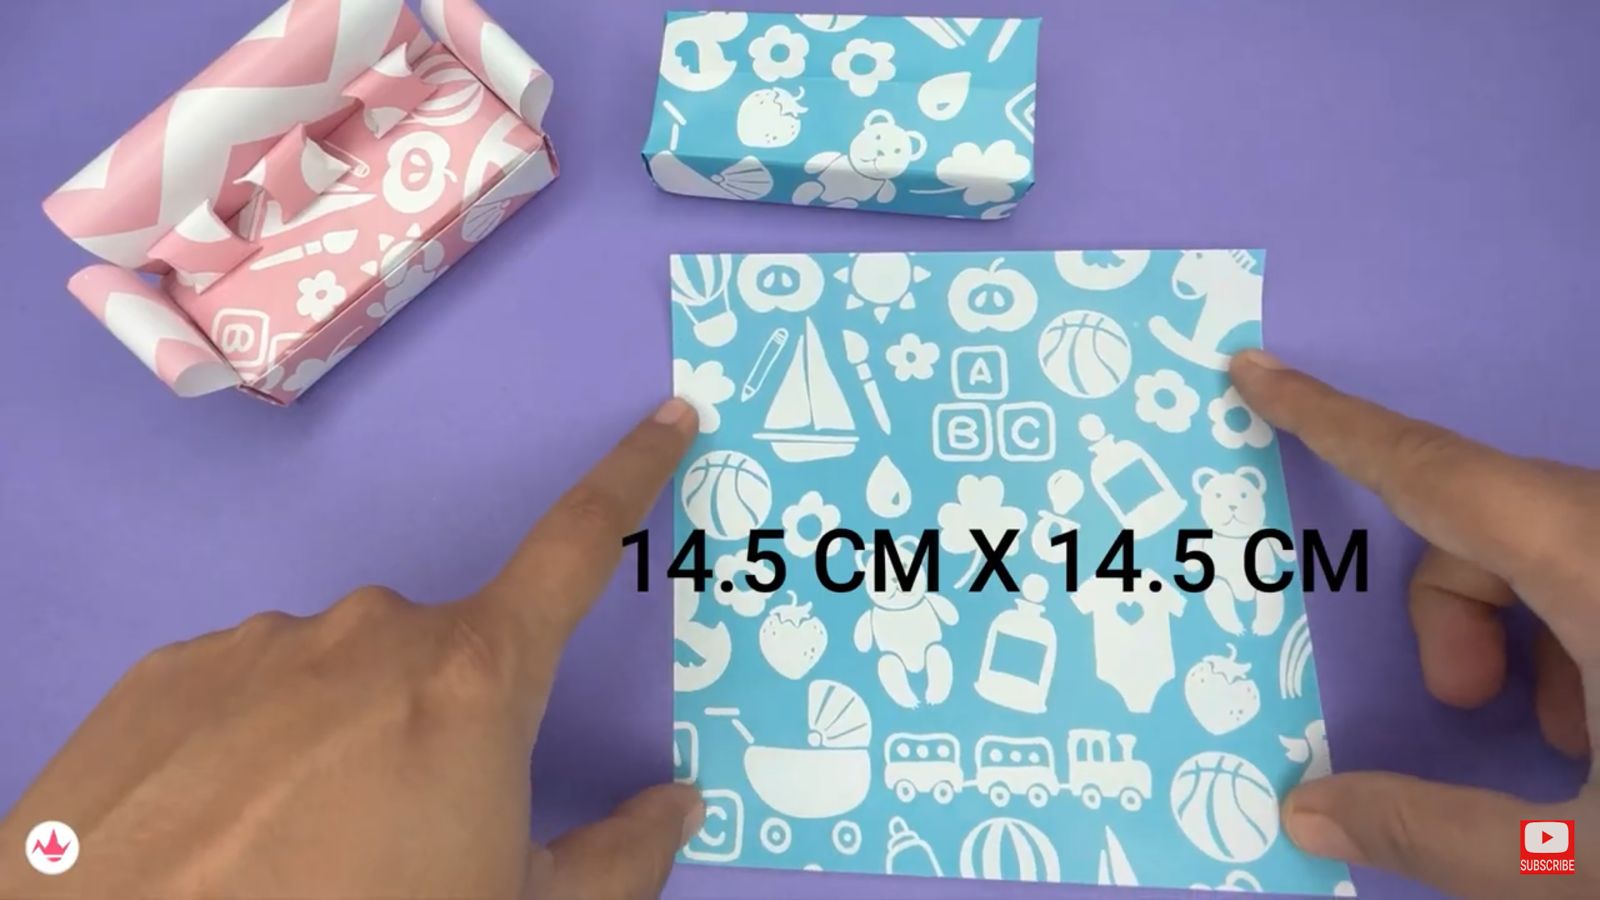
Step 1: Take Slightly Smaller Origami Sheet
Take a slightly smaller sheet of paper and repeat the steps that we did to create the first base.
Step 2: Repeat The Steps For The First Base
When the base is ready, it should look something like this.
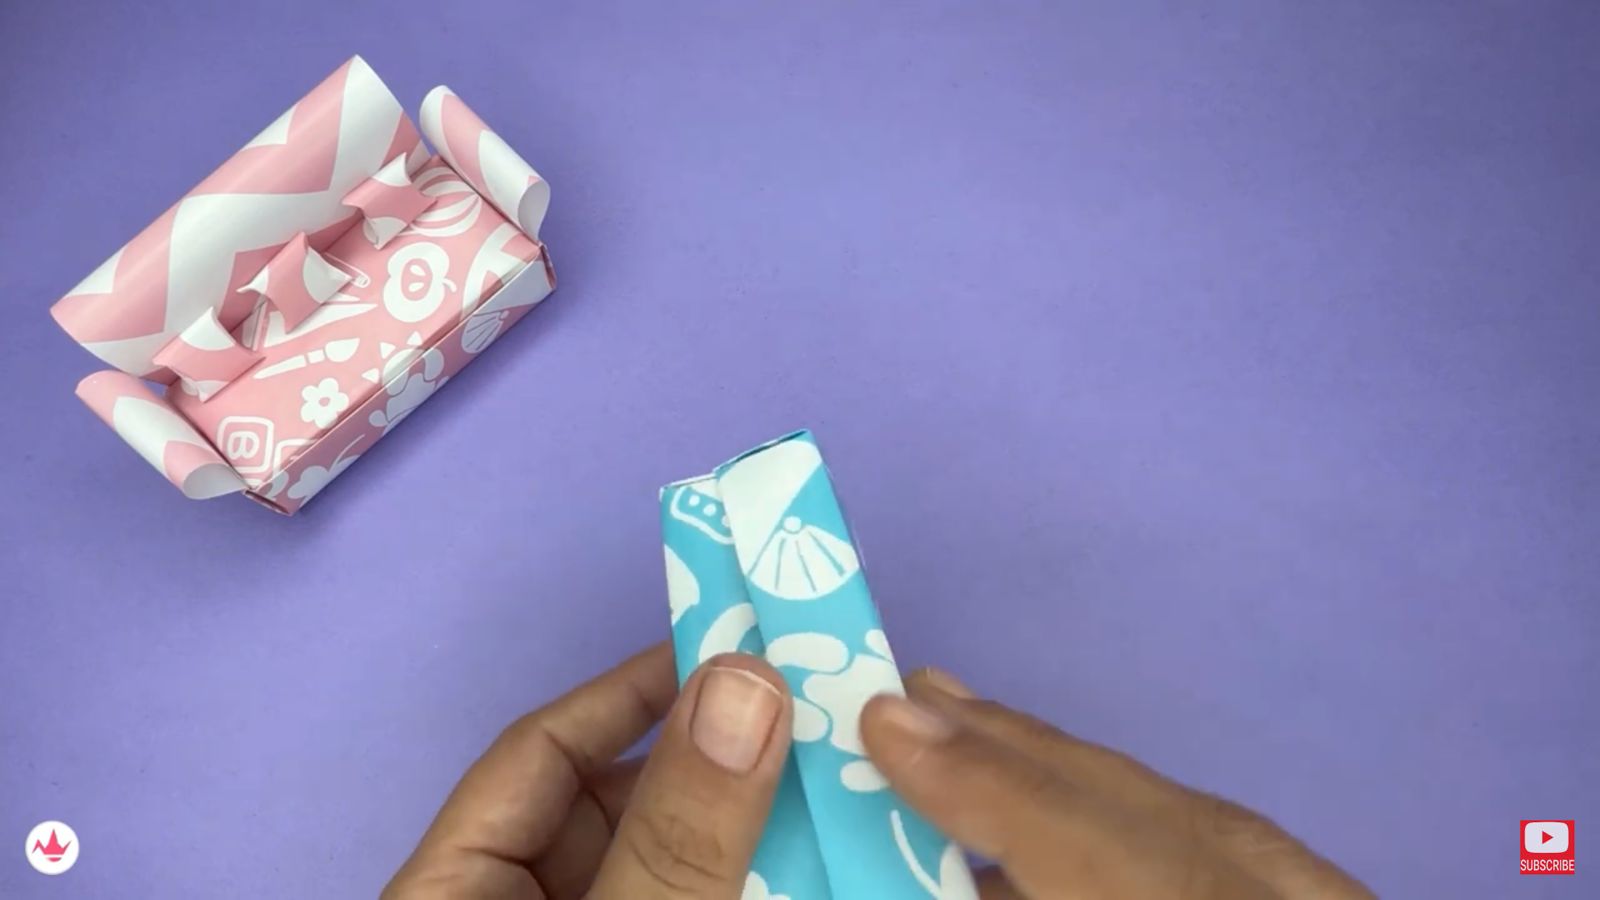
Step 3: Intertwine The Two Bases
Take the two bases and intertwine them together so they can make one whole seat.
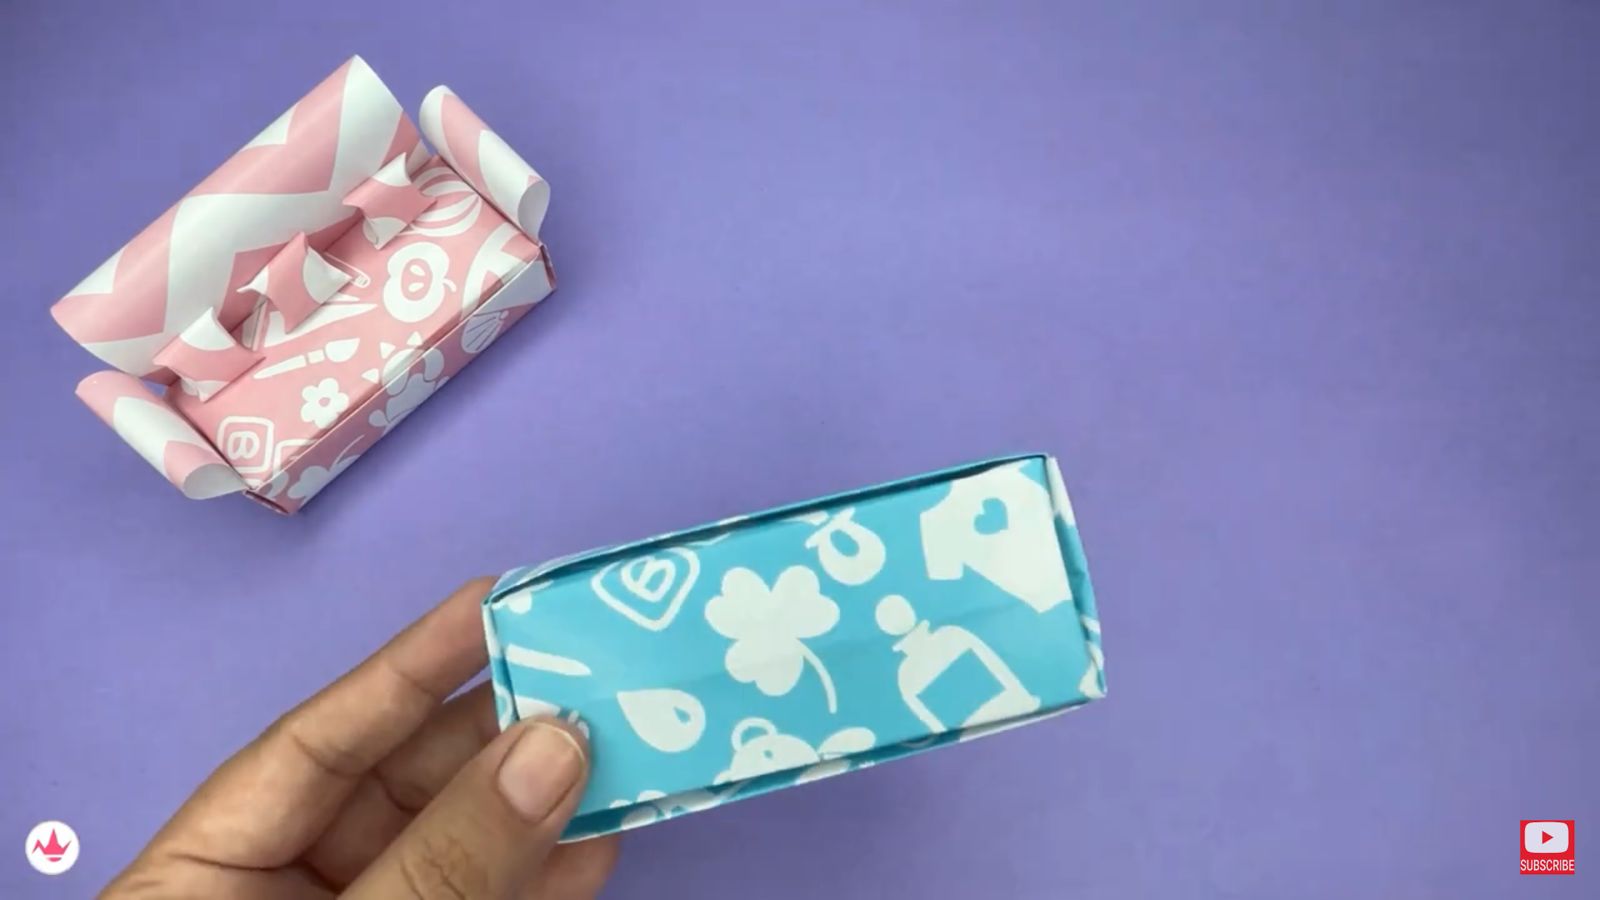
Step 4: Sofa Seat Is Ready
The whole seat of your mini paper sofa is now ready.
How to make the backrest of the sofa

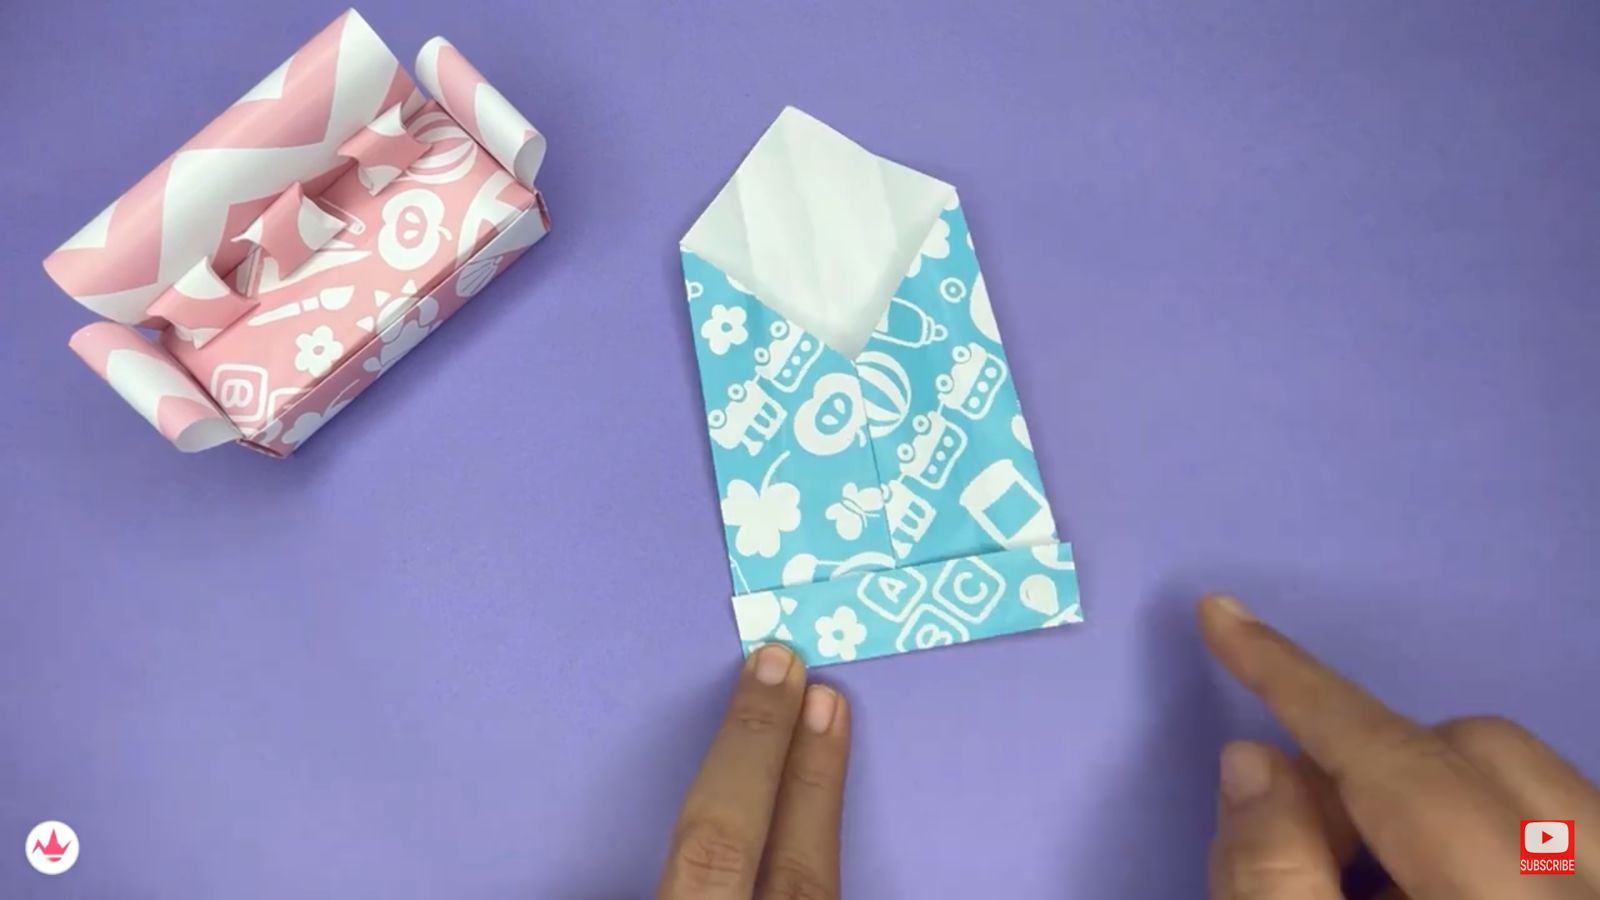
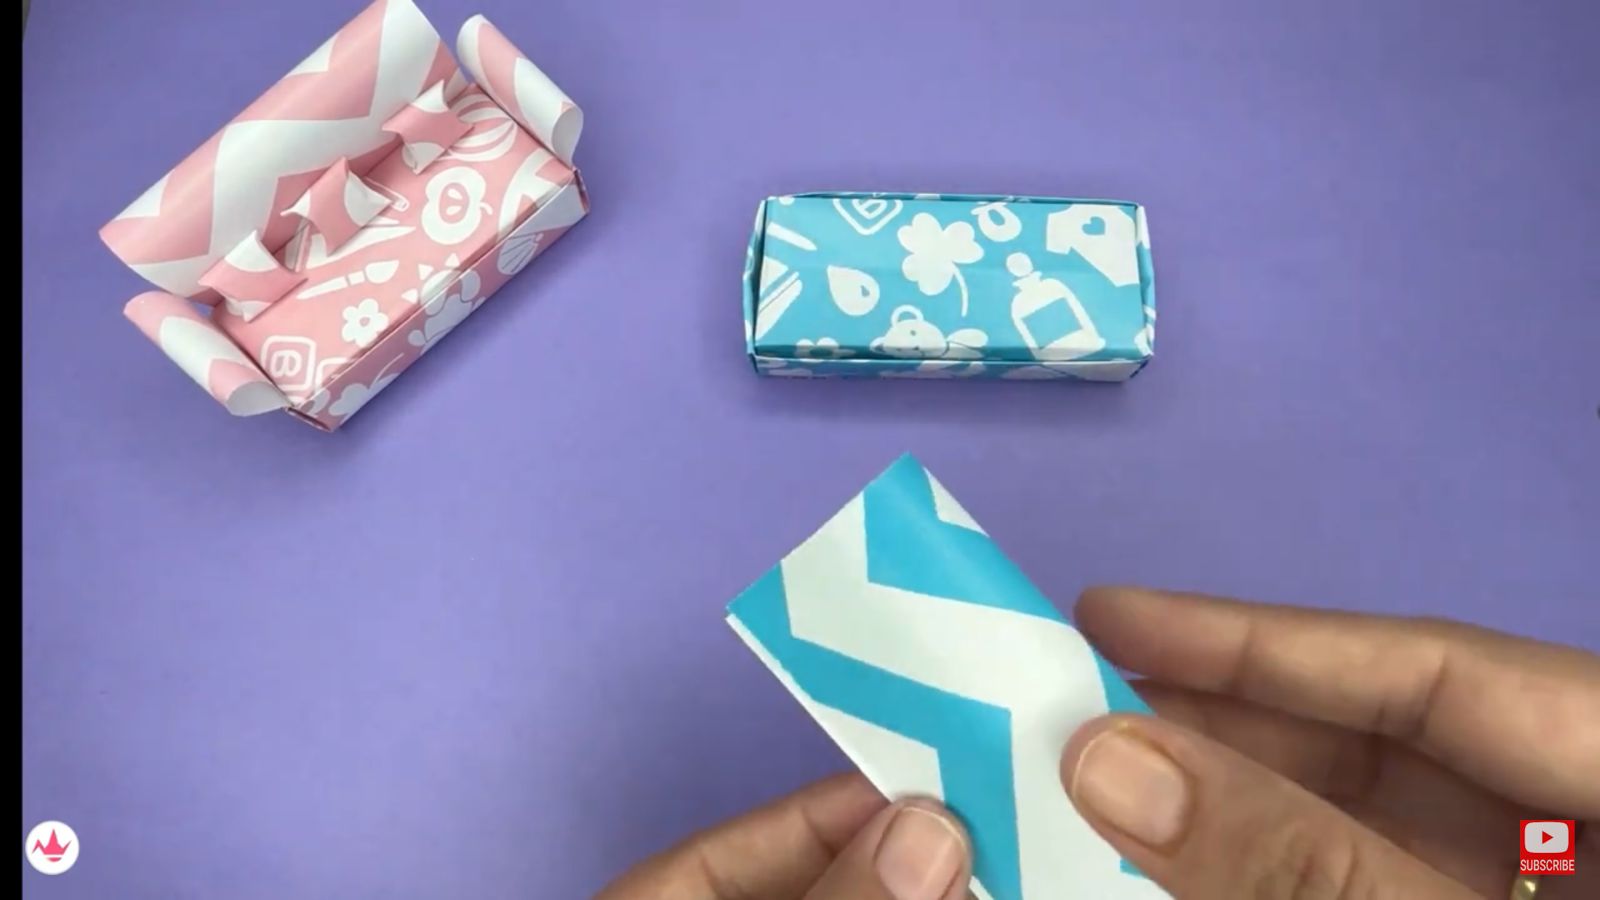
Step 1: Take An Origami Sheet
Take a smaller size of origami sheet of paper.
Step 2: Fold In Half Without Creasing
Fold it into half but make sure not to crease it.
Step 3: Insert In The Seat-Gap
Insert it into the gap between the two bases that we created.
Step 4: Backrest Is Completed
The backrest of your mini paper sofa is now ready.
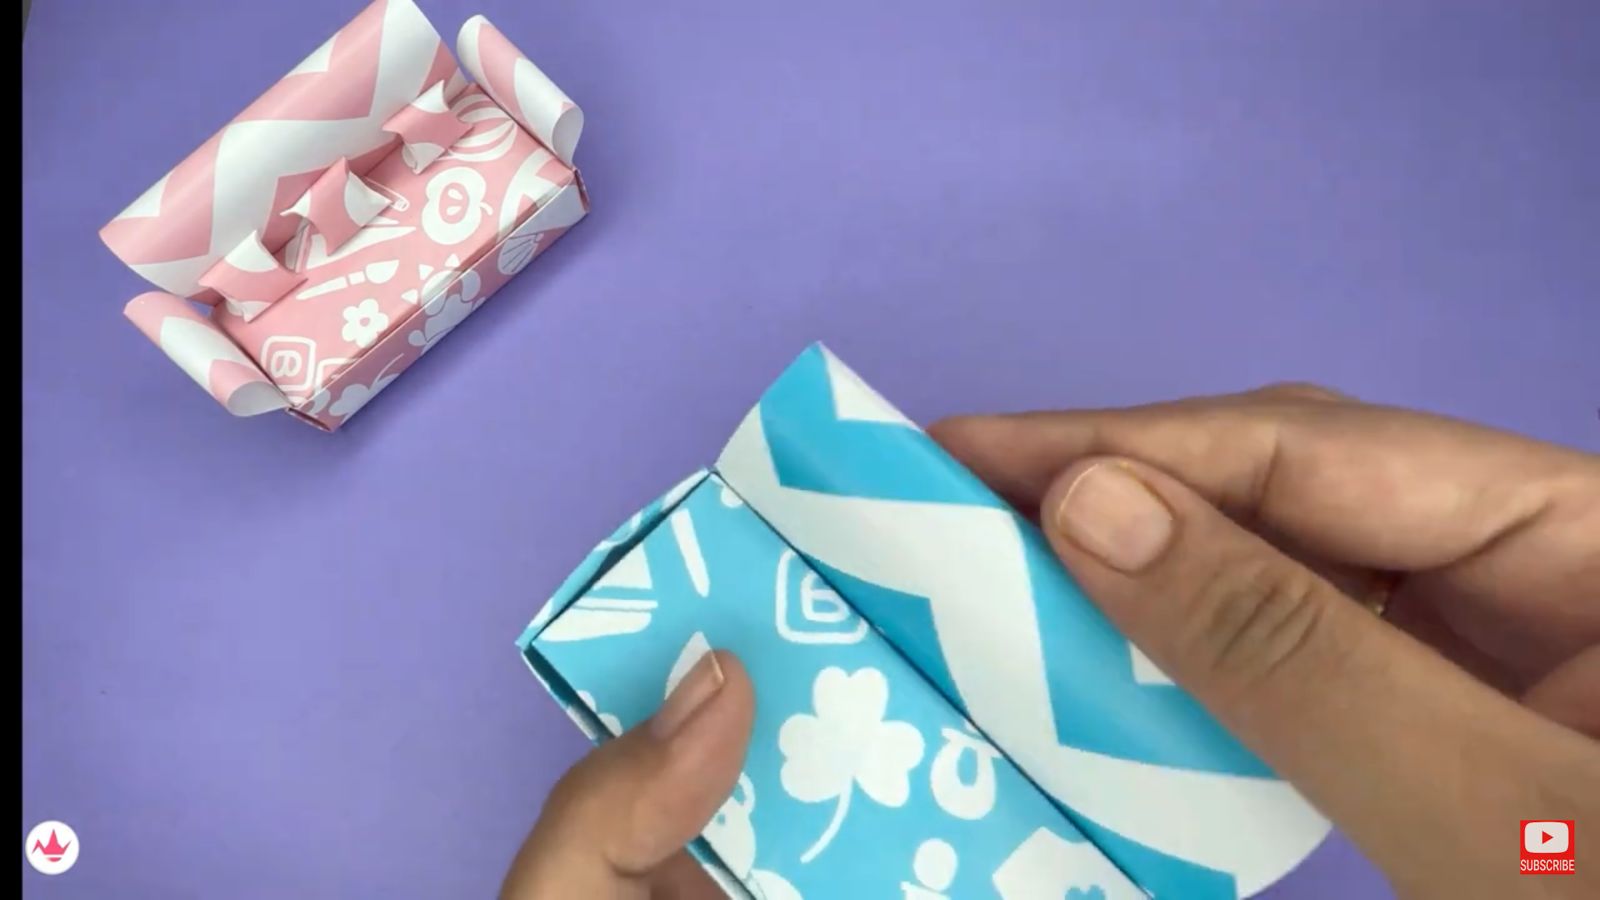
How To Make Armrests Of The Sofa

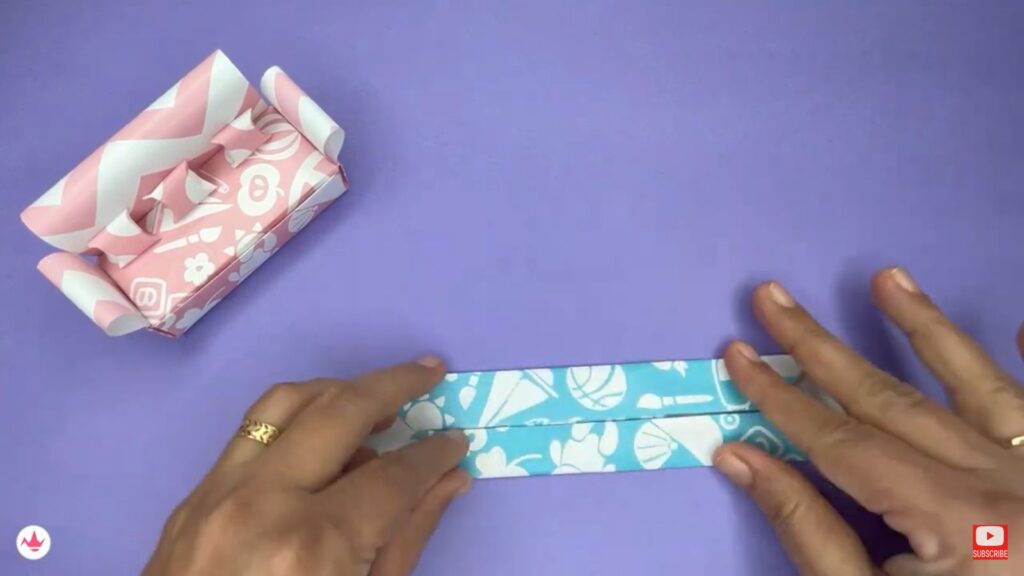
Step 1: Take Stripes Of Paper
Take two strips of paper of the given dimensions.
Step 2: Fold And Insert In The Side Of The Seat
Take one, fold it into half but make sure not to crease it, and insert it into the gap between the side of the sofa seat.

Step 3: Repeat With Other
Repeat the same step with the other strip too.

Step 4: Armrests Are Ready
The armrests of your paper sofa set are now completed.
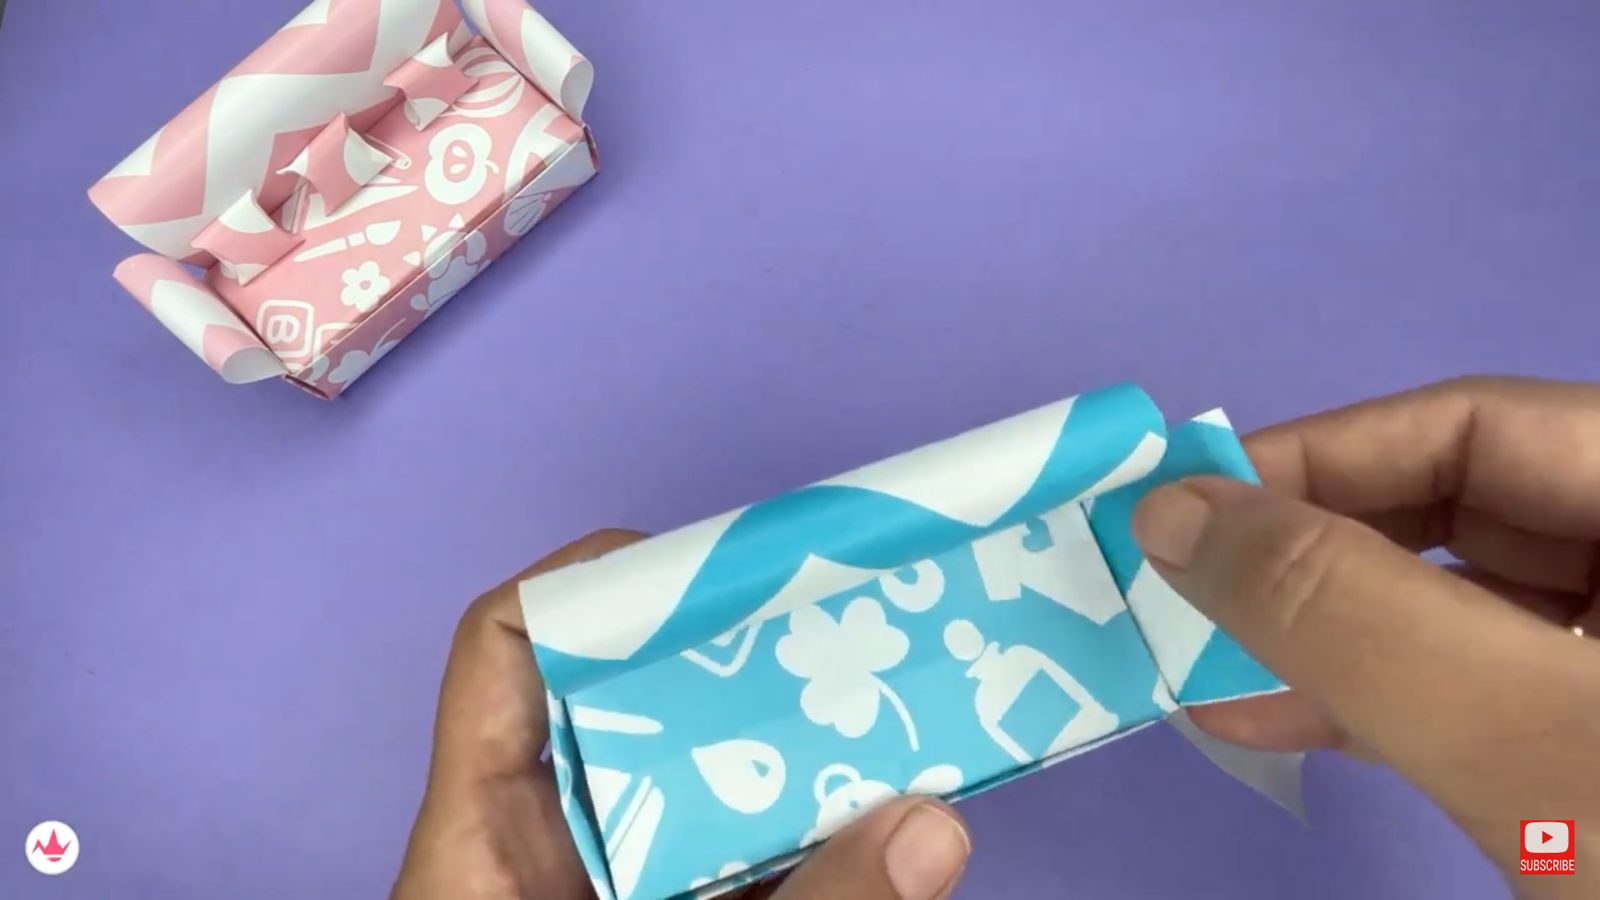
How To Make Cushions For The Sofa

Step 1: Take Two Stripes Of Paper
Take a small strip of paper with the given dimensions.

Step 2: Fold The Side And Apply Glue
Fold one side slightly and apply glue on it.

Step 3: Stick To Other Side
Stick it to the other side properly.

Step 4: Fold Open Edges Inwards
Fold the open edges inwards so it can look like this and your cushion is ready.

Step 5: Make Two More Cushions
Repeat the same steps to make two more cushions.
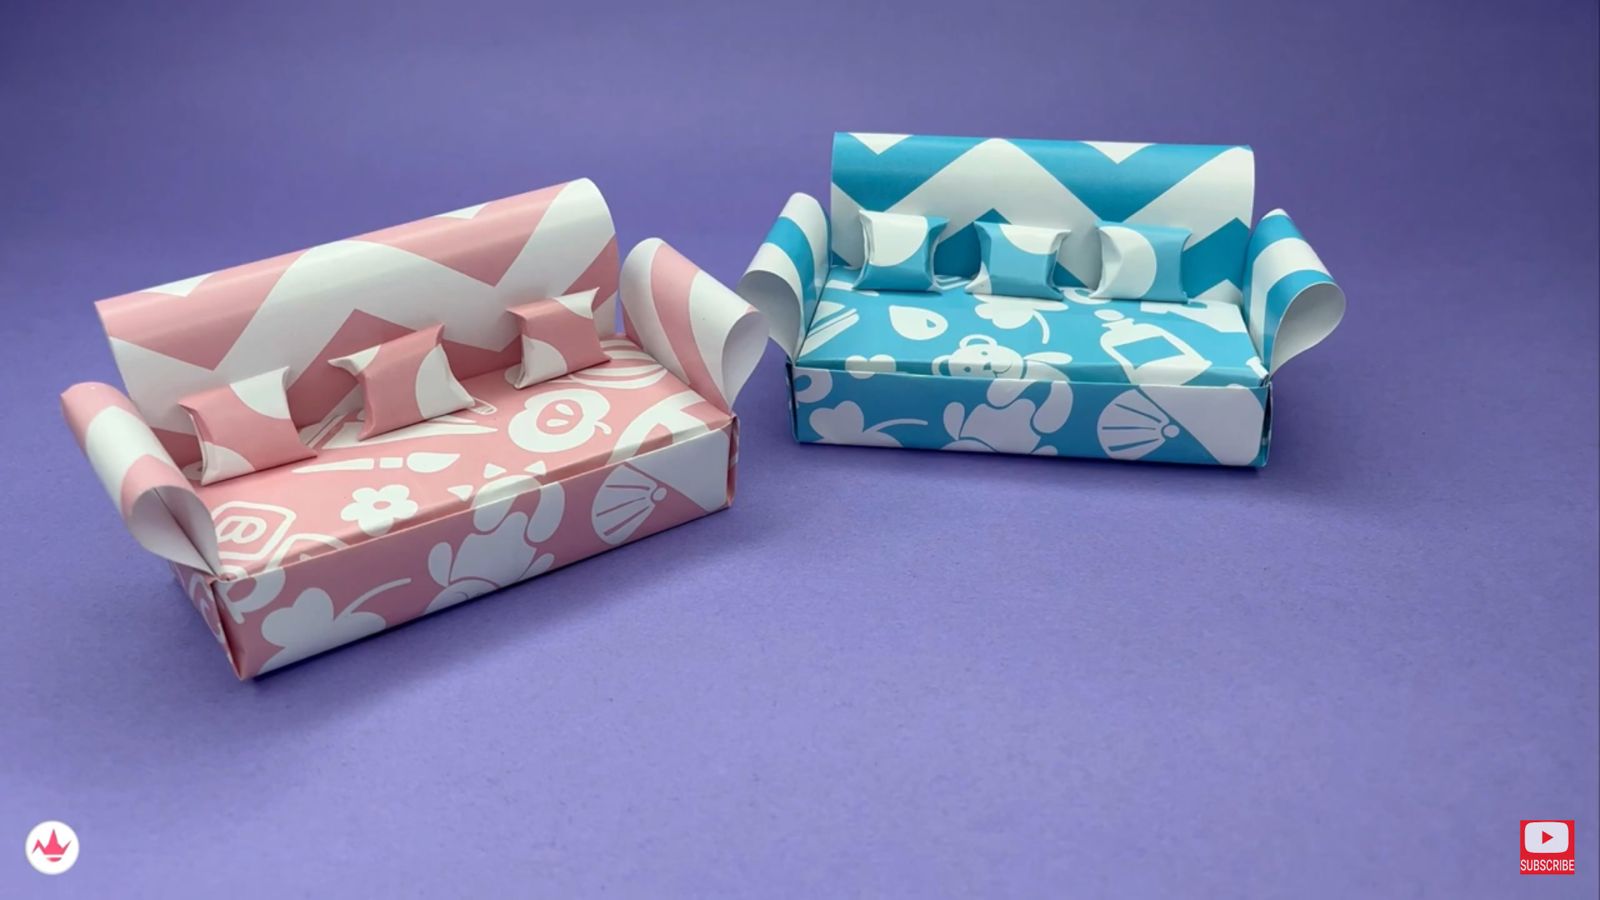
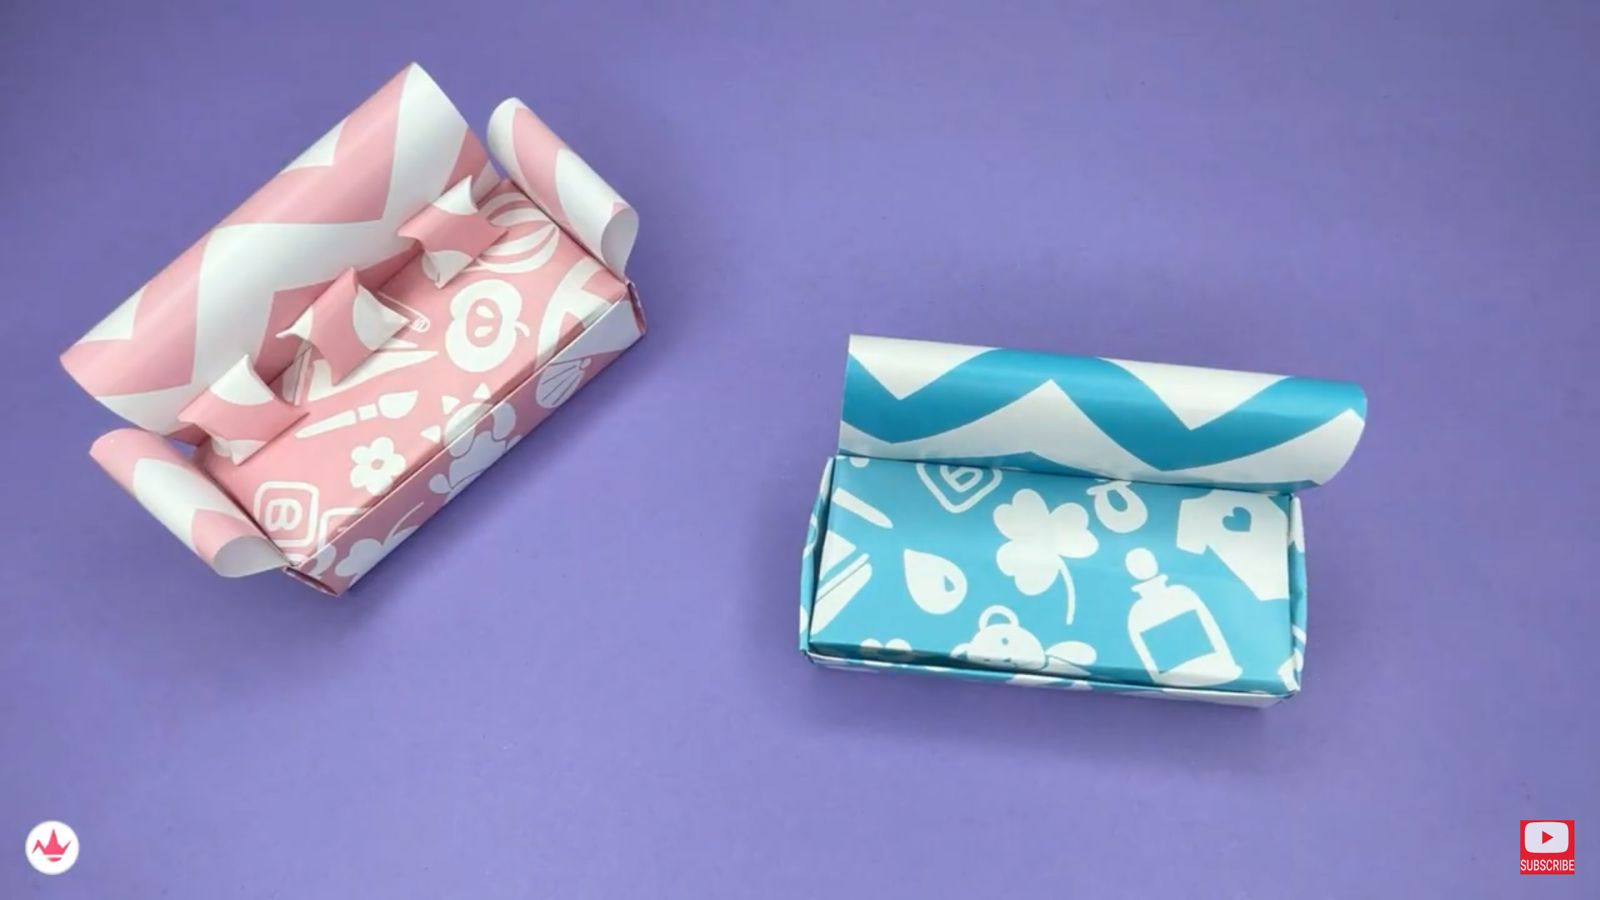
Step 6: Origami Sofa Set Is Ready
The whole origami paper sofa set is now complete!
Precautions To Take While Making Origami Paper Sofa
- Select a clean, flat, and well-lit workspace. Make sure there are no liquids, food, or clutter nearby that could accidentally damage your paper or distract you during the folding process.
- Origami paper is delicate, and excessive force can lead to tears. Handle the paper gently, especially during intricate folds and adjustments.
- Origami requires precision and patience. Rushing through the steps can lead to mistakes or misshapen folds. Take your time, and don’t hesitate to undo a fold if it’s not aligned correctly.
- If your origami design involves multiple sheets of paper, keep them organized and labeled to avoid confusion during assembly.
- Origami paper is designed to be lightweight and easy to fold. Using regular printer paper or heavy cardstock might make the folding process difficult and result in less refined folds.
FAQs About Origami Paper Sofa Set
Q: Can I use any type of paper for making an origami paper sofa?
Whle it’s recommended to use origami paper or other lightweight, square-shaped papers. Regular printer paper may be too thick and difficult to fold, while very thin paper might tear easily.
Q: How long does it take to make an origami paper sofa?
The time required to create an origami paper sofa varies depending on your familiarity with origami, the complexity of the design, and your folding speed. For beginners, it might take an hour or more, while experienced folders might complete it in less time.
Q: Can I color or decorate my origami paper sofa?
Absolutely! Once you’ve mastered the basic folding technique, you can get creative with coloring, decorating, or embellishing your origami paper sofa.
Q: What other origami furniture items can I make?
In addition to origami paper sofas, you can explore making other miniature furniture items such as chairs, tables, beds, and even entire rooms. These projects often involve more intricate folding techniques and creative adaptations of traditional origami designs.
Q: How can I ensure that my origami paper sofa looks neat and well-finished?
Achieving a neat and well-finished origami paper sofa involves paying attention to details, making precise folds, and ensuring that the creases are sharp and clean. Use tools like a bone folder or ruler to help with accurate folding, and take your time to adjust folds as needed.
Make sure to try this craft sofa and make your own paper sofa. A crucial thing to remember is that origami is all about experimentation and creativity. It is okay to not get it right on the first try, keep practicing and you will get there. Most importantly, enjoy the process and the result of your beautiful handmade creations.


