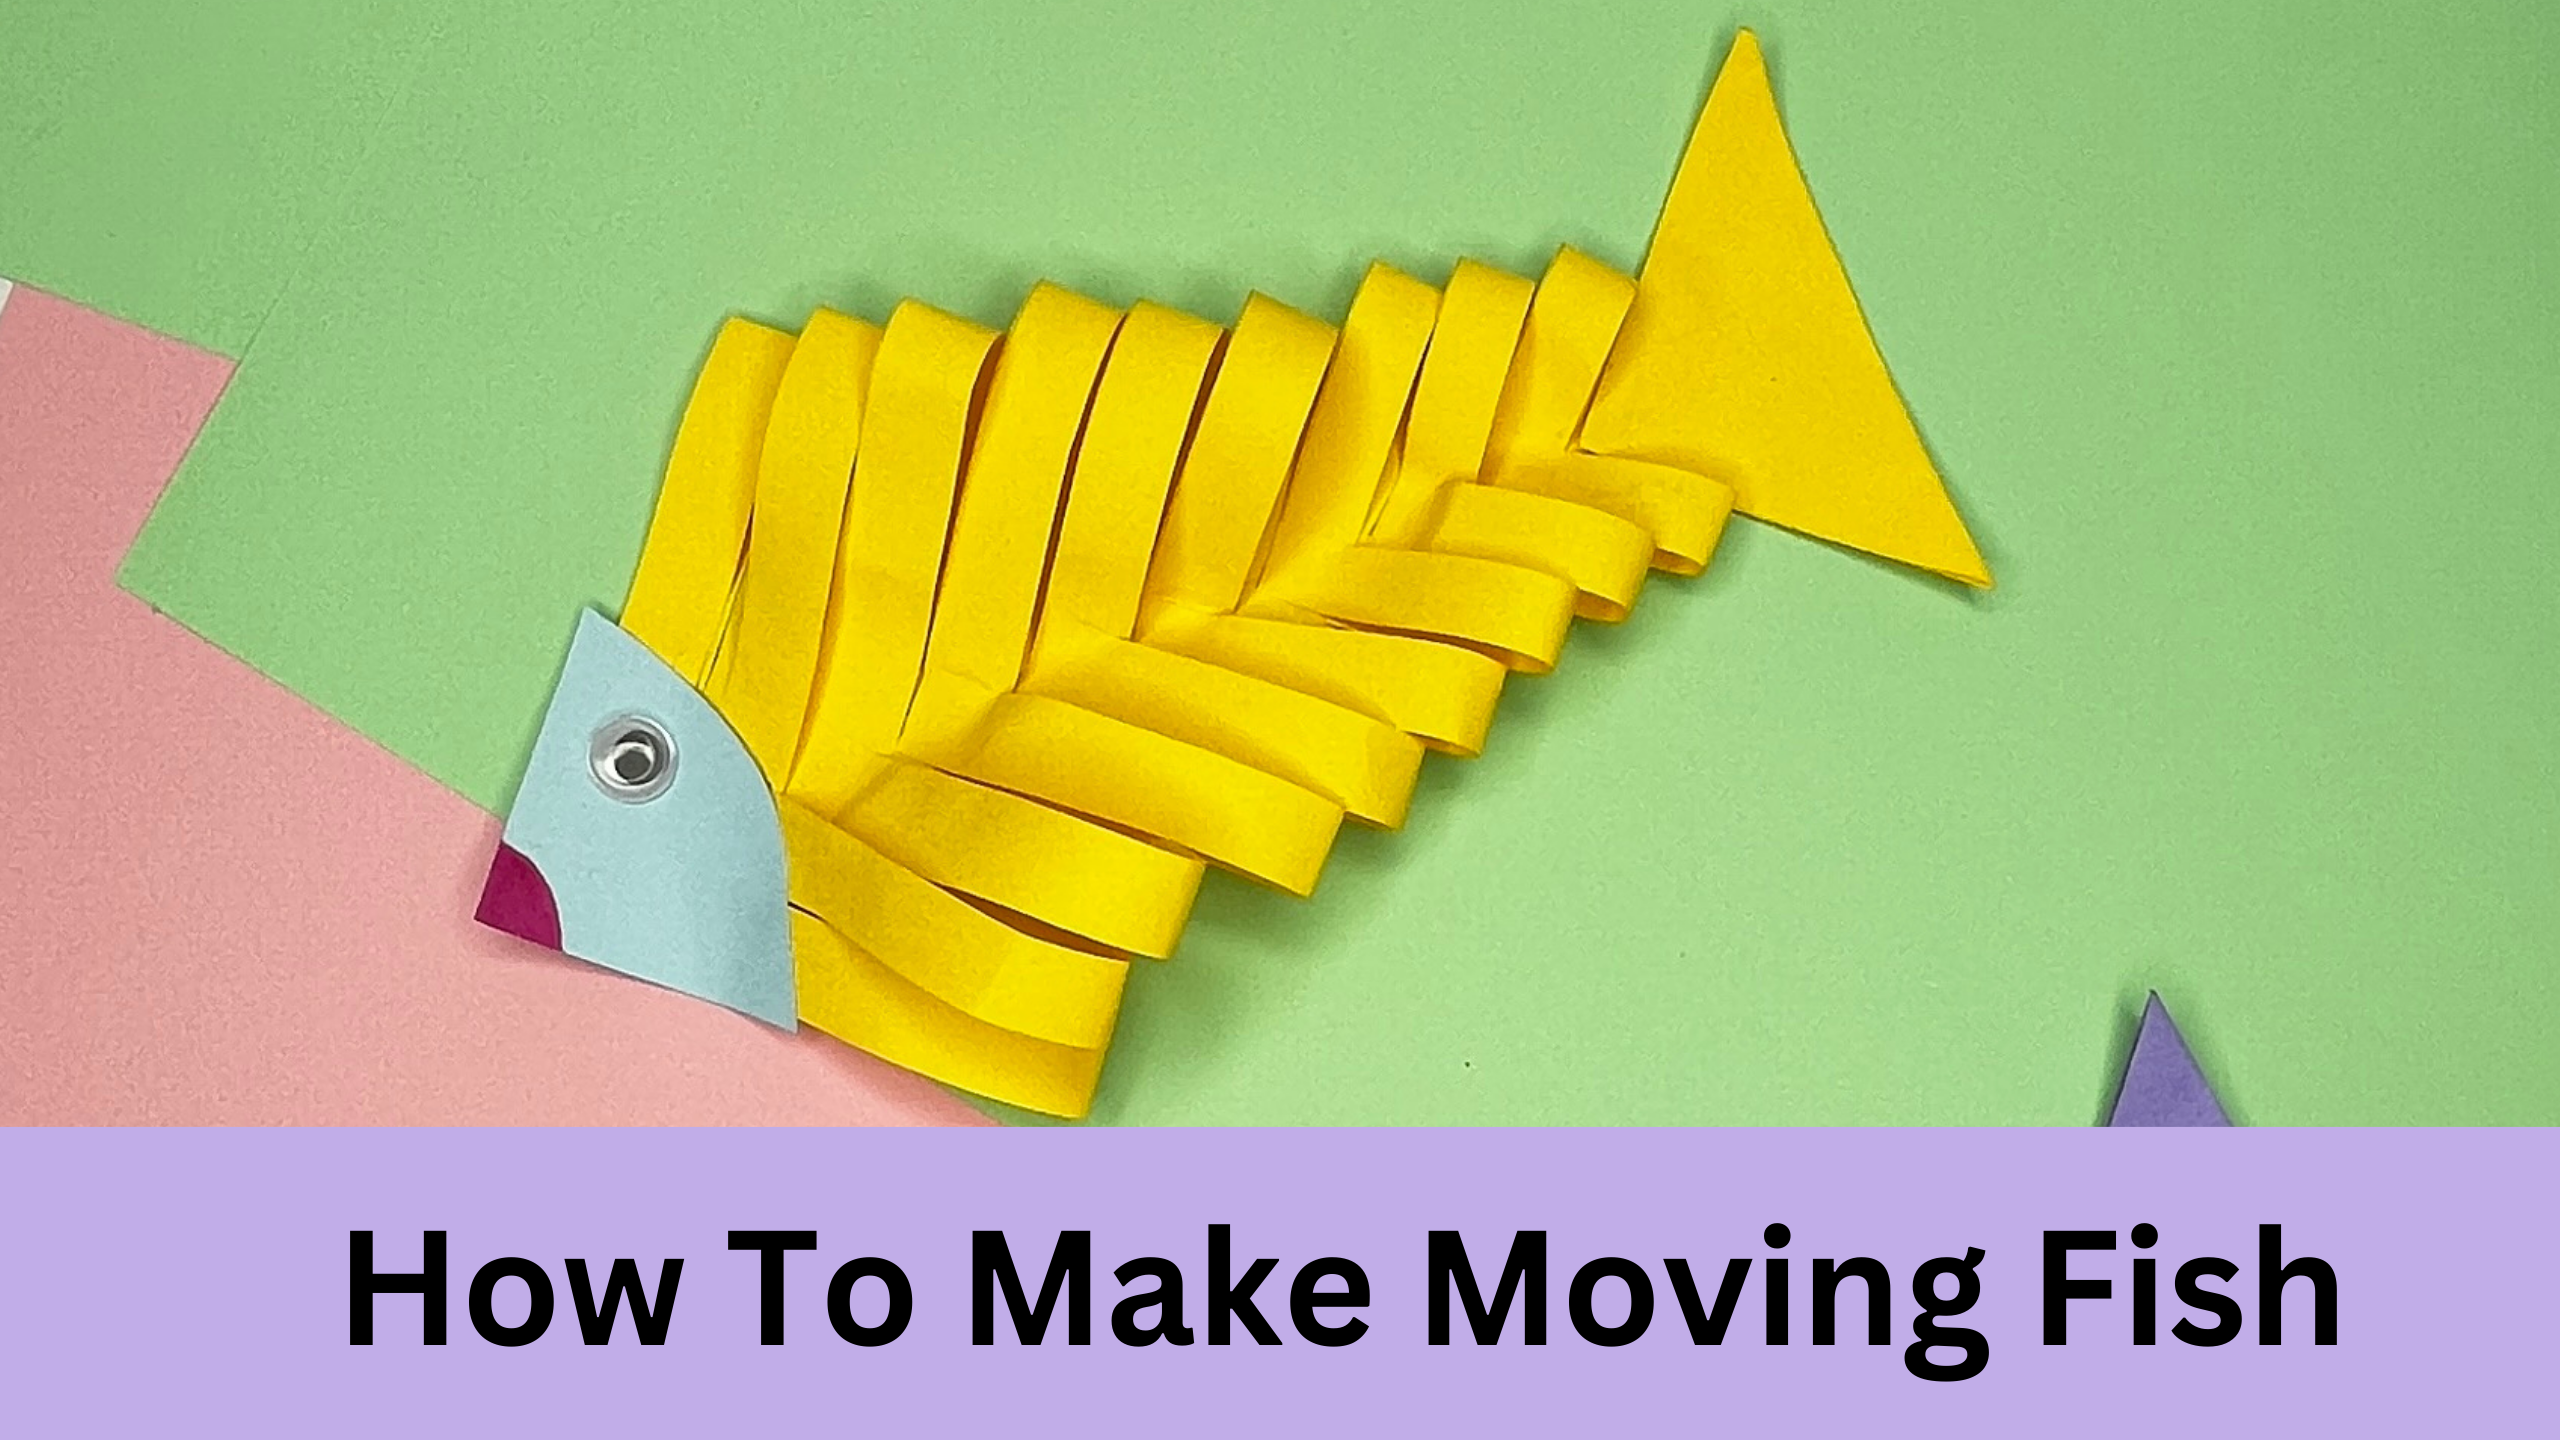
Kids’ craft activities ought to concentrate on fostering their imaginations and their creativity. Kids can express themselves and improve their fine motor skills through crafting as well! Making a paper fish craft can be an easy and entertaining project. Paper fish is a fantastic and easy idea for a craft project.
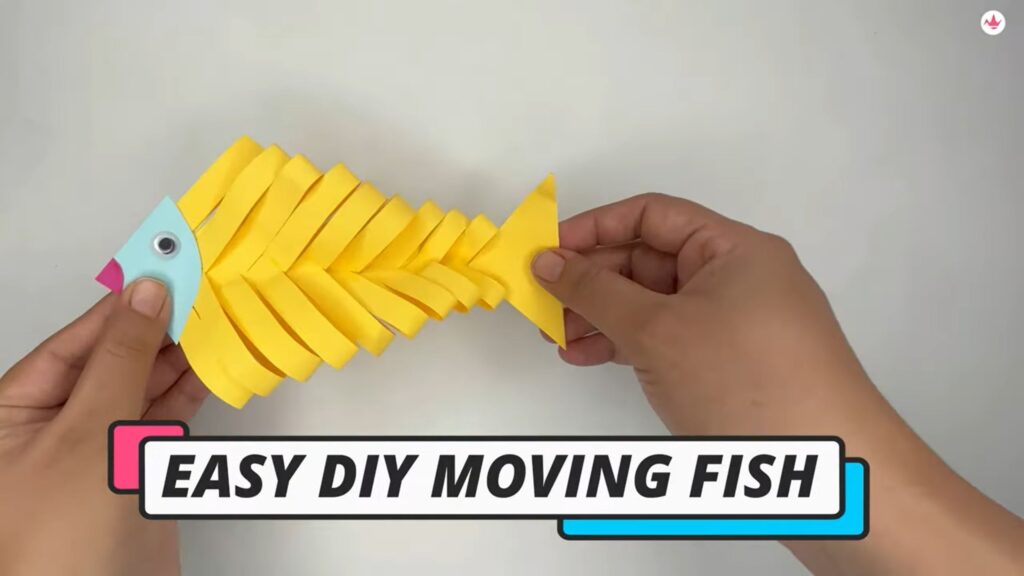
We can make a moving paper fish toy, and you can also play with this papercraft. This kids’ paper toy can be a fun and entertaining choice for playing. You can create various animals with paper and explore our How To Make Origami Frog tutorial too.
Crafting with kids can be a lot of fun and also be a preschool craft. You may also love to read 25 Best Dinosaur Crafts For Kids. The simple fish paper craft is great for kids, and we have a step-by-step video tutorial on How To Make A DIY Moving Paper Fish.

We will also cover the materials required for this paper fish craft and the step-by-step guide to make it easy.
Materials You’ll Need:
- Any Preferred Colored Paper – Dimensions – 15 CM by 15 CM
- Scissors
- Paper Glue
- Googly Eyes
- Black Marker Pen
- Measuring Scale
Moving Paper Fish – Step By Step Tutorial
The moving paper fish craft is just made with a square paper sheet with some folds and cuttings and a beautiful aquatic creature is formed. The Paper fish craft involves the fish’s body, fins, tail, mouth and beautiful eyes which we will create for this easy beginner craft.
So let’s get started by learning how to create simple, moving paper fish.
STEP 1 – Paper Cutting
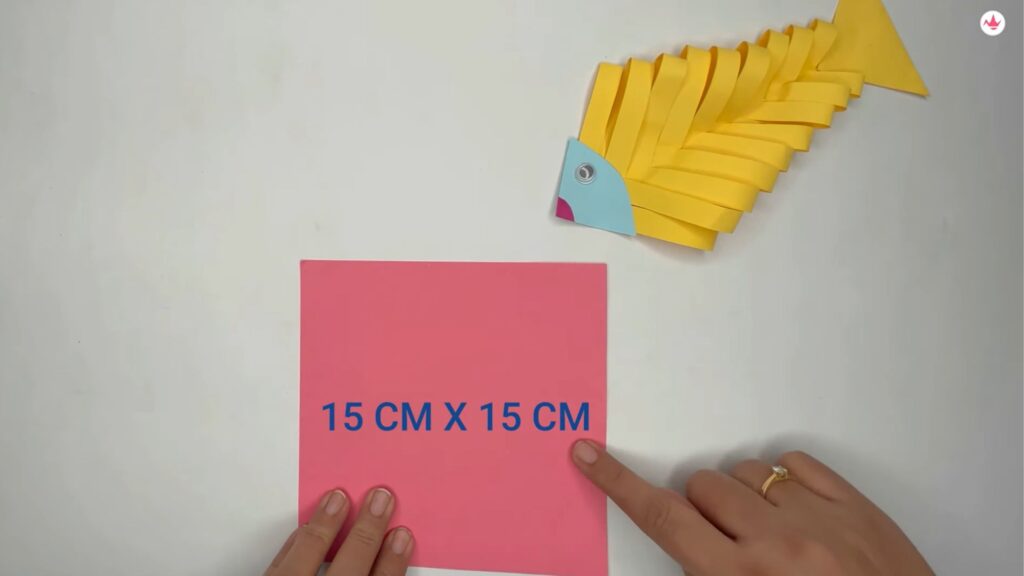
Cut a piece of coloured paper to the desired size (15 cm by 15 cm) and use it to create a fish. To make this simple paper fish, you can also use any square shape dimension of your choosing.
STEP 2 – Create Fold
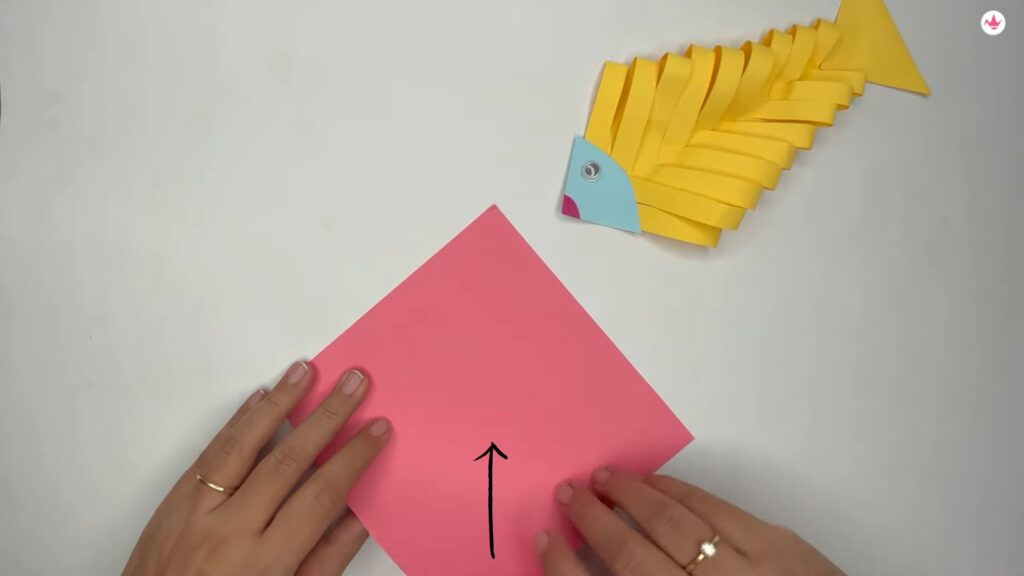
Make a fold in the paper by flipping it horizontally. Taking into account where the paper meets the other side at the corner.

Post folding the paper, crease the fold on the bottom and a triangular shape is formed on the paper.
If you’re looking for more articles, check out our guide on DIY Guitar craft.
STEP 3 – Draw Lines
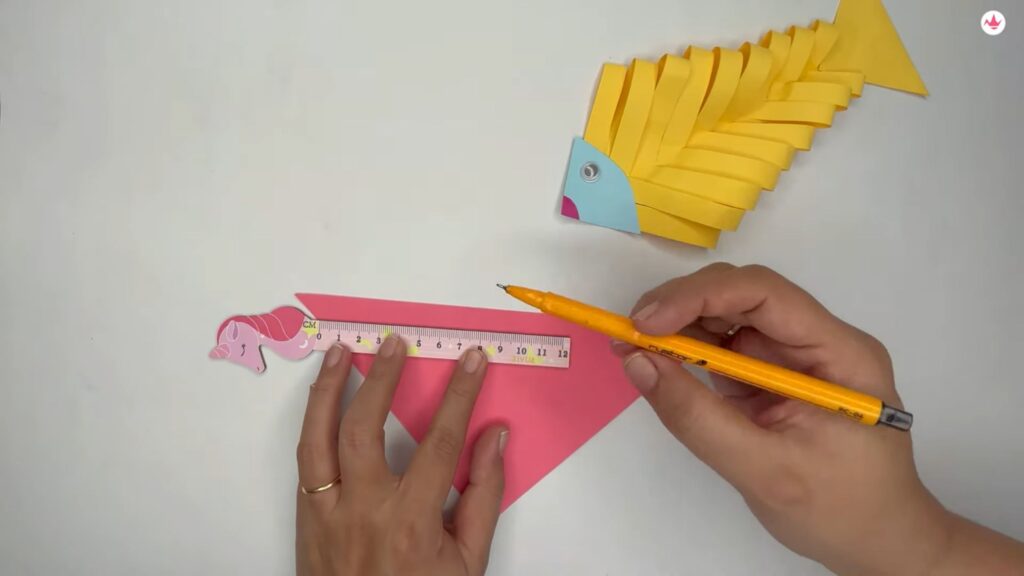
Once the paper is folded, flip the paper in the above arrangments and using a scale draw horizontal lines on the folded paper. Make sure the horizontal lines are visible to have proper cuts.
The horizontal lines on the paper are created for making this easy paper fish craft. This step is for creating the fish body. Make sure to make a straight three-forth length line and not a full line, as the remaining empty space would be used to make fish fins.
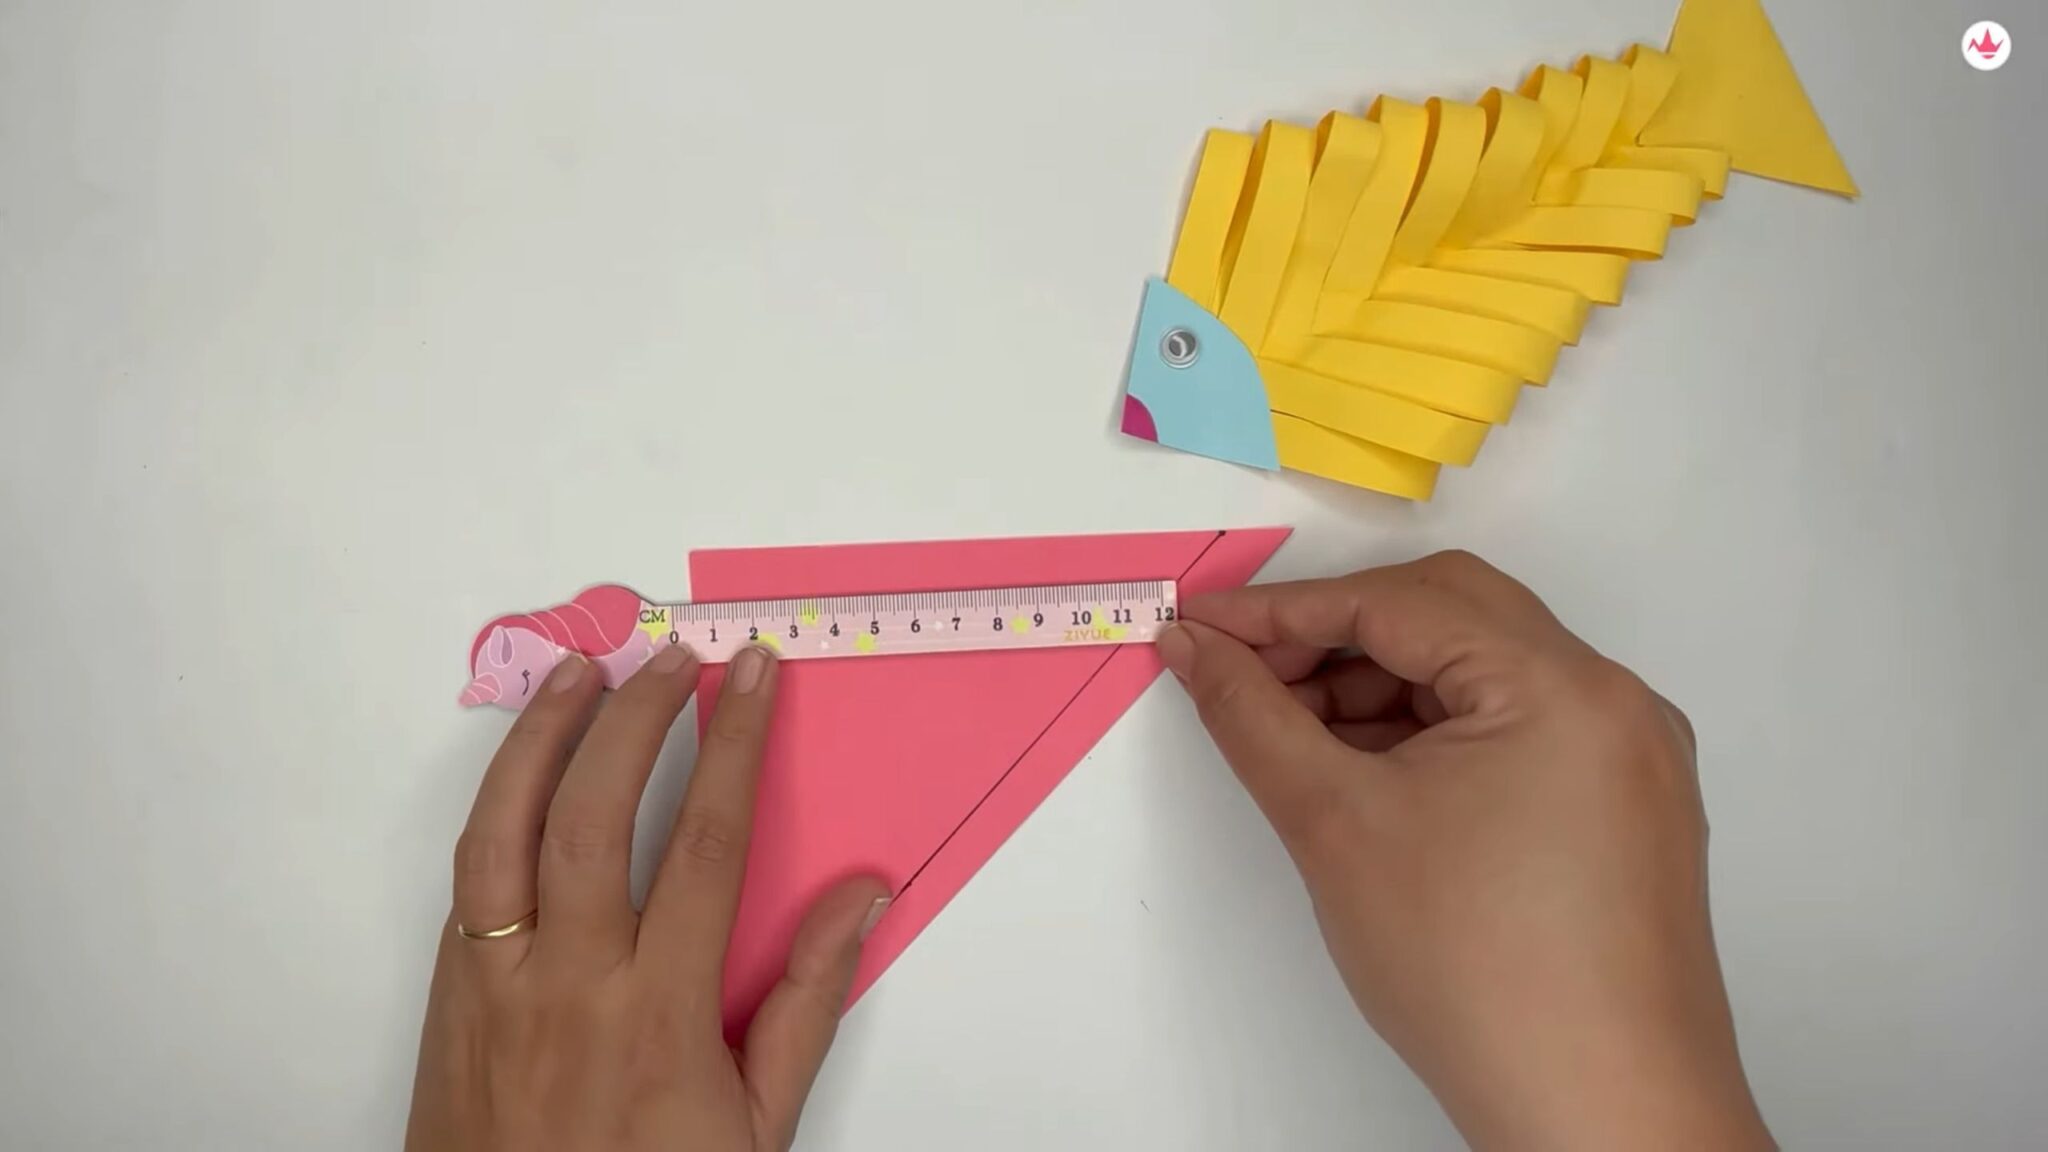
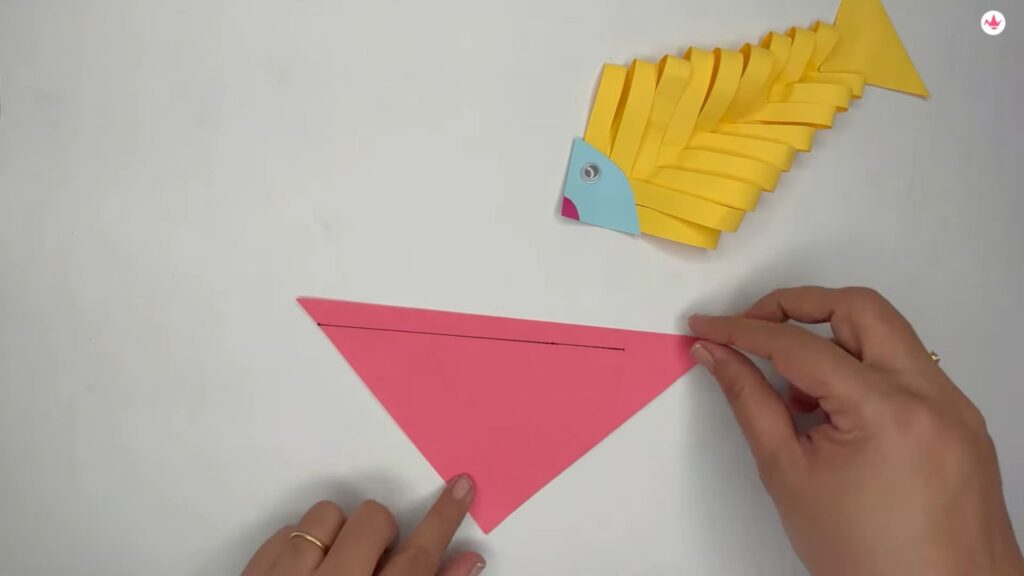
Flip the folded paper in the given arrangement and start drawing lines touching the adjacent line.
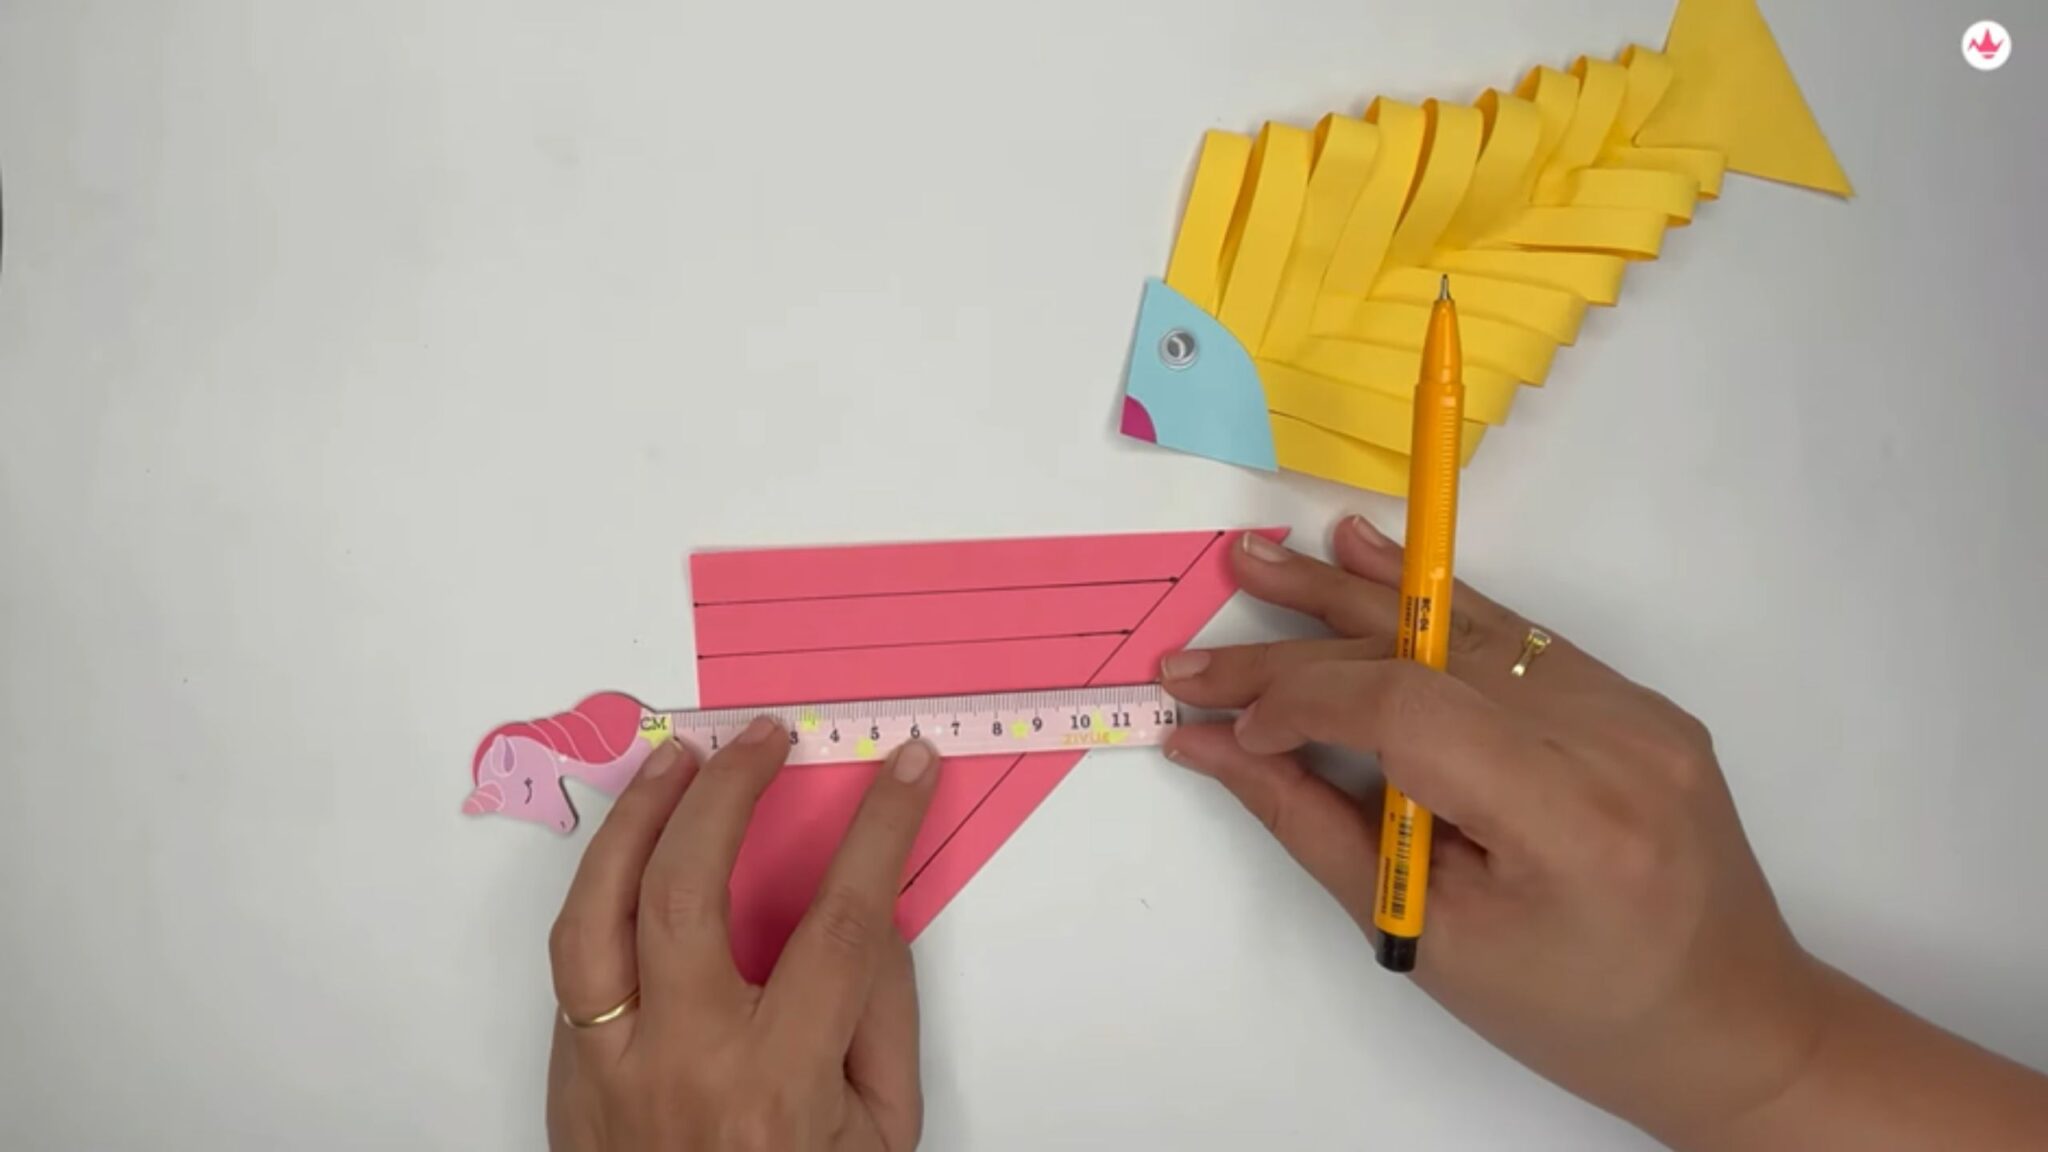
In a similar manner to this easy fish craft, draw each line separately, leaving at least 1.5 cm between them. Make sure you only draw lines that reach the adjacent line.
You May Also Read: How To Make Origami Fish
STEP 4 – Rendering The Lines
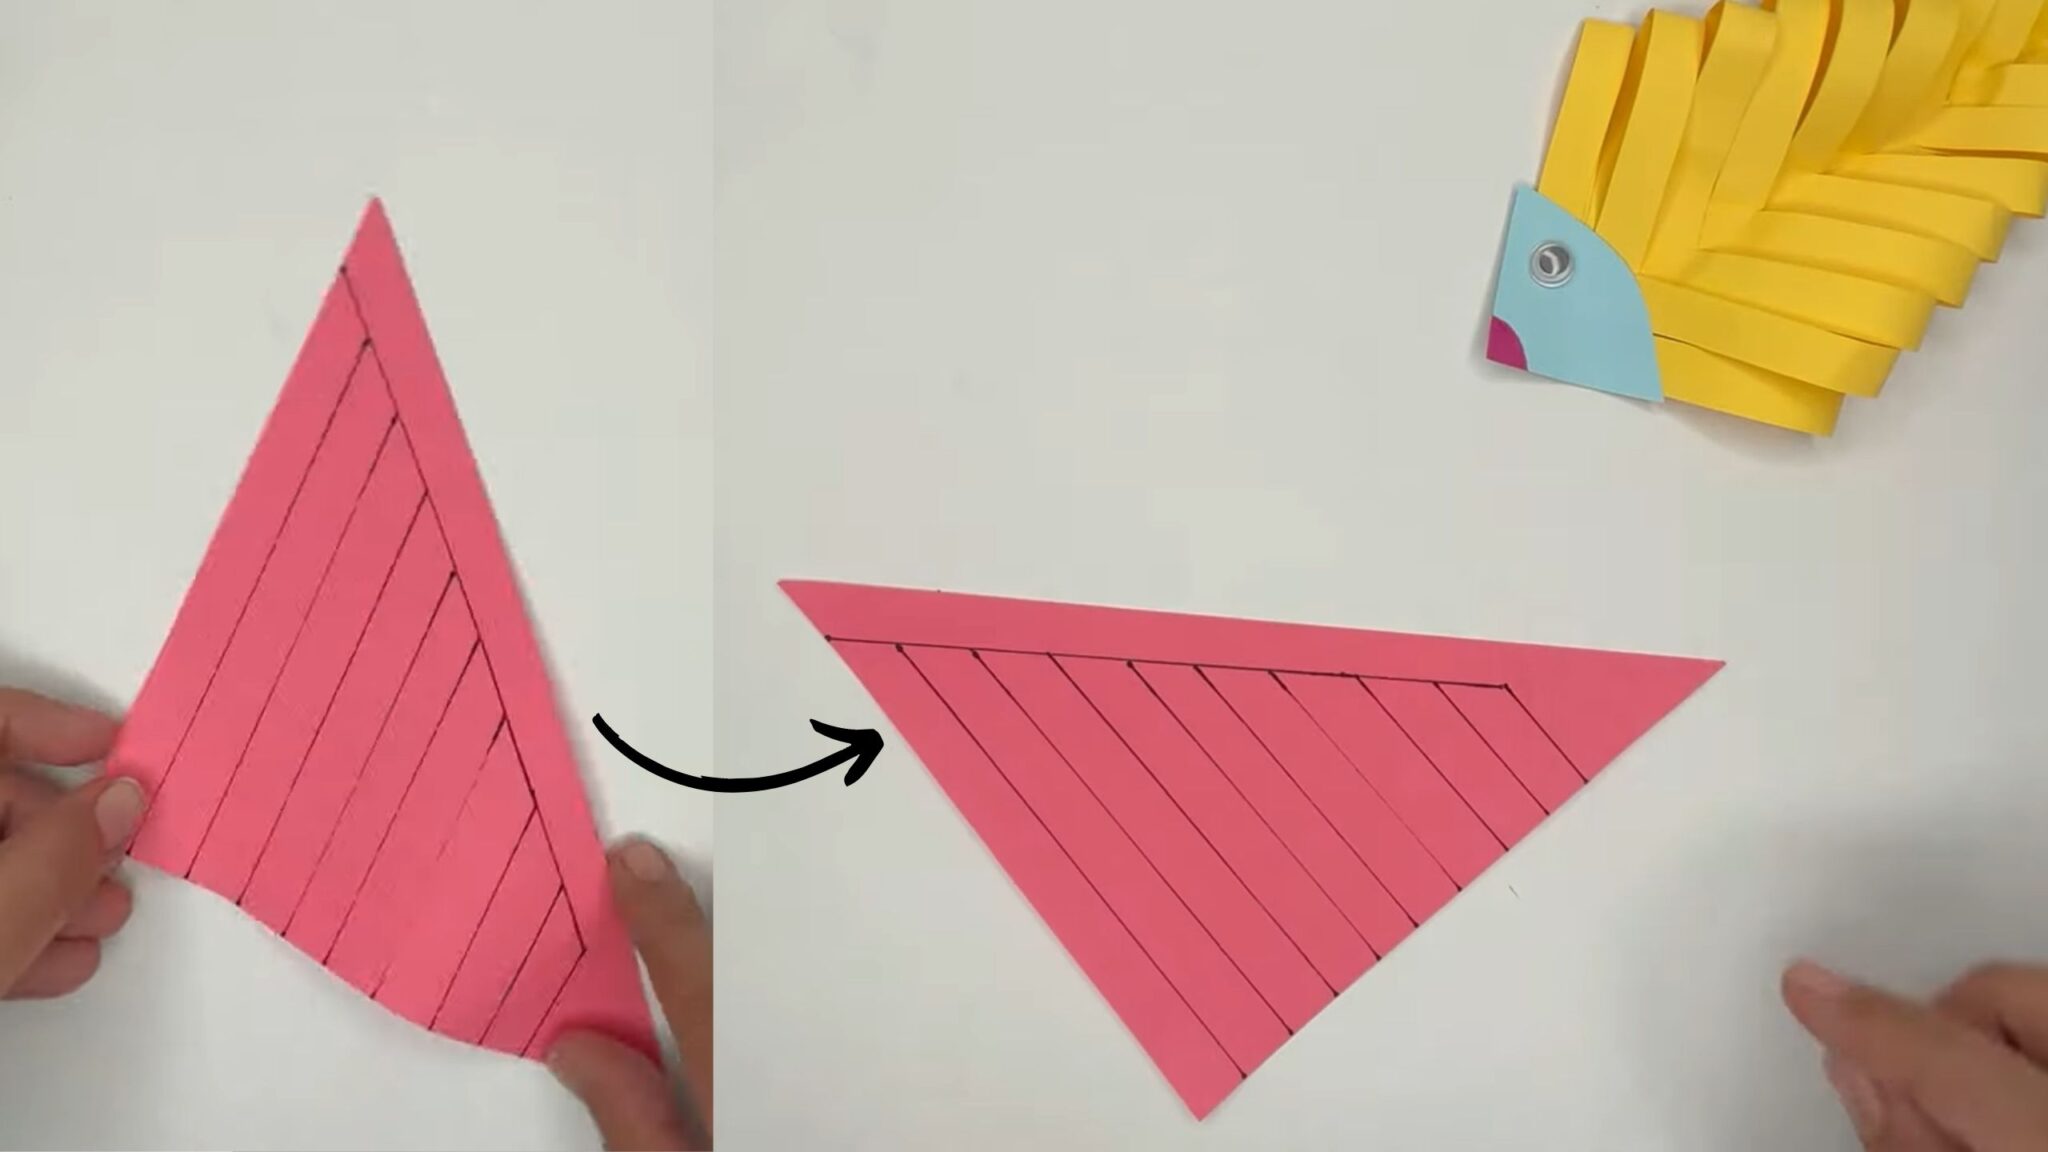
After the lines are drawn on the paper, rotate it so that the adjacent line appears on top.

Cut the paper with the outlines which are visible. Take precautions while cutting the lines and follow the steps. Isn’t it an easy way on How to make a fish out of paper?
STEP 5 – Create Fish Body
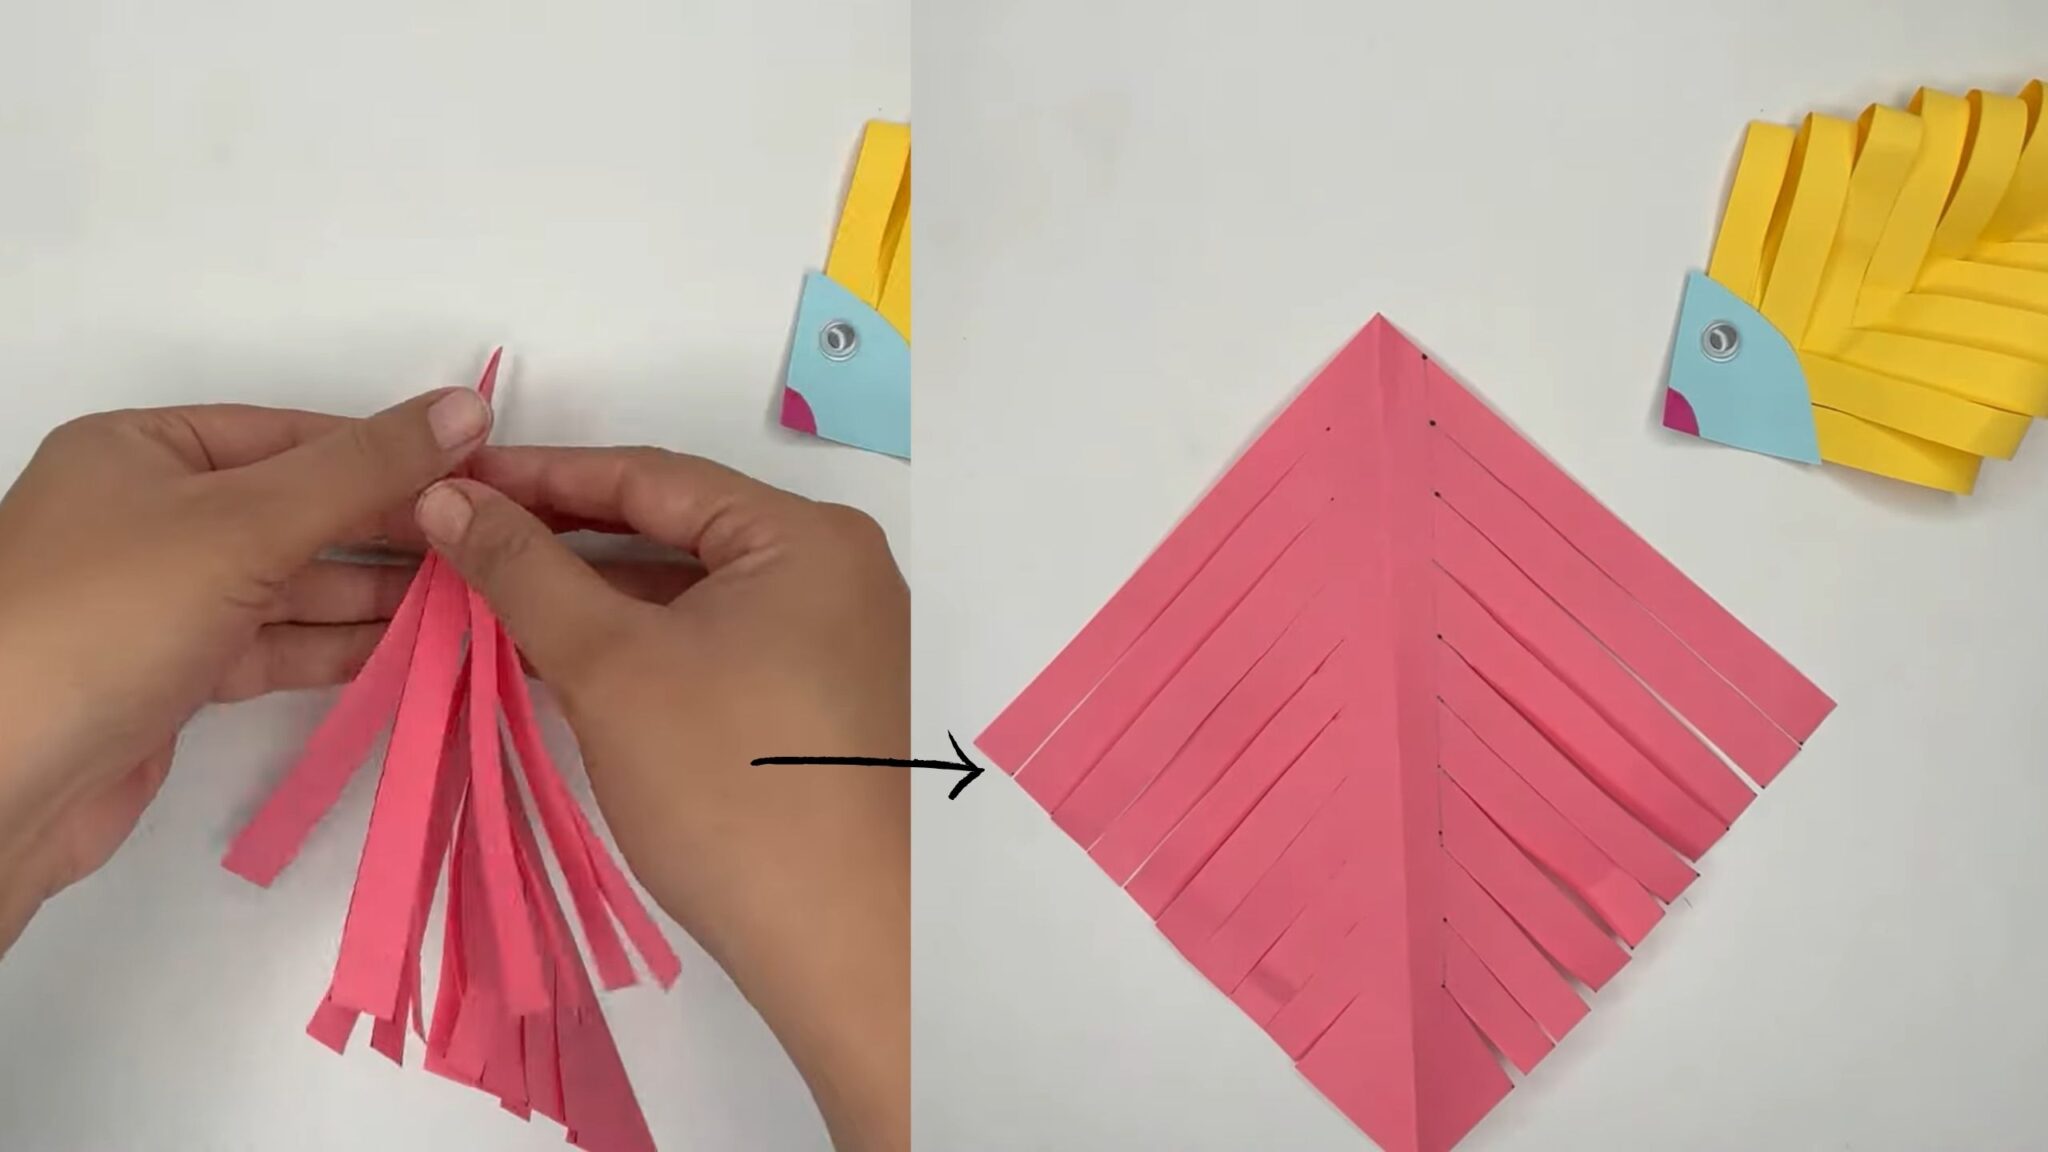
After following the lines and cutting them, open the paper which was folded earlier. Wide open the squared paper and place them straight for further process.
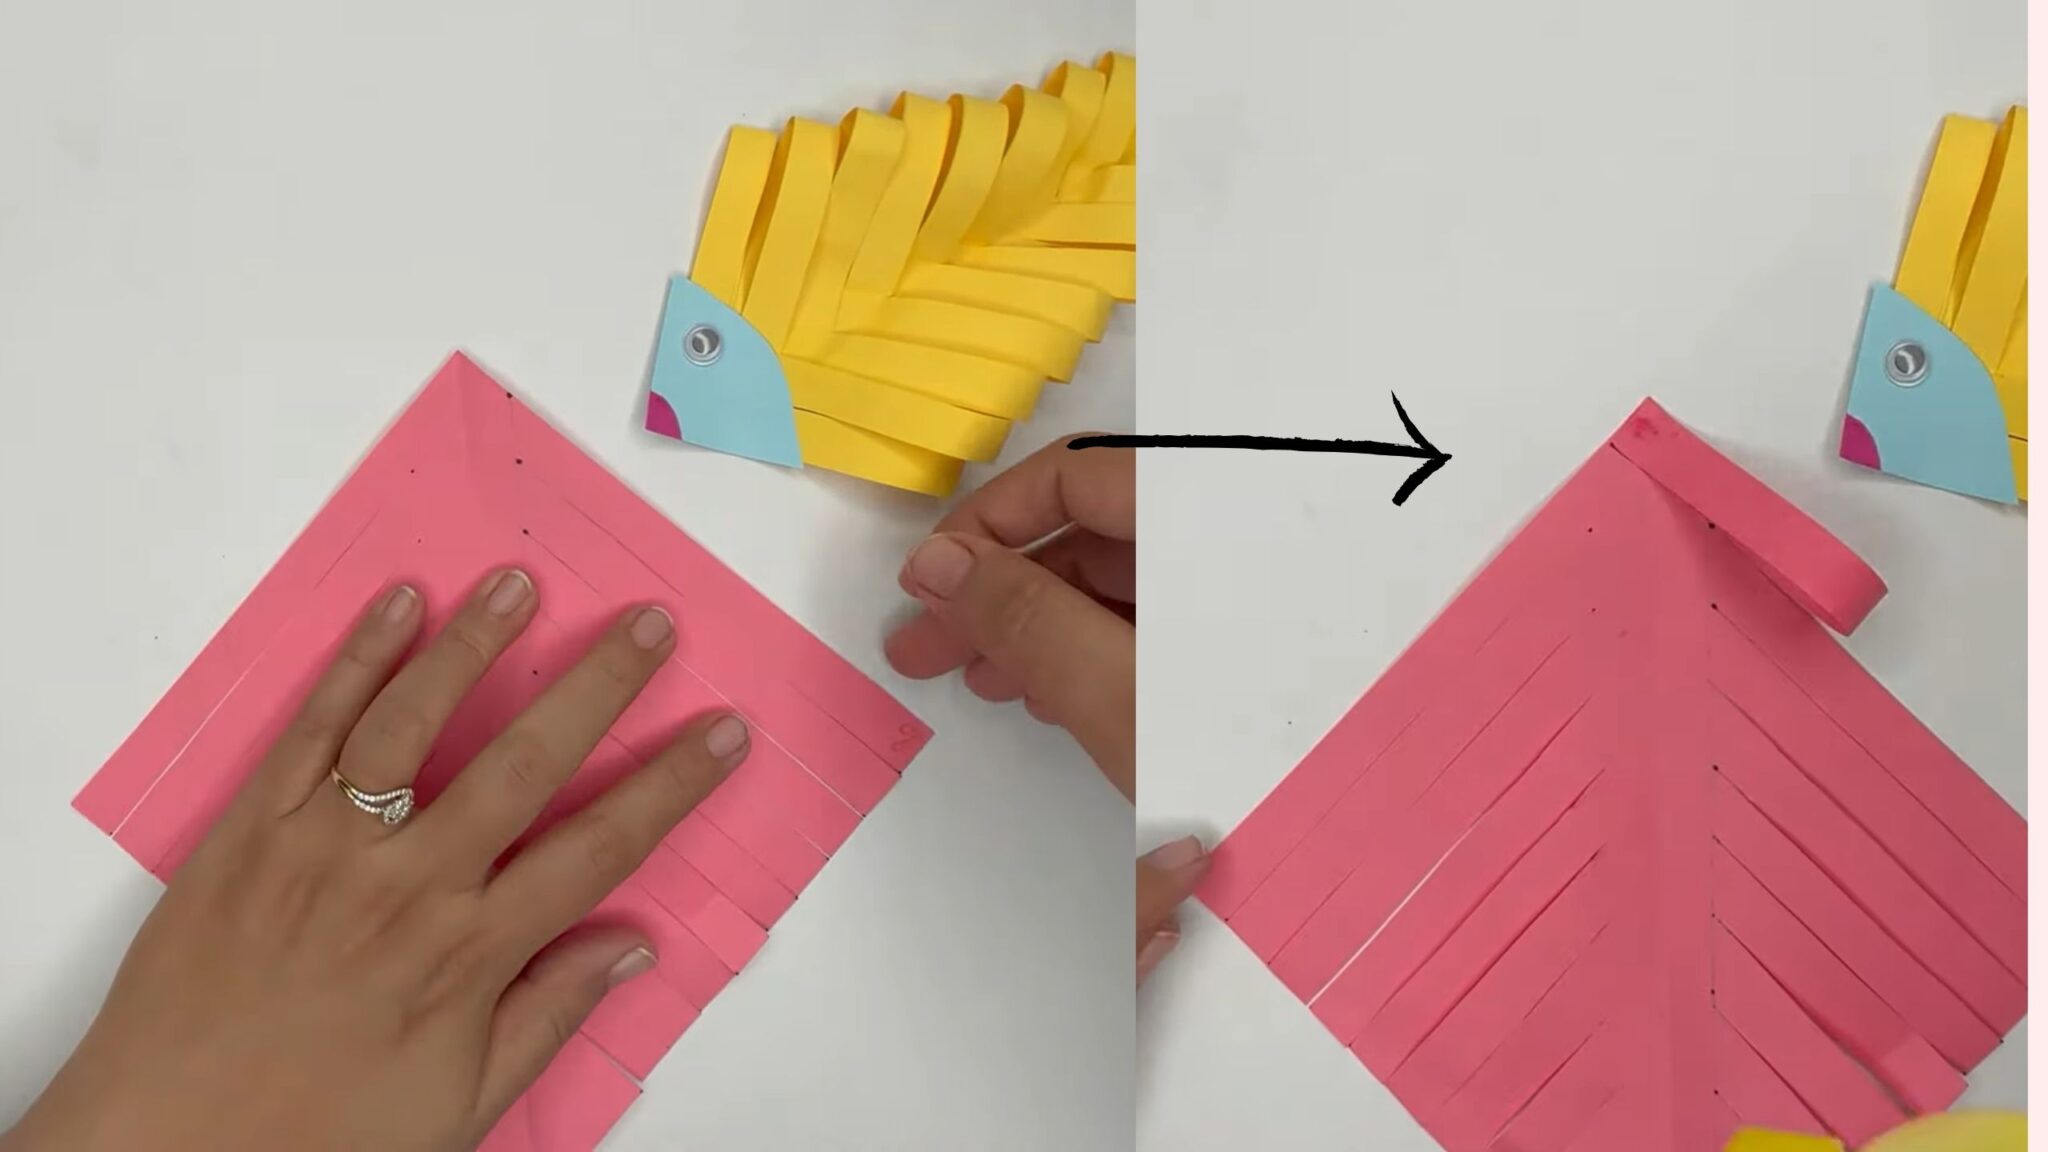
Choose the top point, wherein the lines are cut. Now consider the end point of the lines and using glue stick both ends carefully.
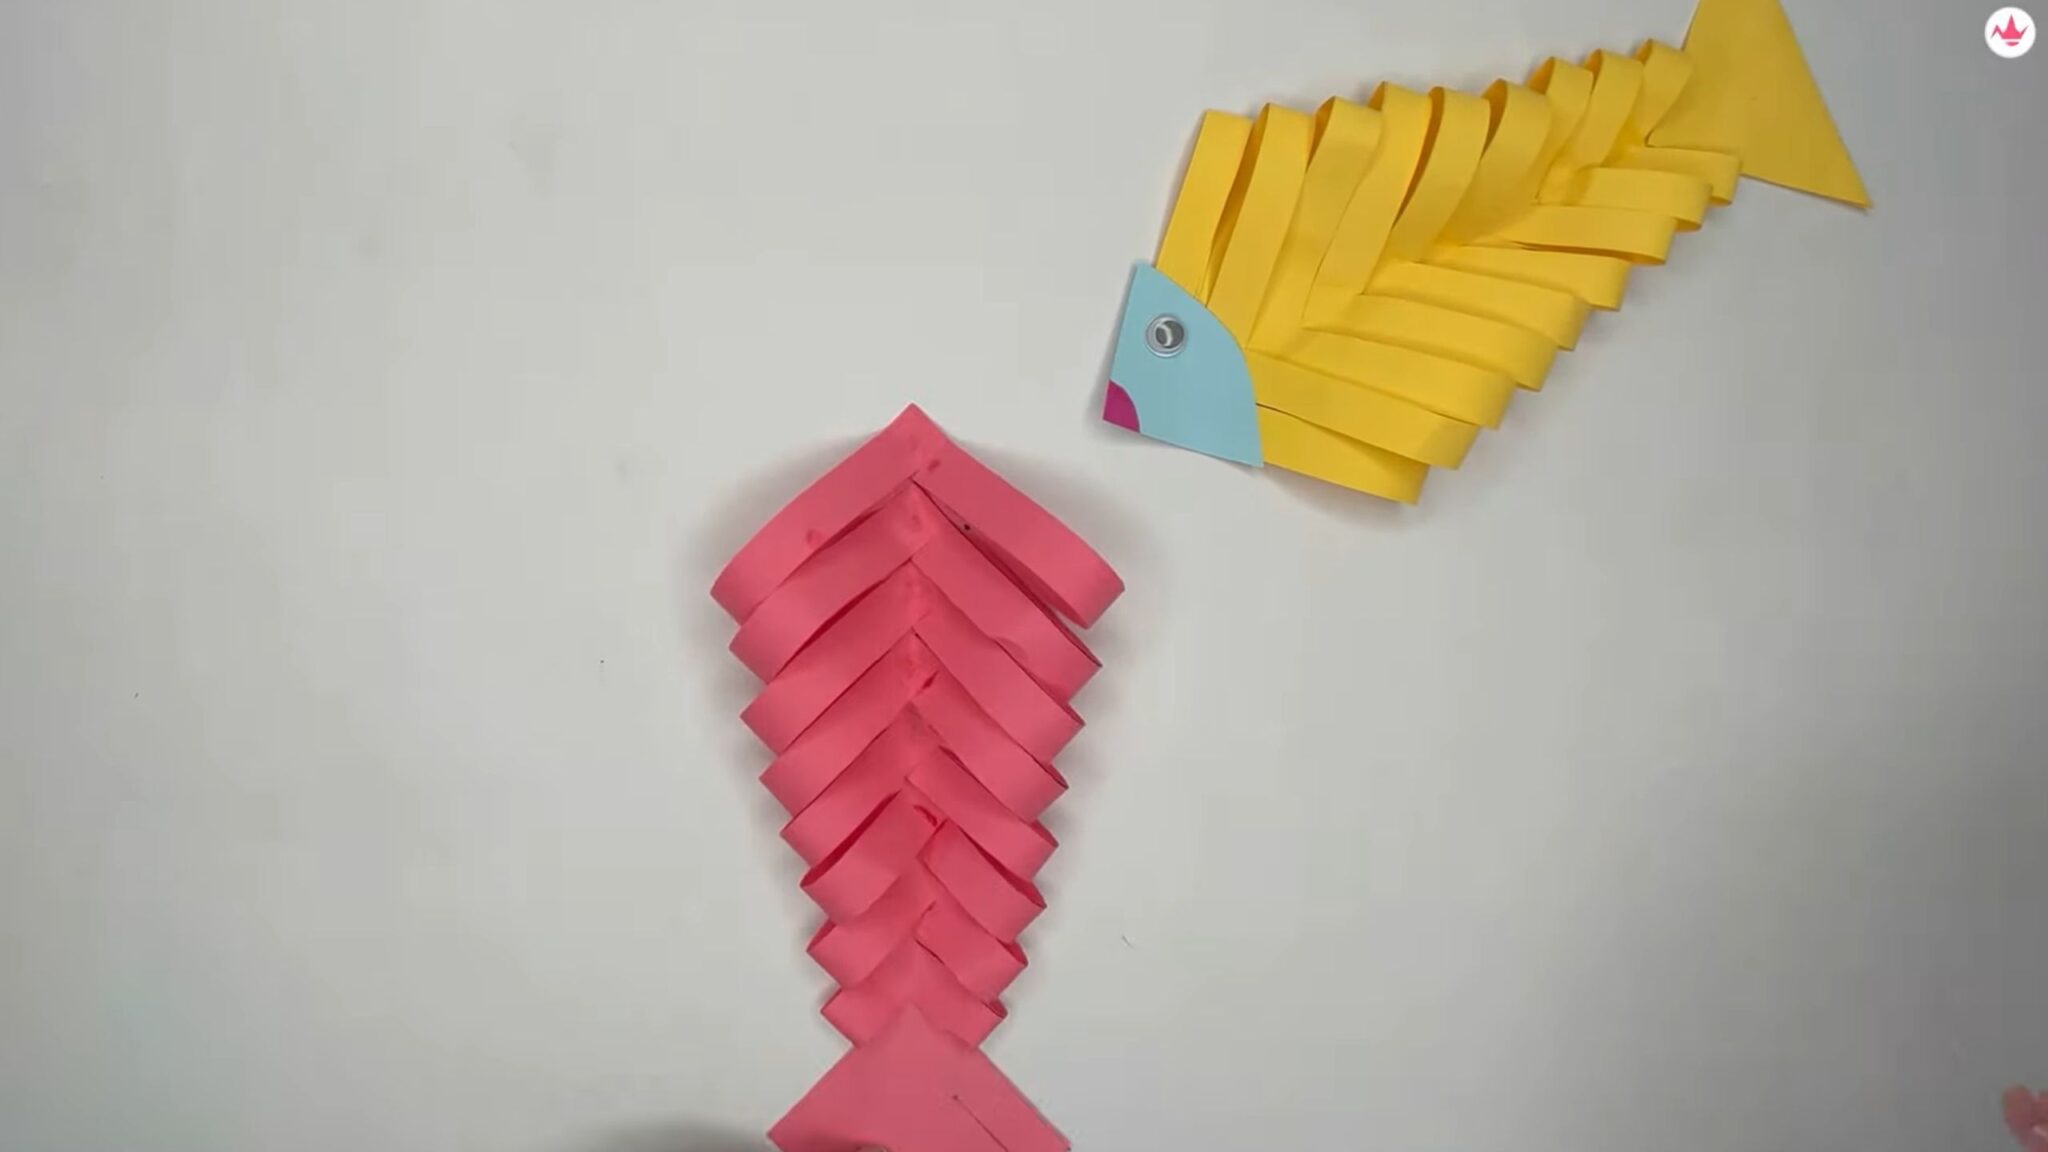
Following a similar process, glue the ends from both sides, meeting at the centre point. Fish fins will show up once the paper cuts are pasted.
STEP 6 – Create FishTail
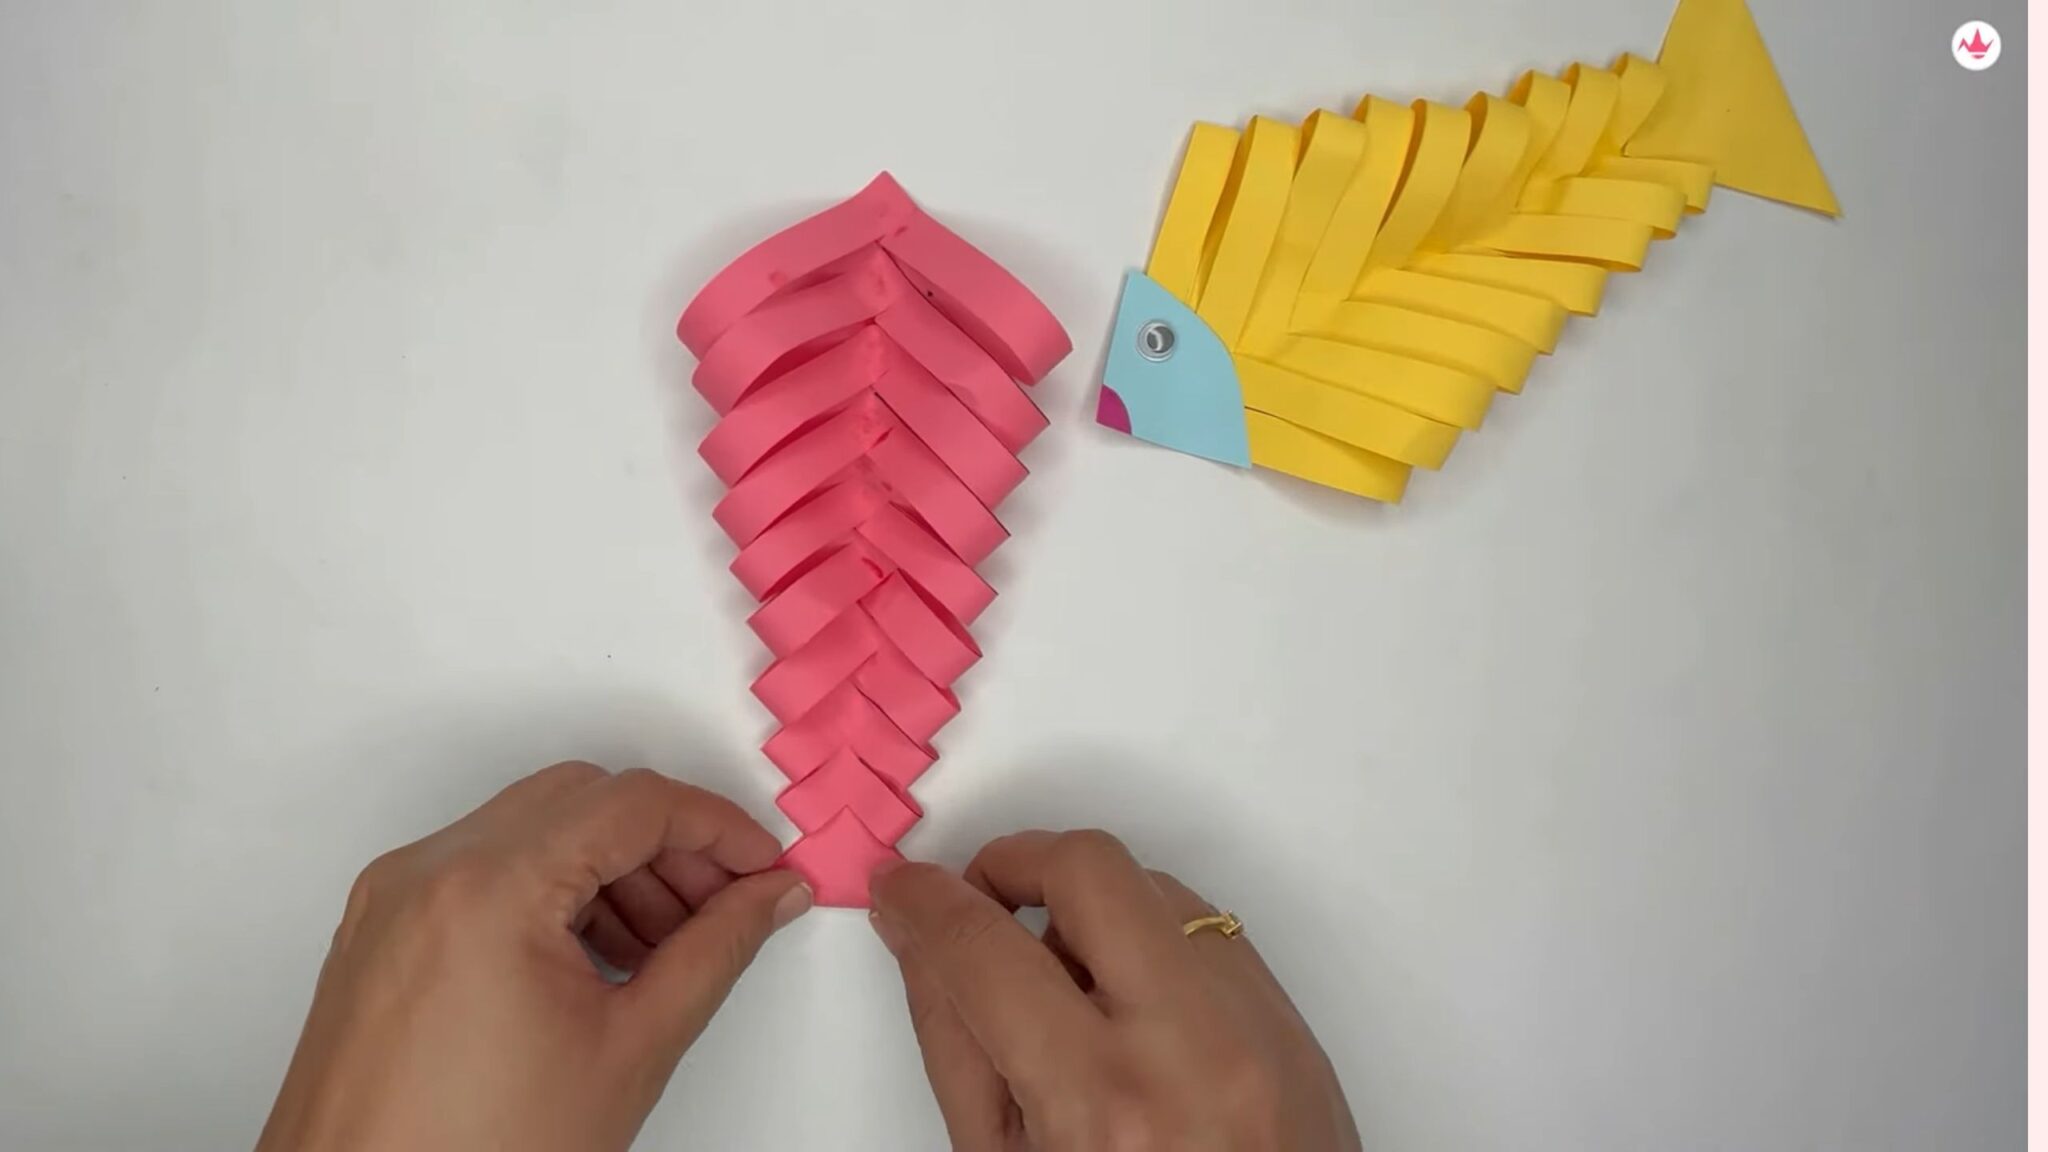
The bottom of the paper, which was kept empty will be used to create a fishtail. Fold the paper bringing it above and the fish tail will be formed.
STEP 7 – Create Fish Eyes
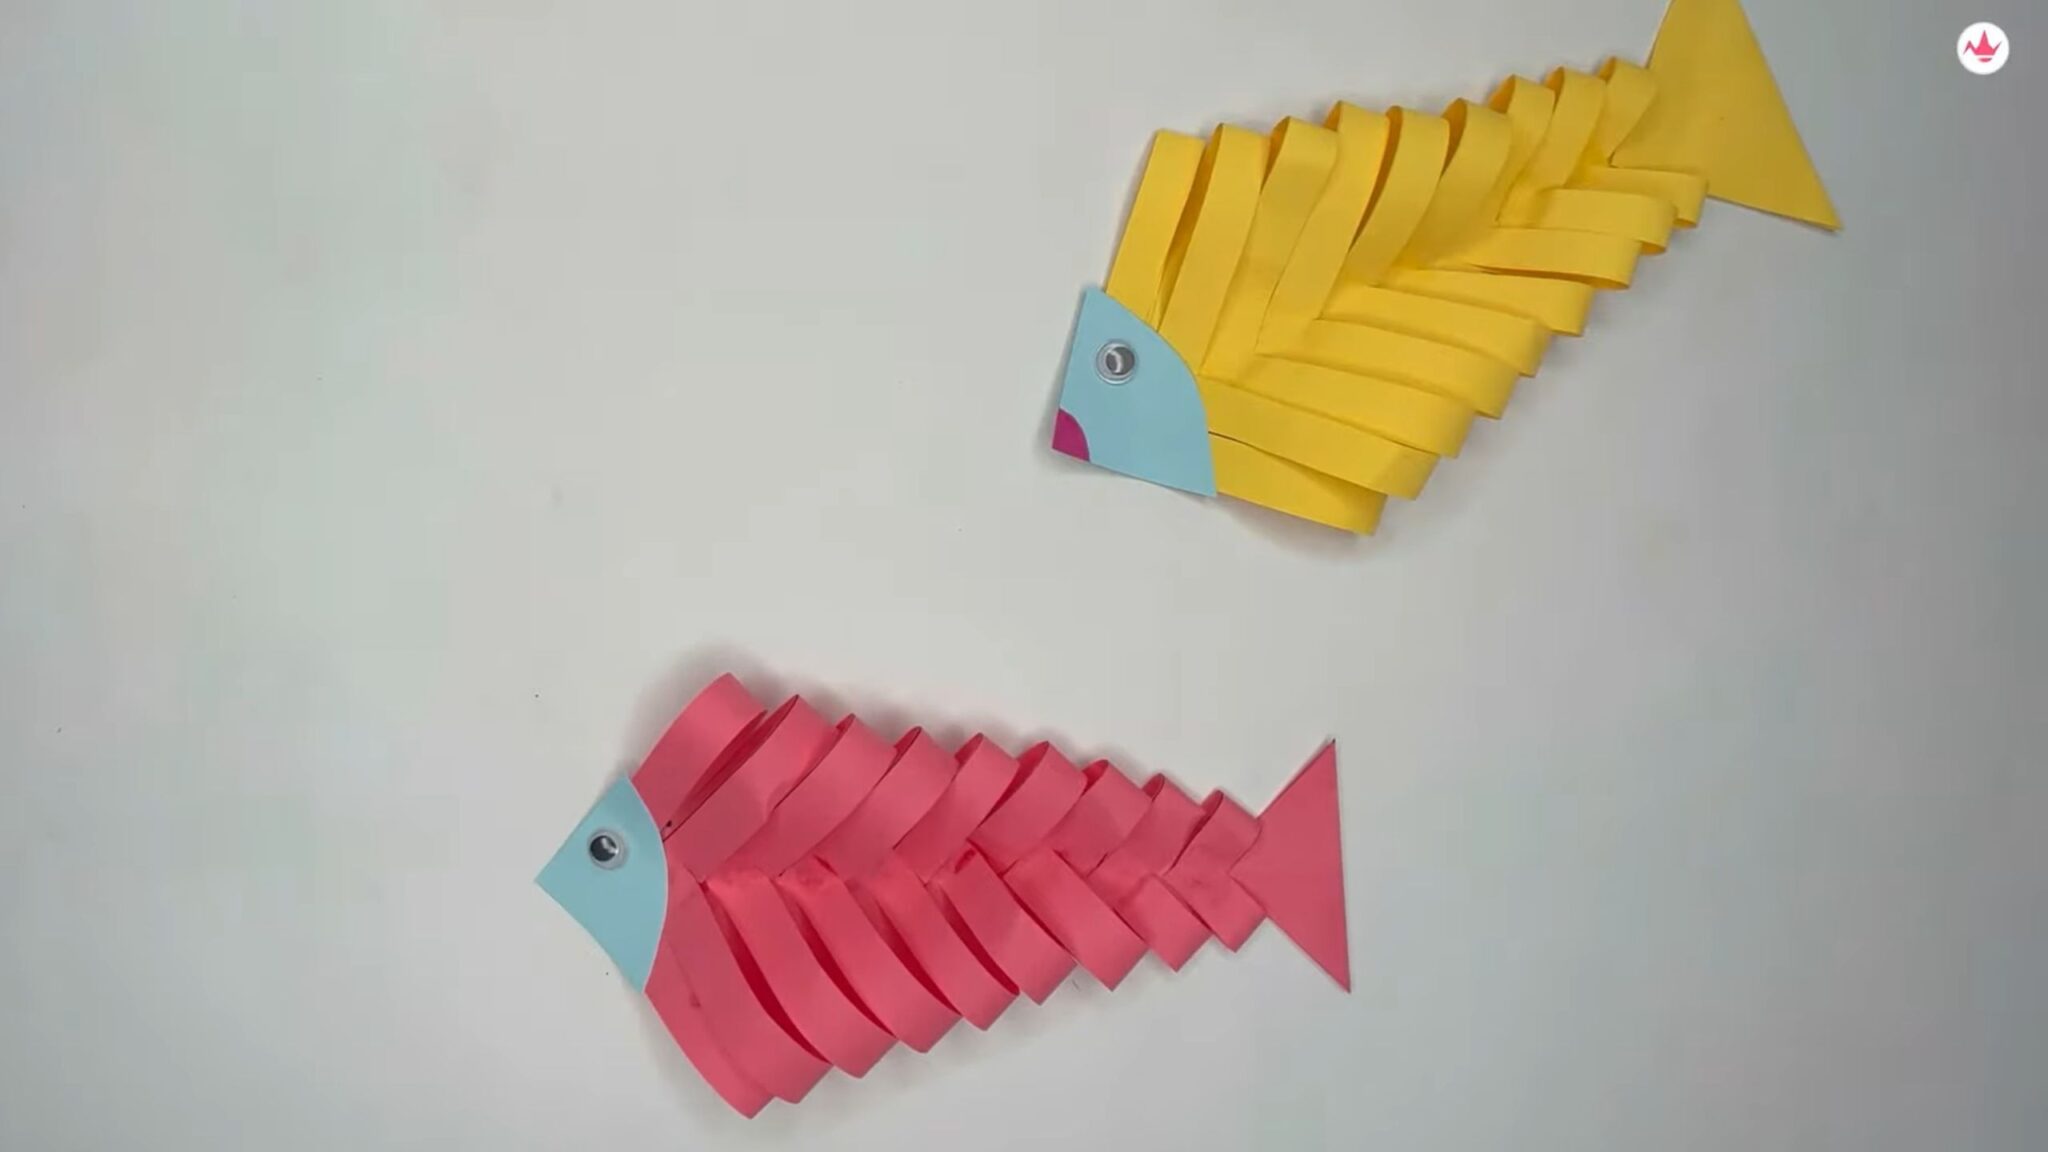
Cut a small piece of paper, preferably choosing a different coloured paper and create a small arch shape using glue stick it to the top triangular point of the fish. Add googly eyes using glue. You can also draw the fish’s eyes using a pen.
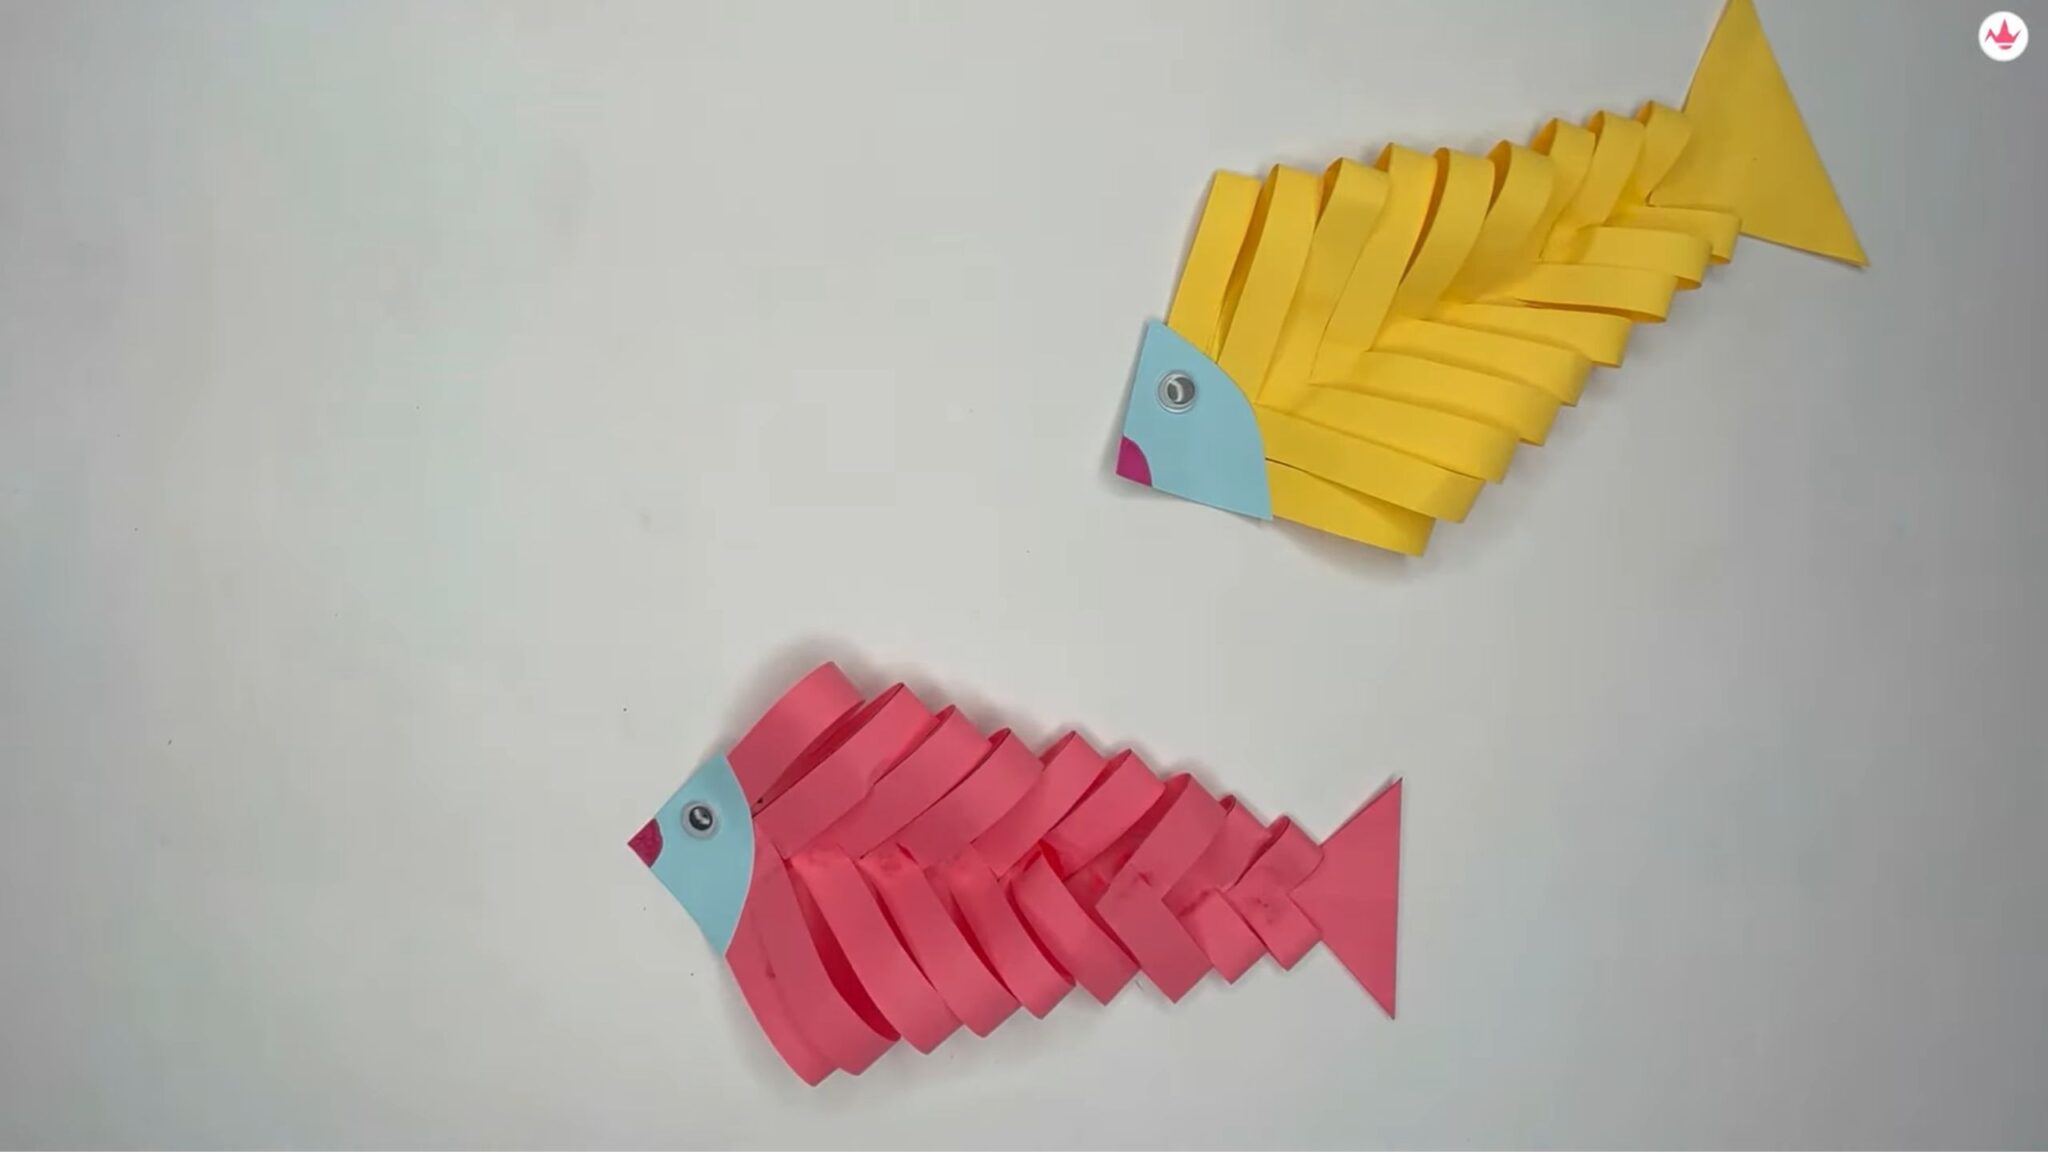
Using a pink marker pen draw the fish’s mouth. And rejoice! We are all set to play with our DIY Moving Paper Fish. If you love moving toy craft, you can also explore another Easy Origami Moving Toy
Kids can play with and engage with the paper fish craft. They can have a great time playing with this fish craft and will love moving it around. This simple paper fish toy can be a fun diversion for kids in preschool or as a preschool project. The fish’s body in this craft is made so beautifully that the curves that are formed after pasting it are stunning.
Precautions one needs to take to get the best DIY Moving Paper Fish:
- Cut the paper to the required dimension or any other desired square shape only. Try using a good quality paper to get the best outcome.
- Apply a distinct hue to the upper portion of the fish, such as the eyes and mouth.
- Draw horizontal lines with the same distance, to have a proper fish shape.
- Make sure to correctly glue all of the folds so that the attached parts won’t come off when you play with this moving fish.
- Create the movement in the fish craft using the instructions, which will make the fish craft delightful and creative.
FAQ:
To make a paper fish craft, you may follow our easy step-by-step guide on How To Make Moving Paper Fish. Using simple folding and pasting techniques, the fish can be created and can also be a moving toy. You can decorate the fish with googly eyes.
The movement is added to the paper, by attaching the segments created by horizontal lines which are glued to form the fish’s body. This tutorial will surely make your paper fish move.
Paper fish crafts, boat fish crafts, and many other beginner crafts are among the many paper crafts that are well-liked by adults as well as kids.