
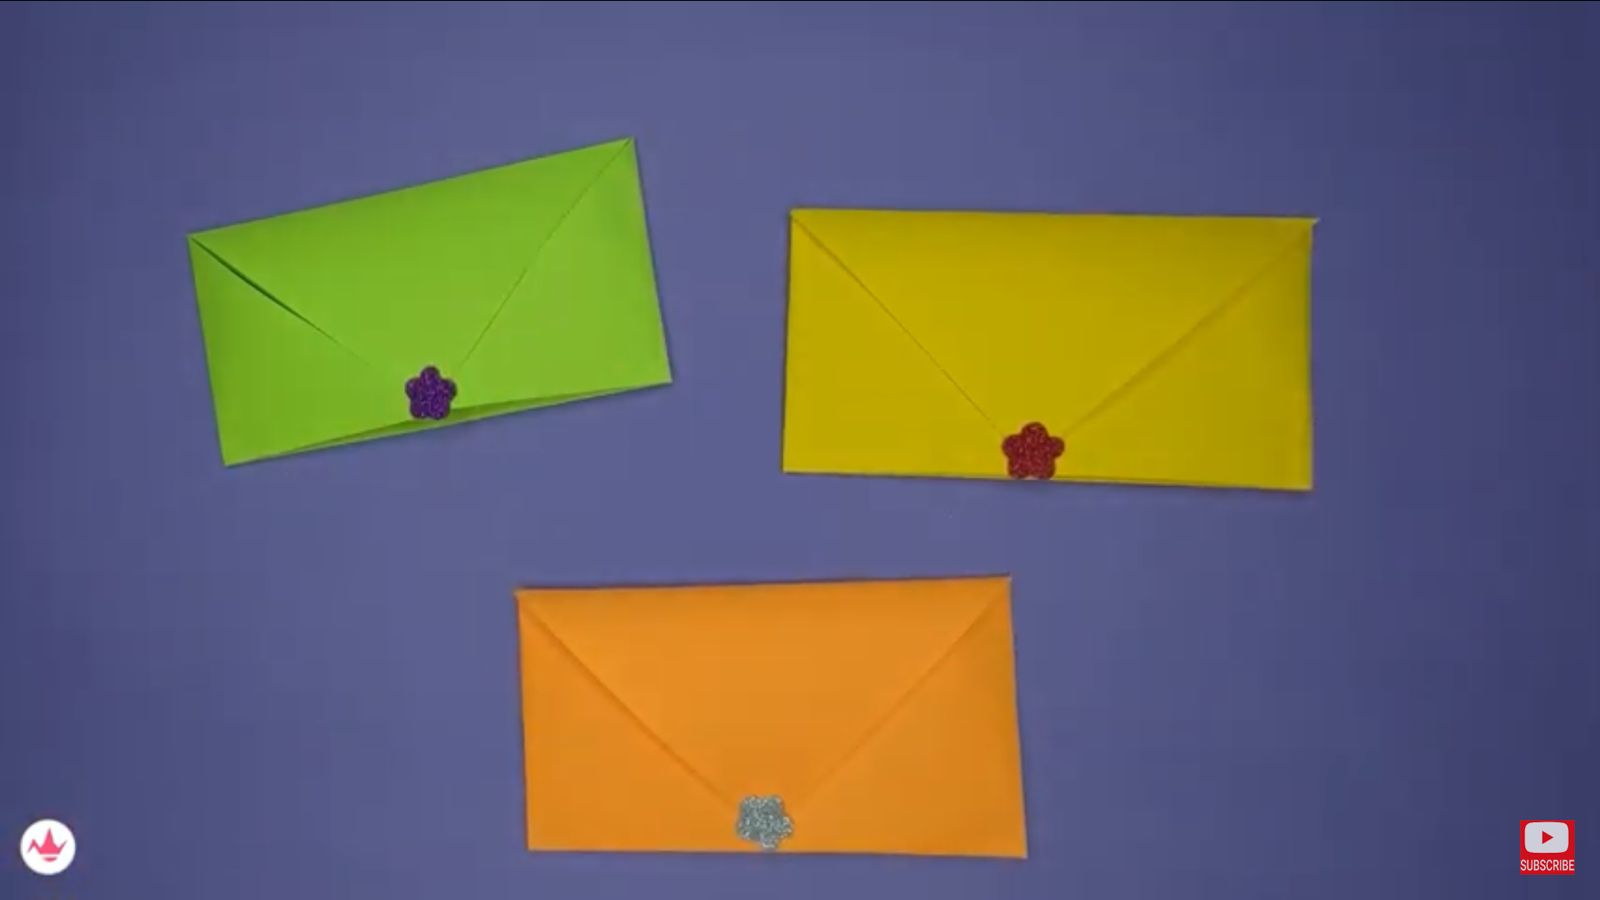
For generations, minds have been attracted to and captured by origami, the ancient Japanese skill of folding a simple sheet of paper into complicated and beautiful sculptures. These origami envelopes stands out among its many intriguing folds as a useful and appealing papercraft that flawlessly integrates functionality and beauty. They not only carry your messages and little gifts, but they also function as personalized marks of caring and ingenuity and the origami envelope box lets you preserve them.
We will start on a voyage through the world of origami in this detailed step-by-step instruction, leading you through every fold and crease, supported by vivid illustrations to guarantee each step is as clear as a mountain stream.
How To Make Paper Envelope
Origami envelope is one of the best paper crafts for kids. It is unique, fun and creative.
So what are you waiting for? Let’s dive in and learn how to make an easy origami envelope with this origami envelope step-by-step guide.
Material You’ll Need:
- A square sheet of origami paper
- Glue and scissors
- Clean workspace
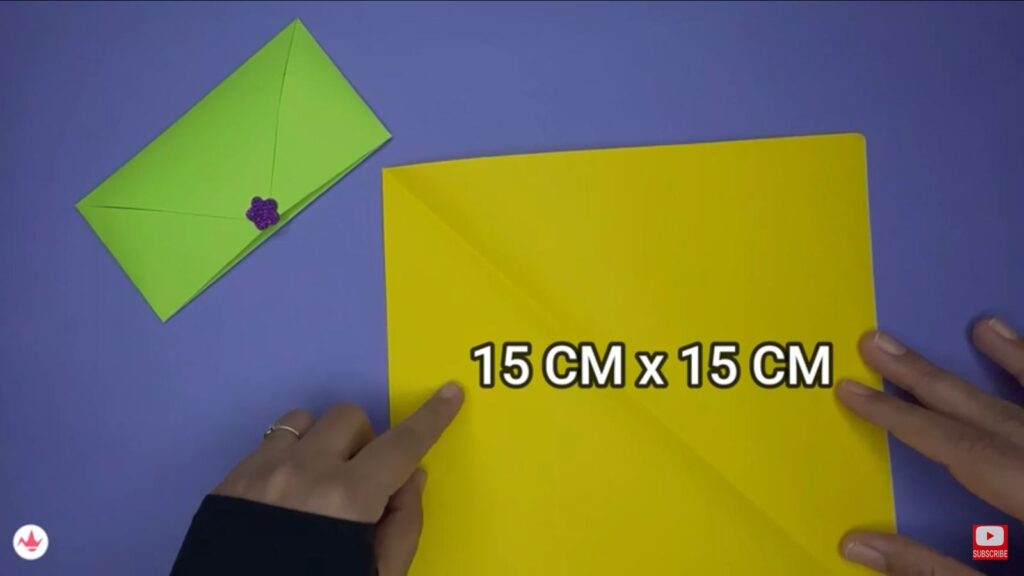
Step 1: Take An Origami Sheet
Begin with taking an origami sheet of paper, with the given dimensions.
Apart from crafts for kids, do check our detailed guide on crafts for adults. We list 55 best creative and unique adult crafts which work equally well for both men and women.
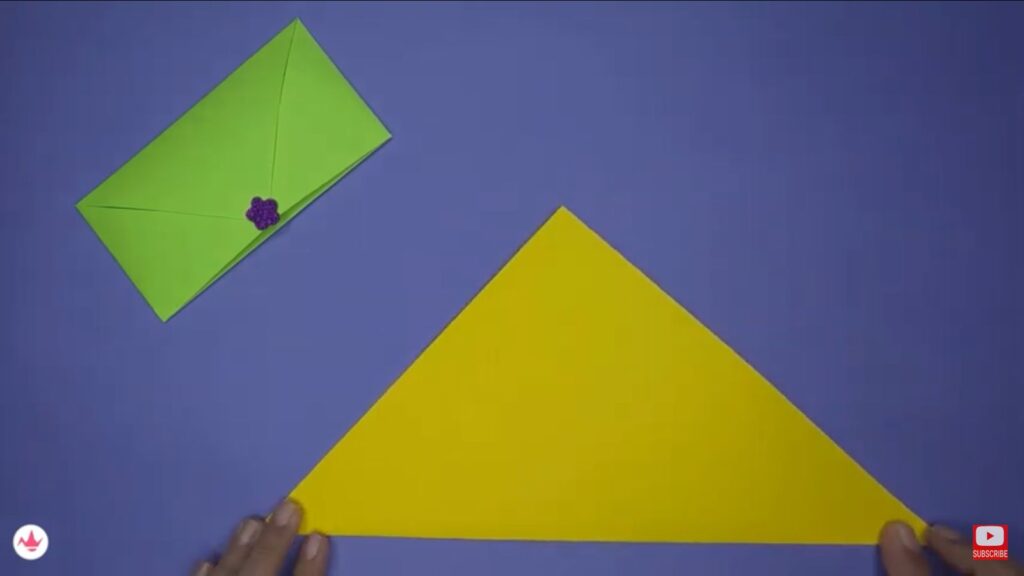
Step 2: Make A Triangle
Fold the sheet into a triangle, ensuring proper precision and that the edges are meeting perfectly.

Step 3: Fold The Upper Corner Down
Take the corner of the upper layer of the triangle and fold it down so it meets the bottom edge.
Also Read: How To Make Paper Sofa
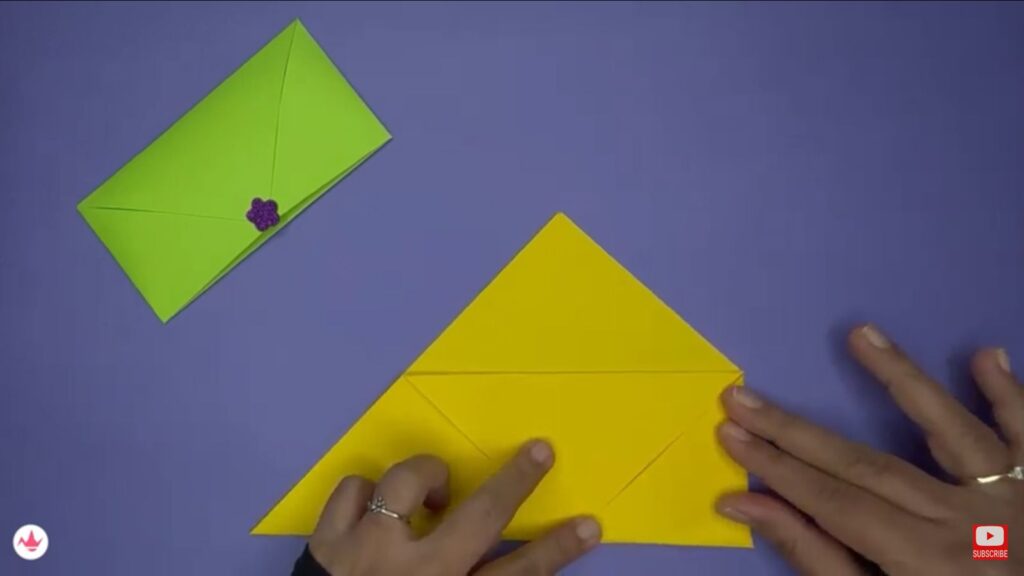
Step 4: Fold The Right Corner Towards The Left
Take the right corner of the triangle and fold it one-third over to the left. It is okay if you are not exact, just try to be as accurate as possible to make an easy origami envelope with no glue.
Step 5: Repeat With The Other Side
Now, take the left corner and fold it towards the right. Now the bottom portion of the triangle is square-shaped.
Also Read: How To Make A Paper Bag
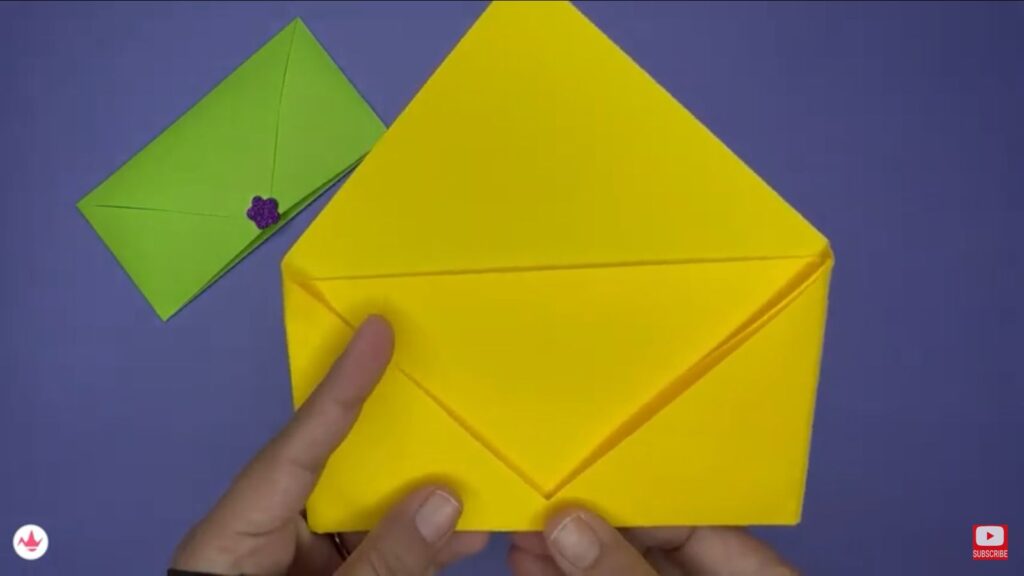
Step 6: Fold The Top Corner Down
Fold the top corner of your origami craft down so it meets the bottom edge.
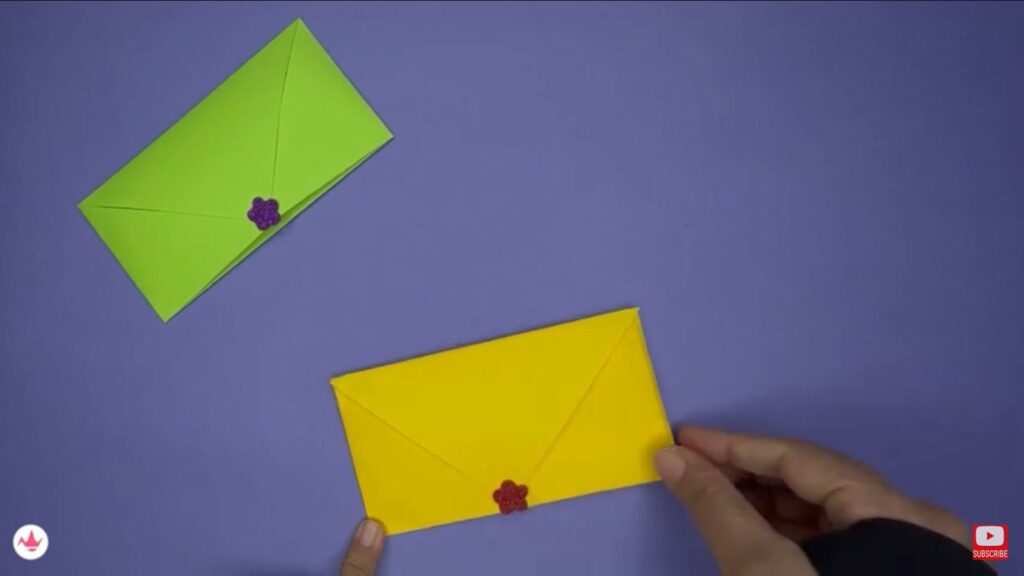
Step 7: Decorate Your Origami Envelope
Decorate your own unique origami envelope with stickers and markers.
Read More: How To Make Paper Butterfly
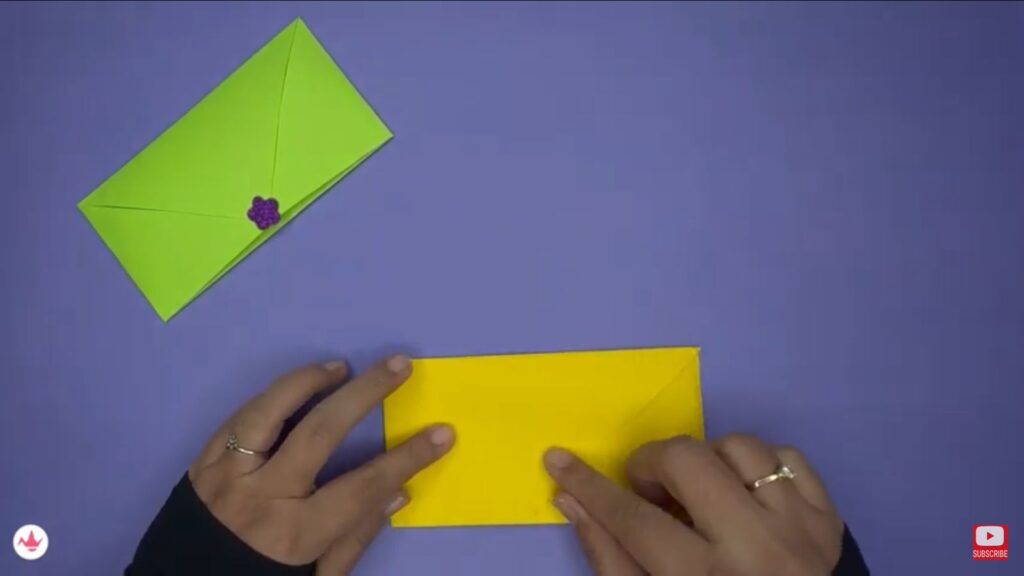
Step 8: Envelope Is Ready
Your easy origami envelope is now ready! Now you make as many as you want. This is an origami envelope with no glue so make sure to flatten your origami envelope perfectly so it can hold itself.
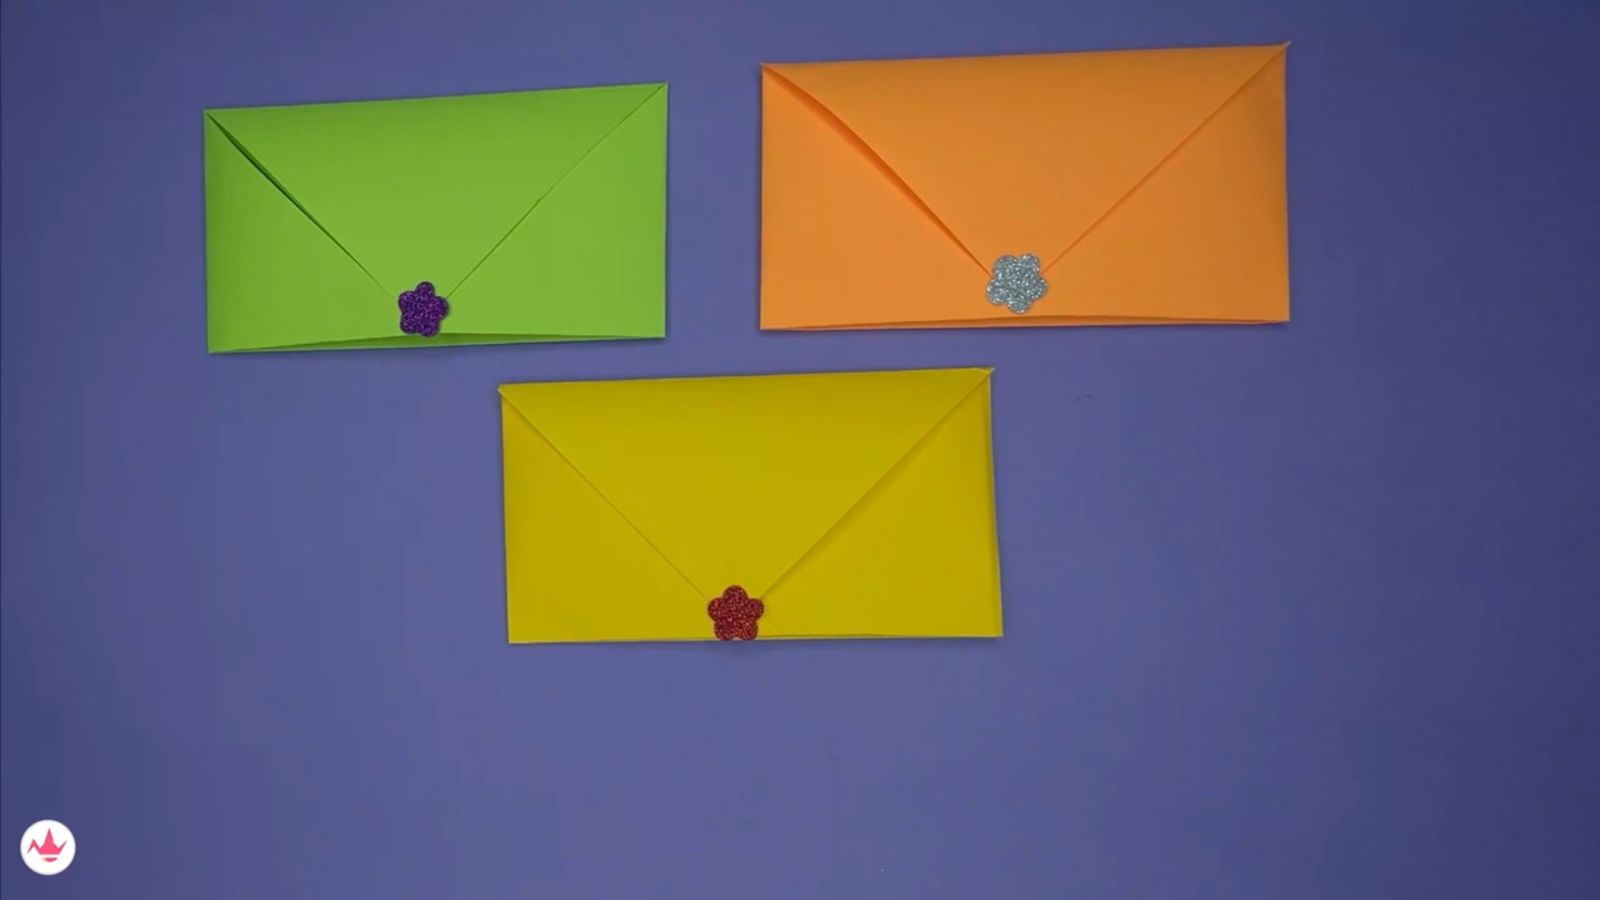
Your origami envelope is ready with this origami envelope step-by-step guide. You can also use these envelopes along with your christmas crafts.
Some Creative Tips
- Experiment with patterned origami paper to instantly enhance the visual appeal of your envelope. From delicate florals to bold geometrics, patterned paper can add a touch of elegance or playfulness to your creation.
- Instead of typing or printing your message, consider handwriting it for a personal touch. Your handwriting adds authenticity and warmth to the envelope.
- Choose paper colors that complement each other or match the theme of the occasion.
- Create tiny origami figures, flowers, or animals to attach to the front of your envelope.
Precautions To Take While Making An Origami Envelope
- Be gentle when folding the paper, especially if it’s delicate. Applying too much force can lead to unintentional tears or wrinkles.
- Take your time with each fold to ensure accuracy and neatness. Rushing through the process can lead to mistakes and frustration.
- Ensure your work surface is clean and free from any sharp or hazardous objects that could damage the paper or cause injury.
- Make sure you have adequate lighting to clearly see your folds and creases. Struggling to see the lines can lead to mistakes or frustration.
- Choose origami paper or thin craft paper that’s specifically designed for folding. Avoid using paper that’s too thick or heavy, as it can make the folding
FAQs About Origami Envelope
An origami envelope is a folded paper creation that serves as a decorative and functional way to hold small notes, cards, or gifts. It’s made through a series of folds and creases, transforming a square piece of paper into a pocket-like structure that can be sealed and opened.
Yes, there are various styles of origami envelopes. Some are simple and functional, while others can be quite intricate and decorative. You can experiment with different folding techniques, sizes, and designs to create envelopes that suit your preferences. You can even make an origami envelope box to keep all your envelopes in it.
Absolutely! Origami envelopes can be a creative addition to special occasions like birthdays, weddings, holidays, and more. You can customize the envelopes to match the theme or color scheme of the event.
Absolutely! Decorating your origami envelope can add a personal touch. You can use stickers, washi tape, drawings, stamps, and other embellishments to make your envelope unique and visually appealing.
Origami paper or thin craft paper is ideal for making origami envelopes. It’s designed to hold creases well and is available in a variety of colors and patterns. Avoid using paper that’s too thick or heavy, as it can be difficult to fold and manipulate.
Discover the wonderful world of origami envelopes and enhance your messages and gifts! This step-by-step tutorial is incredibly straightforward, so you can follow along with ease. Brighten up your loved ones’ day with handcrafted, one-of-a-kind envelopes that are sure to impress them. So, grab your origami paper and start folding your own unique envelopes today!


[…] This amazing craft is easy and enjoyable Origami craft. You can also check our detailed guide of Origami Envelope tutorial. Its and easy craft idea for Kids. A square piece of paper is folded to resemble the body shape and […]