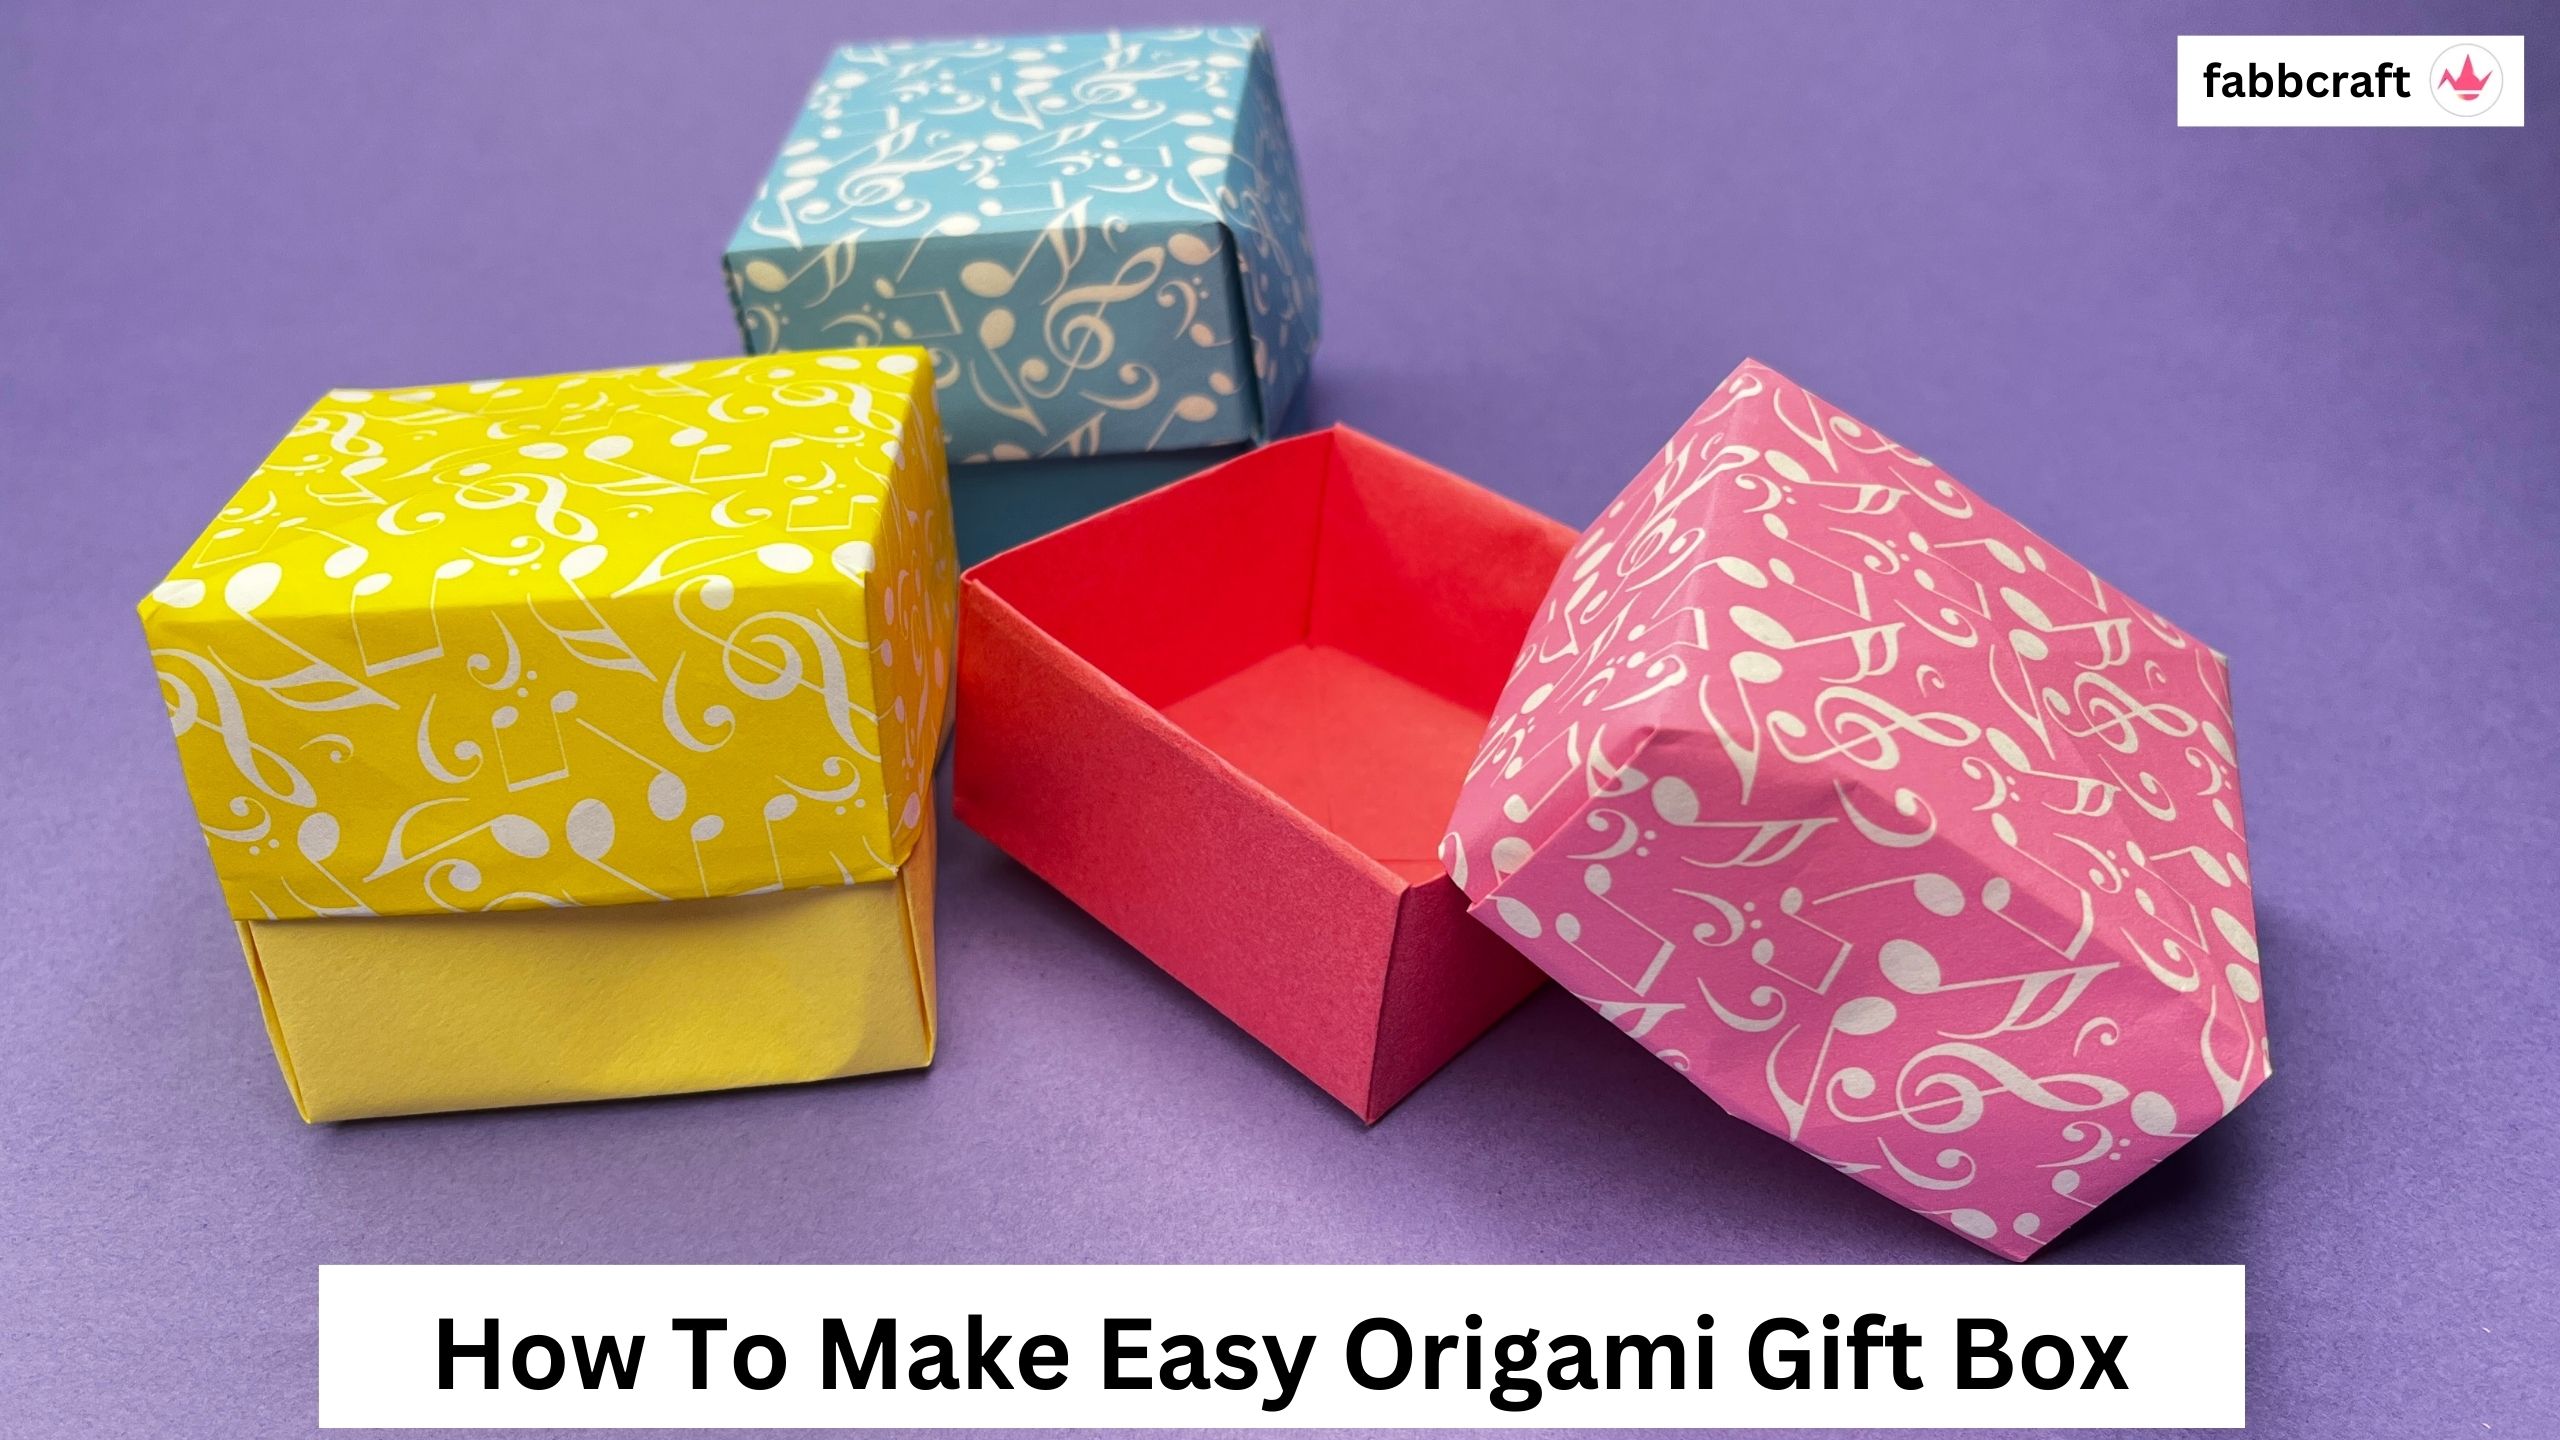
- CRAFT NAME: Origami Gift Box
- LEVEL: Easy / Beginners
- NO OF STEPS: 7
- CRAFT TYPE: Origami
- MATERIALS: Square Sheet of Paper
What is Origami Gift Box?
An origami gift box is a handcrafted box produced using the ancient Japanese paper folding technique known as origami. When making an origami gift box, one sheet of paper is often used, and it is folded into the shape of a box without the need for cutting or glue.
Usually called an Origami gift box, this craft is an amazing and fun activity for kids and adults. This Origami gift box is used for decoration, gift purposes, utility purposes, or storage boxes. This craft is made for kids and adults both. You can also explore and read the guide of 55 Stunning Crafts For Adults, which you will enjoy.
This Origami box will have two parts created and can easily open and close. If you love making origami, you can also check Origami Envelope, another easy origami craft.
You can also check our tutorial video for making easy Origami Gift Box :
Step-by-Step Tutorial – Origami Gift Box
Let’s begin with the instructions for creating this basic origami box using various folding techniques.
STEP 1 – Cut The Paper

For Making an origami box, you need two pieces of paper, either using the same colour or different paper. We used two different papers, a printed paper for making the box lid top and a square-shaped base, i.e. bottom of the box.
STEP 2 – Make a Paper Lid

To make the lid of the origami paper, take a printed or any coloured paper fold it from right to left and unfold it.

Once you unfold, Again make another fold from the bottom to the top of the paper and crease.
You May Also Read : How To Make Origami Rose

When you unfold the paper, you should be able to see four sections with a central point in the middle. One by one, fold the paper from the edges, bring it to the centre point from all four sides and crease gently. Post making the folds, a square-shaped pattern will be formed.

As you will see a square structure on the paper, fold the paper from the top to the middle and similarly from the bottom to the centre point creating a paper structure as seen.
STEP 3 – Paper Folding

Turn the paper horizontally and unfold the last fold made. You would see two small triangle forms opening.

Hold the ends of the small triangle shape and open the same form on each of the sides.

Again make equal folds on both sides and crease well. Once the folds are formed place the paper vertically.
STEP 4 – Final Lid Folding

Unfold the paper, and we can find all the lines creased on the paper due to the folding we have created in the early steps. If you love the folding techniques, then we refer you to also try the How To Make Origami Rose tutorial, which is fun.

Take the corner of the paper and twist it in the manner that the base of the box can be created. Firstly, fold the right side of the paper gently and crease. The second fold will be on from the left side and then the paper from the top, so that the box shape can be seen. Gently press all three folds together to give the box a beautiful, square appearance.

Flip the paper and we can see that one side of the box is prepared.

Likewise, carry out the three-fold method from the opposite side, and the flawlessly-sided box will be prepared.
STEP 5 – Make the Bottom Of The Box

Now, that the lid of the box is created, we will make the remaining bottom part of the origami box. To create the bottom of the box, we will have to take a squared shape paper of your preferred colour, with a dimension of 15cm by 15 cm.

Making the bottom of the box, using the same folding techniques is fun and you will easily get the same shape as the previous structure that we created following the instructions.

Once the bottom part is created, you can insert the bottom squared structure with the box lid created and a beautiful square-shaped box would be created. A Guide to Origami Heart is another easy craft which can also be used for gifting purpose.
This handmade origami box is a wonderful gift idea and can be created by all. The box is delicately folded using exact origami methods. To produce precise lines and a well-defined shape, common folds include valley folds, mountain folds, and complex creases.
There are a variety of sizes one can craft for origami gift boxes, from tiny ones that are perfect for jewellery or small trinkets to larger ones that can hold items of varying sizes.
Precautions to keep in mind for making Origami Box :
- For making this beautiful Origami Box please ensure to use square-shaped paper only and follow the instructions.
- The origami box has been made in two pieces. The box’s bottom and its lid. The dimensions of the paper used to make the lid will be somewhat larger than those used to make the box’s bottom.
- Make gentle fold and crease well to give the perfect shape to the origami box.
- Try using printed or vibrant and colourful papers to make this craft, appear beautiful.


