If you enjoy music and are looking for an art project or tutorial, this step-by-step DIY guitar craft guide is perfect for you. Children like trying out various crafts, which helps them feel pleased and develops their creativity. One such universally adored musical instrument is the guitar, which kids frequently like to imitate when playing with their toys. A lovely little replica of the real thing, this cardboard sheet DIY guitar is a fun project to do.
Making this easy and creative craft, with cardboard sheet and some readily available materials at home are mentioned below which you can note down. Kids also like playing with some folding paper activities and origami making, which is also fun activity, and one such tutorial you can explore is the Origami Fish guide.
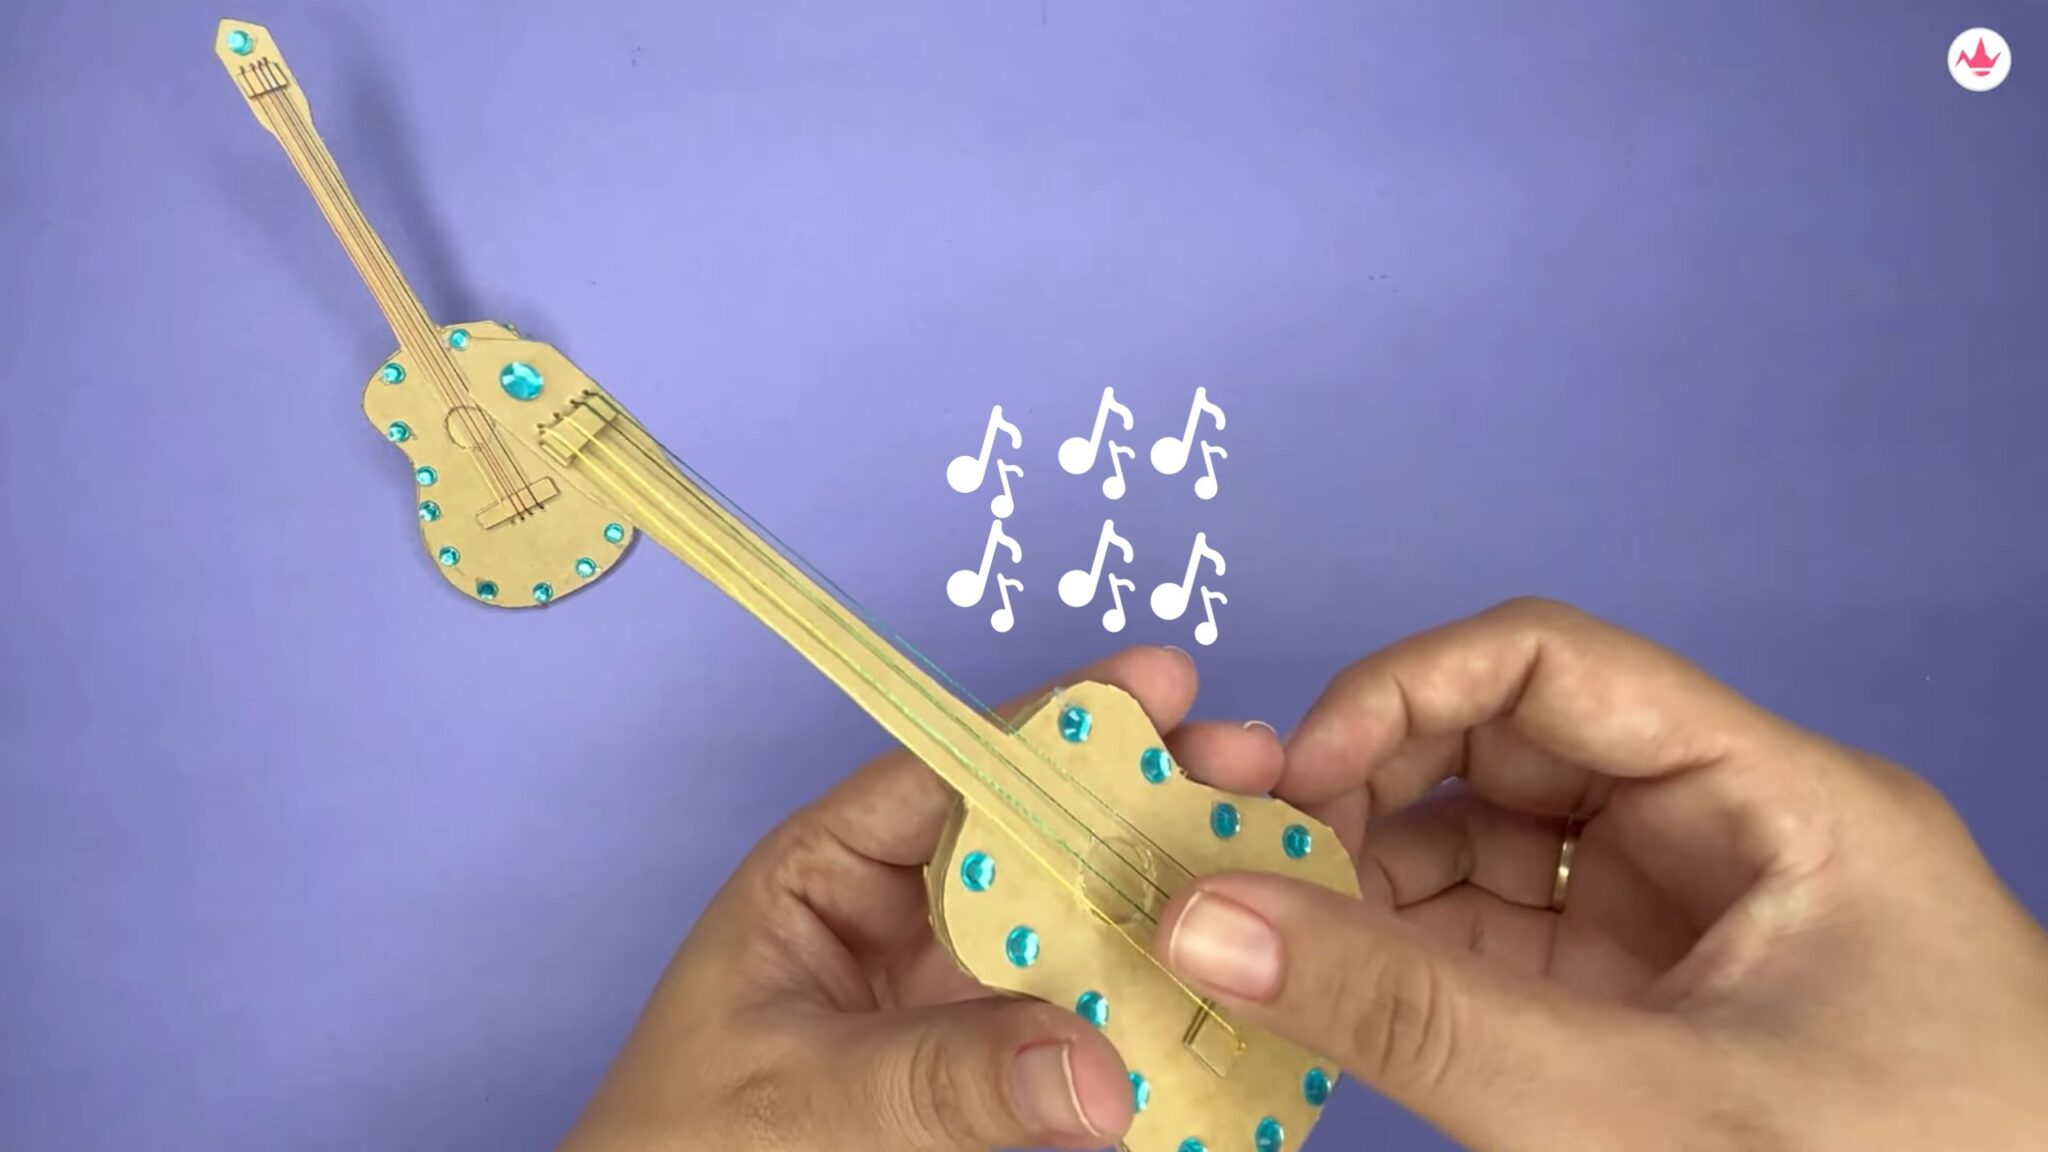
How To Make DIY Guitar
This video provides a detailed explanation on how to create a DIY Cardboard guitar.

For your reference, we also go through each step in depth, mentioning below.
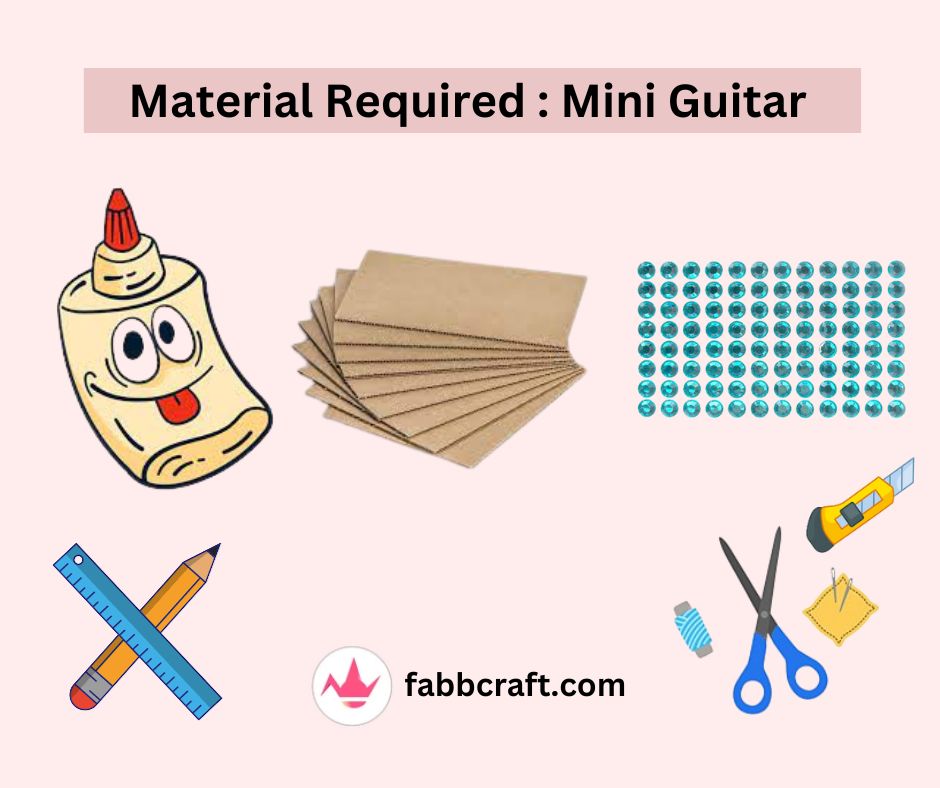
Material Required :
- Cardboard Sheet : Cut 3 cardboard pieces in 20 CM by 10 CM
- Glue
- Sewing Kit : Needle and Thread
- Pencil
- Cardboard Cutter or Scissors
- Adornment
Step-By-Step Guide – How To Make Guitar :
A creative and enjoyable do-it-yourself activity is building a cardboard guitar. A simple cardboard guitar that may be used as a prop or decorative item or also a amazing toy for kids. Here’s a quick tutorial on making one:

STEP 1 : Cardboard Cutting
Firstly cut three pieces from the cardboard sheet measuring 20 CM by 10 CM. Make sure that the size of all the three cardboard pieces are same.
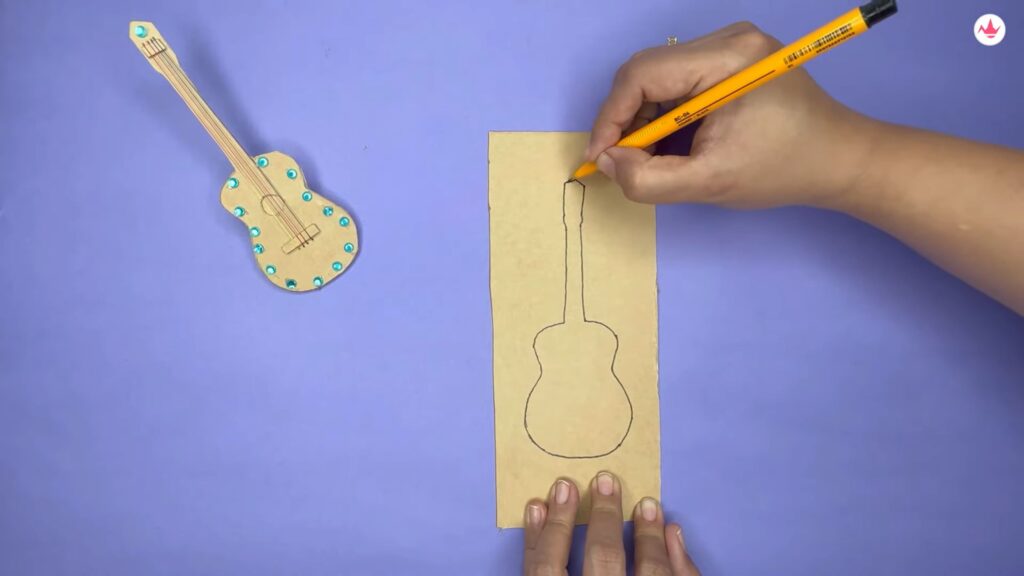
STEP 2 : Prepare The Shape
Keep aside the other two pieces of sheet which has been cut, and use the third cardboard sheet for further step. The next step, is to give shape to the cardboard sheet, hence draw the outline of Guitar by using a pencil or an marker.
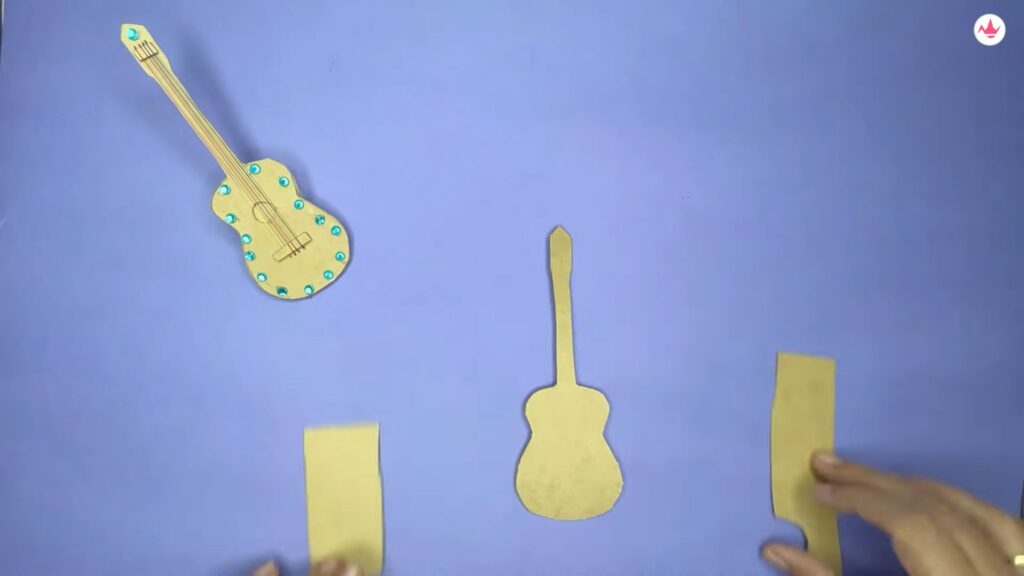
STEP 3 : Cardboard Cutting
With the help of a good scissor or a cutter, cut through the outline of the shape created by drawing. This shape would be the main body of the DIY Guitar.
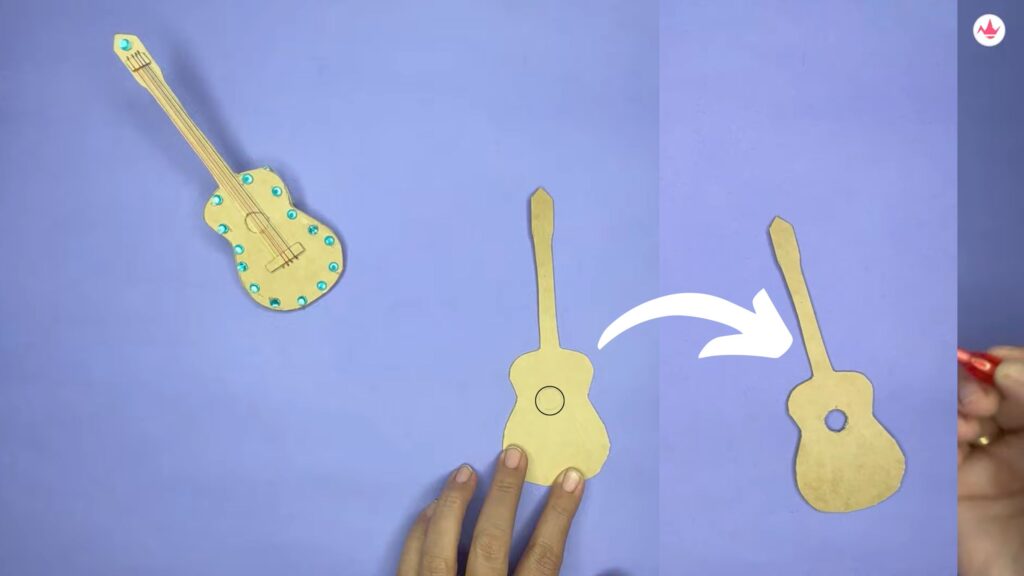
STEP 4 : Make Soundhole
Draw a small circle on the base created by cardboard by pencil and cut the outline of the same, creating a sound hole of the DIY guitar.
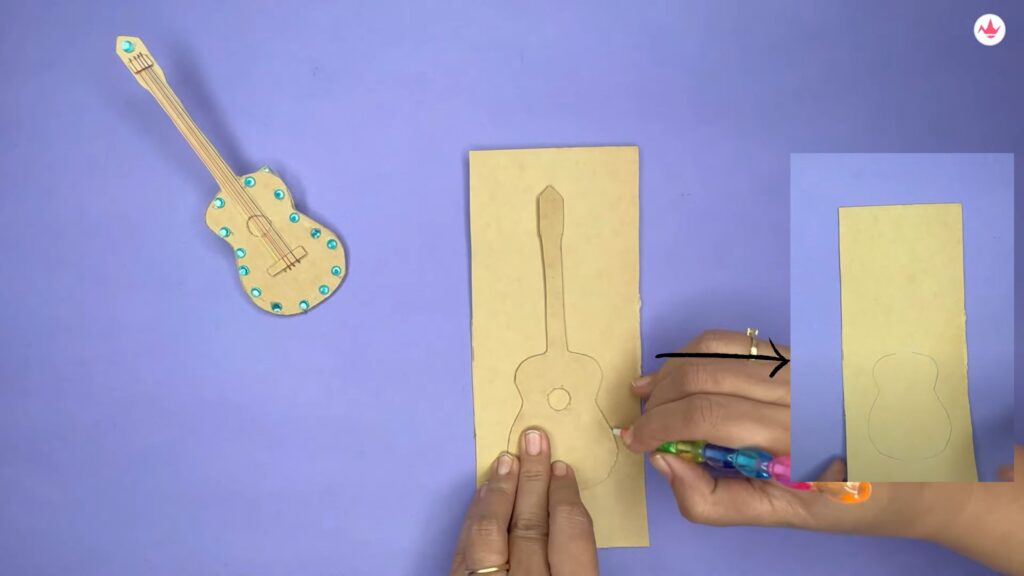
STEP 5 : Replicate The Base
Now, take the other cardboard sheets which was cut at the start with the given dimension, keep the guitar base on it and draw the below part of the guitar by tracing with the help of a pencil of the outline.
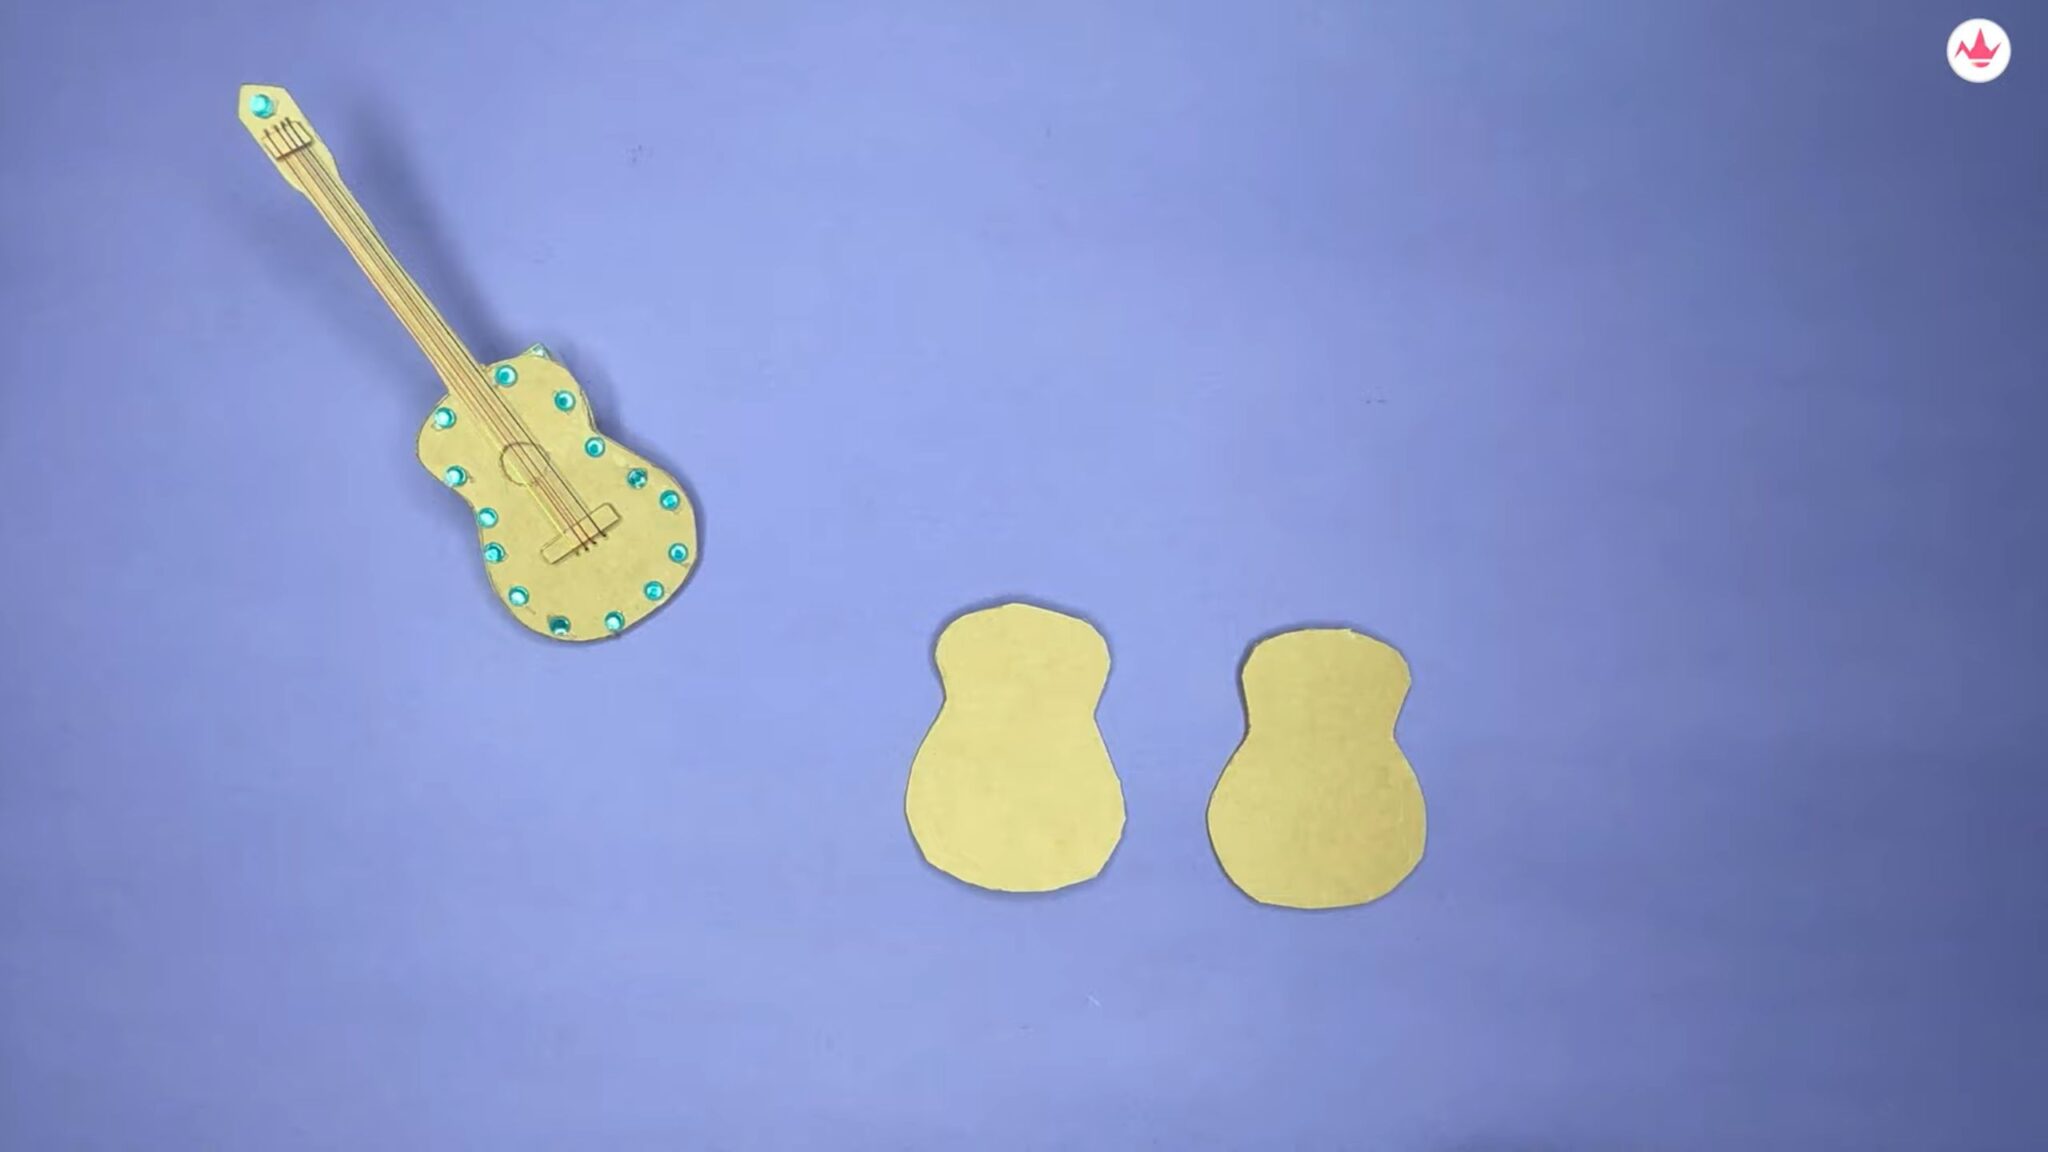
STEP 6 : Shape The Base
Cut the traced shape, which will give the bottom shape of the DIY Guitar. And keep it aside.
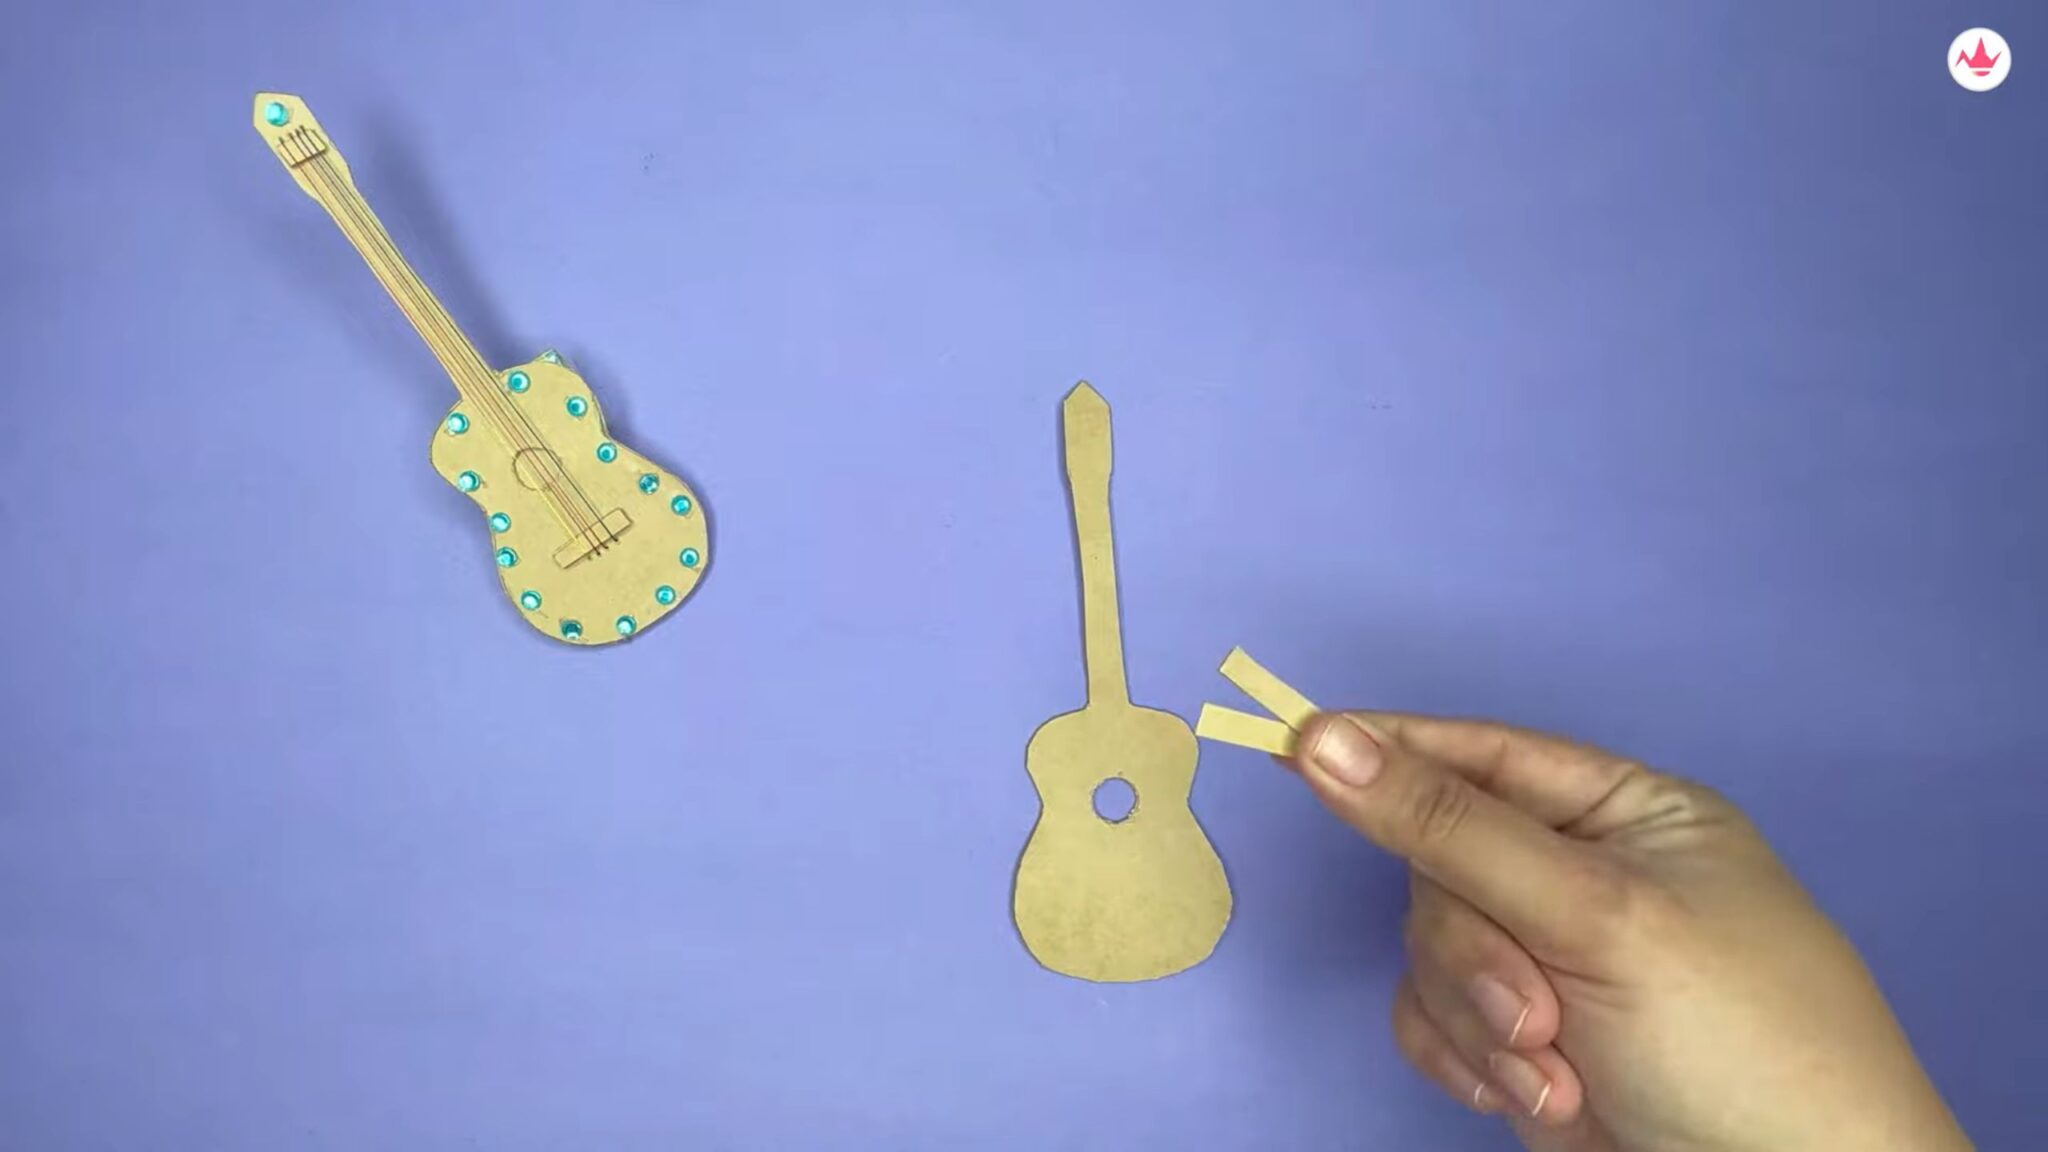
STEP 7: Create Bridge
Cut two small pieces of cardboard sheets which will be used to make the bridge. Now glue it together making a broad thick bridge.
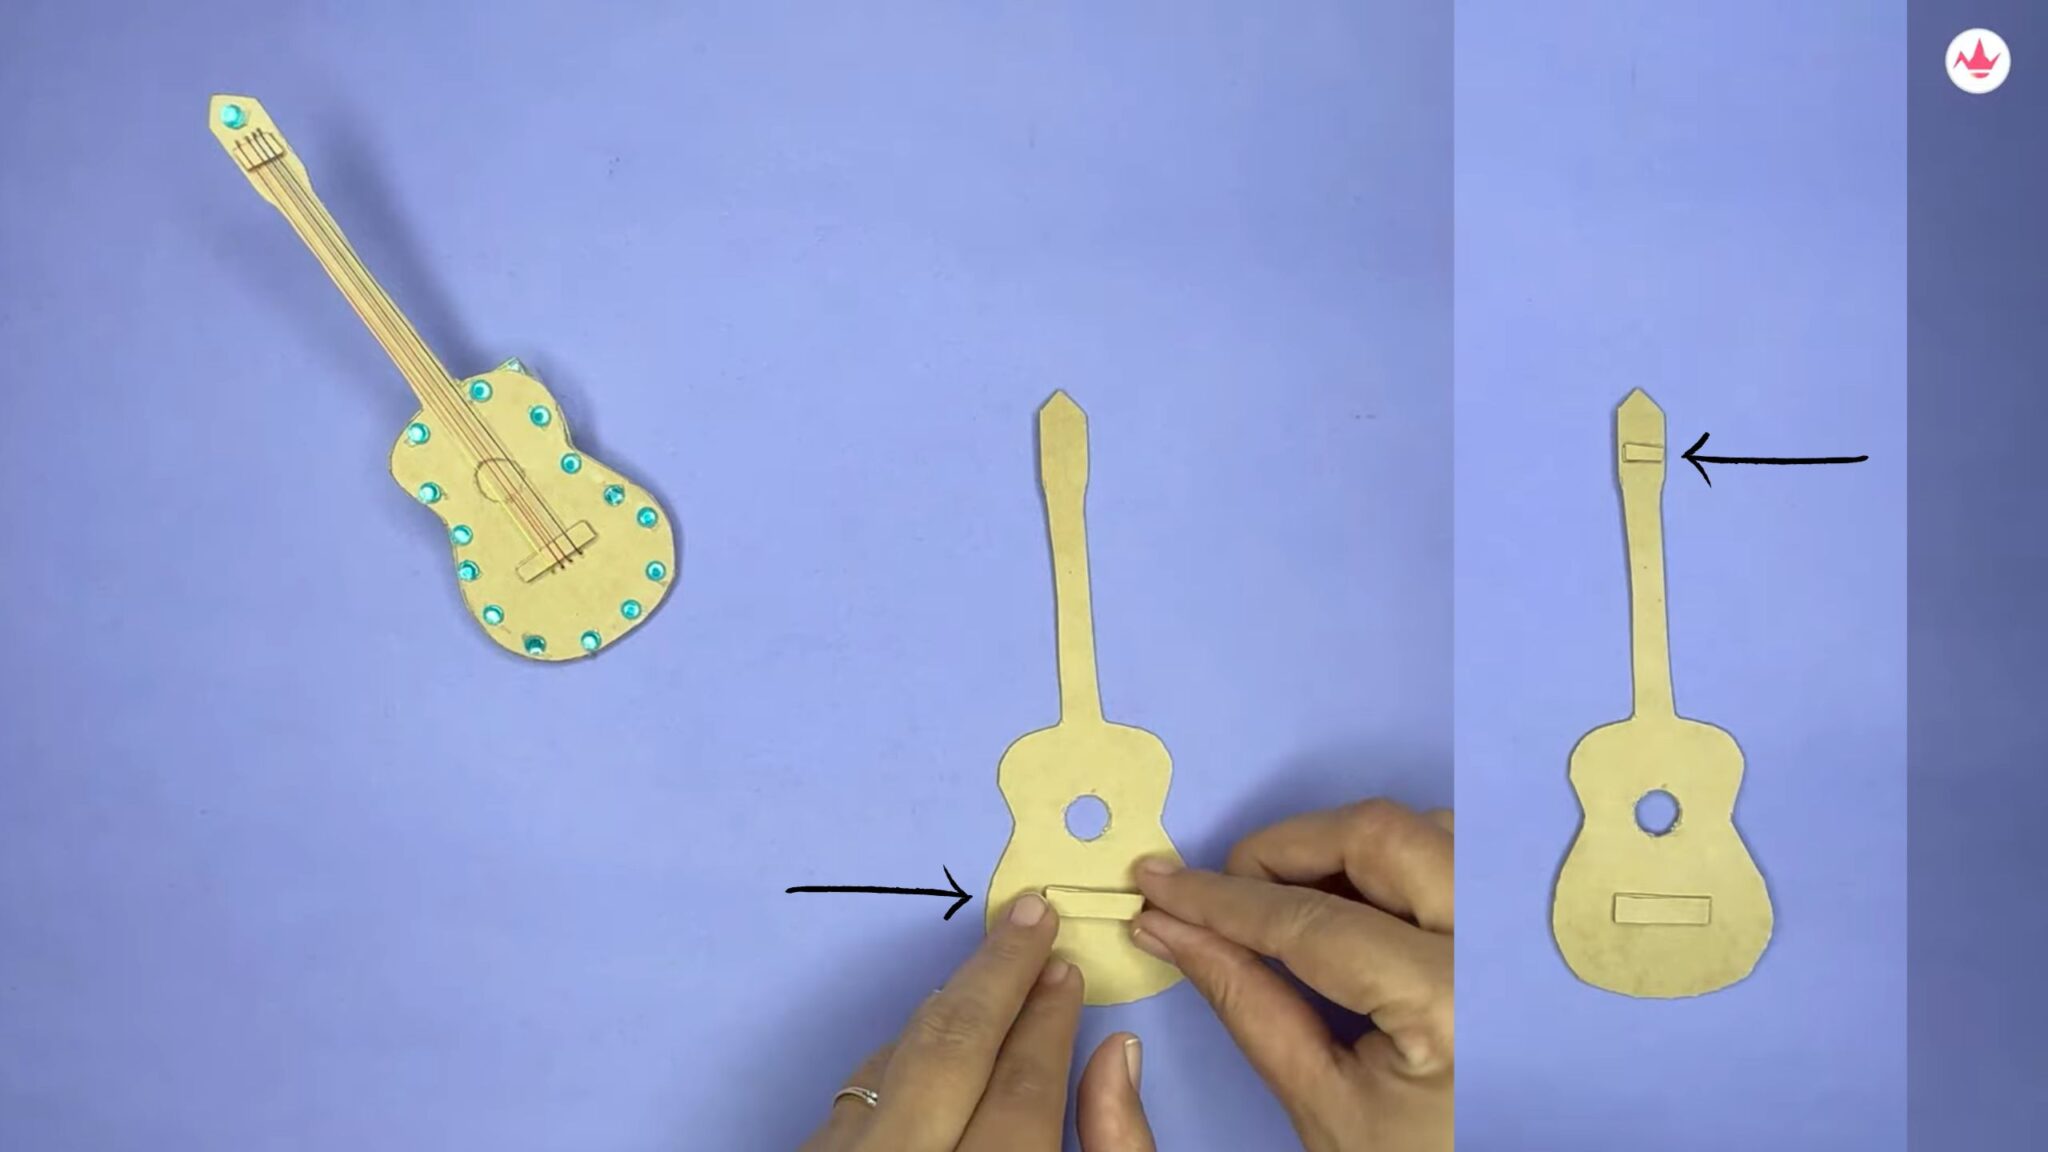
STEP 8: Make the Guitar Neck
Firstly, paste the bridge below the soundhole with help of a perfect glue and then, you can cut another narrow strip of cardboard to serve as the neck, which would be nicely glued on the top side of the DIY Guitar.
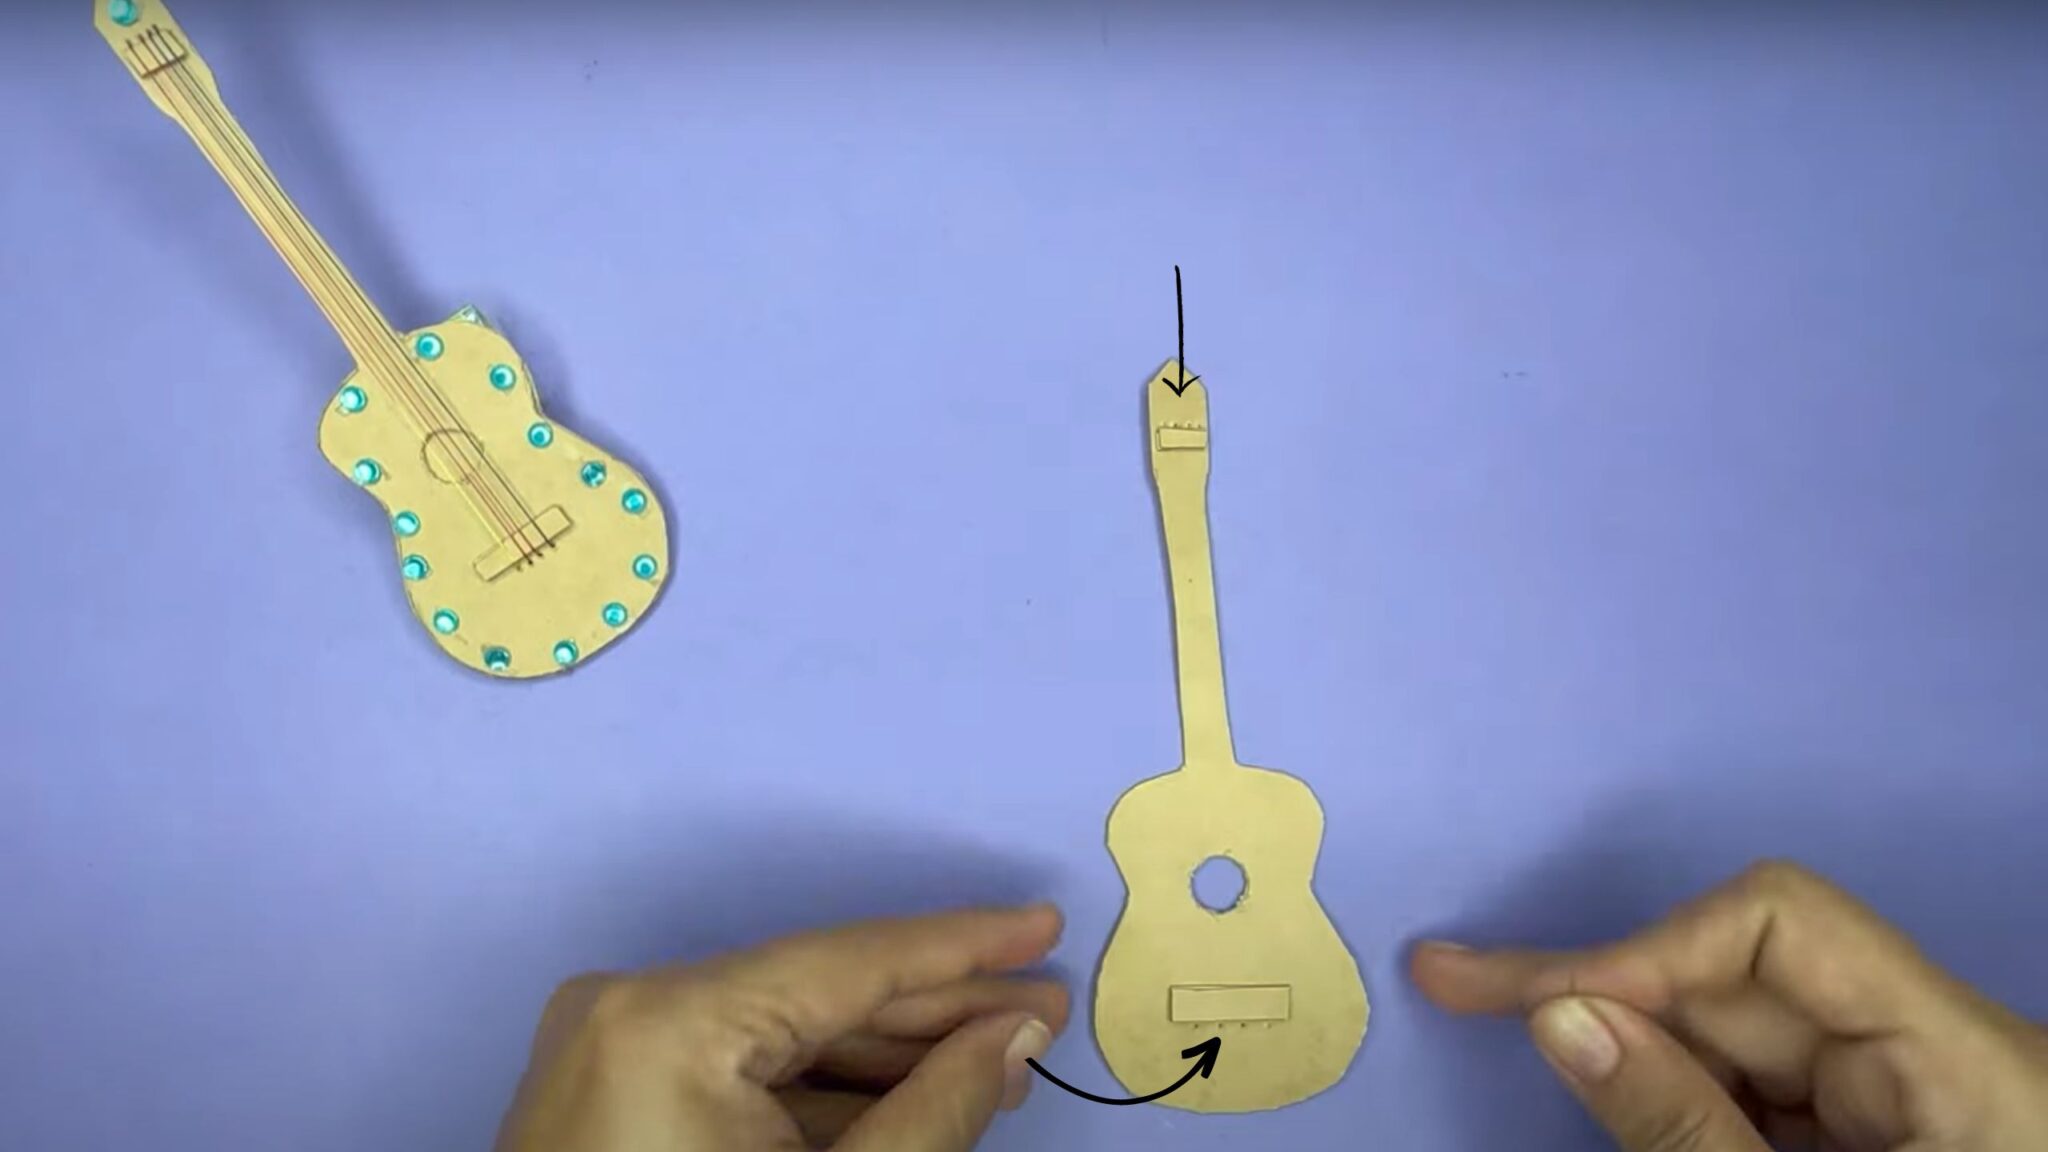
STEP 9 : Measure And Mark
Measure and mark the place just above the neck and the bridge created on the DIY Guitar base and make small four holes with an help of an needle. The metal strips on a genuine guitar neck are called frets which are when applied pressure, alter the pitch of the strings.

STEP 10 : Attach the Strings
We will now create strings, on the cardboard guitar, with the help of an needle and thread from the bridge till the top neck holes, join both, with the help of the thread. Insert the thread at the bottom bridge and sew it up to at the neck hole at the top. Similarly, bring it the to bottom and again take it to the top and once done tie the knot at the back so that the strings are tight enough.
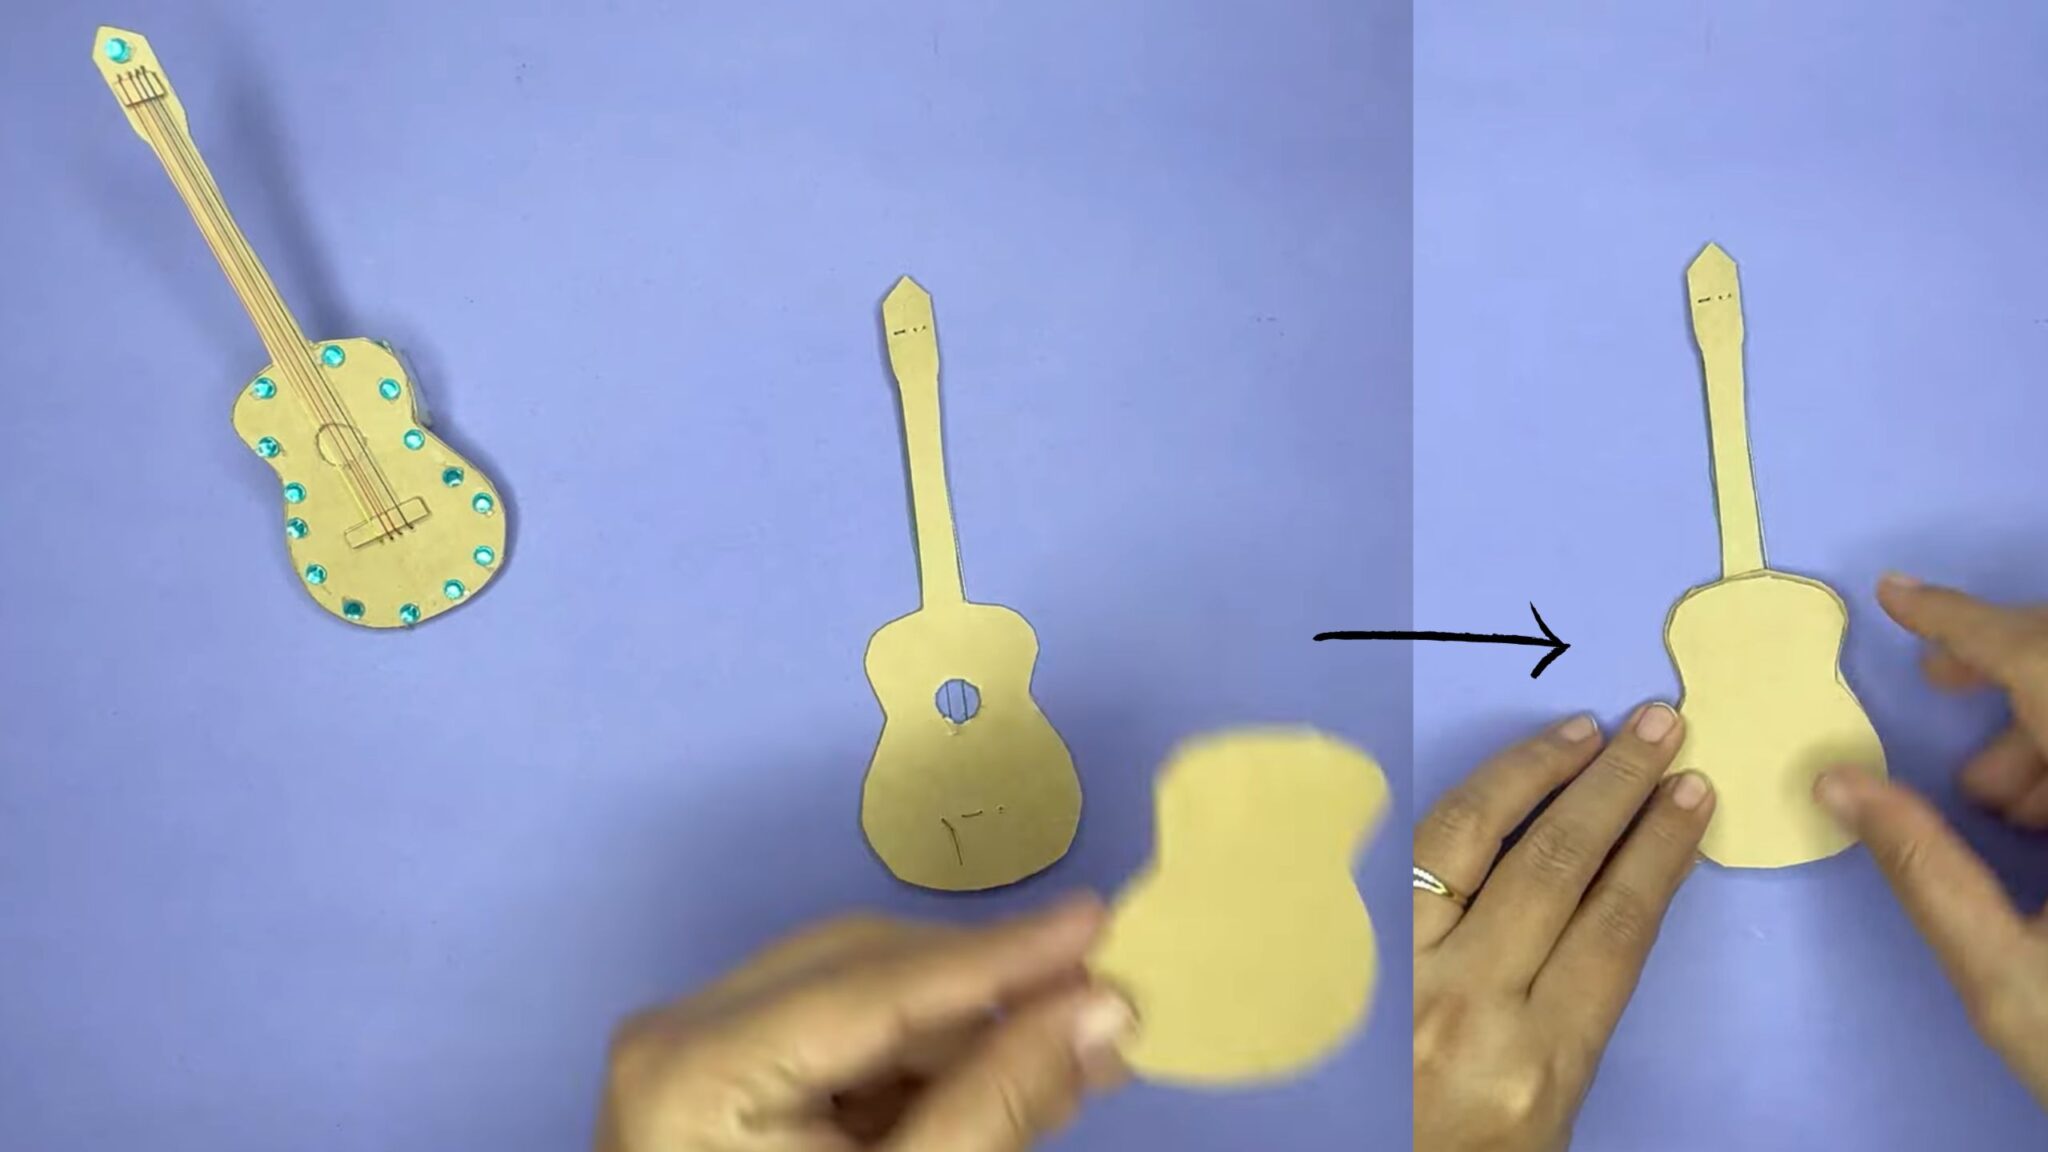
STEP 11 : Cover The Guitar Base
Now, once the knot of the strings is tied up, turn the cardboard guitar base and glue both the guitar base which we had created in the Step 6. Once the base is nicely fixed turn the guitar base.
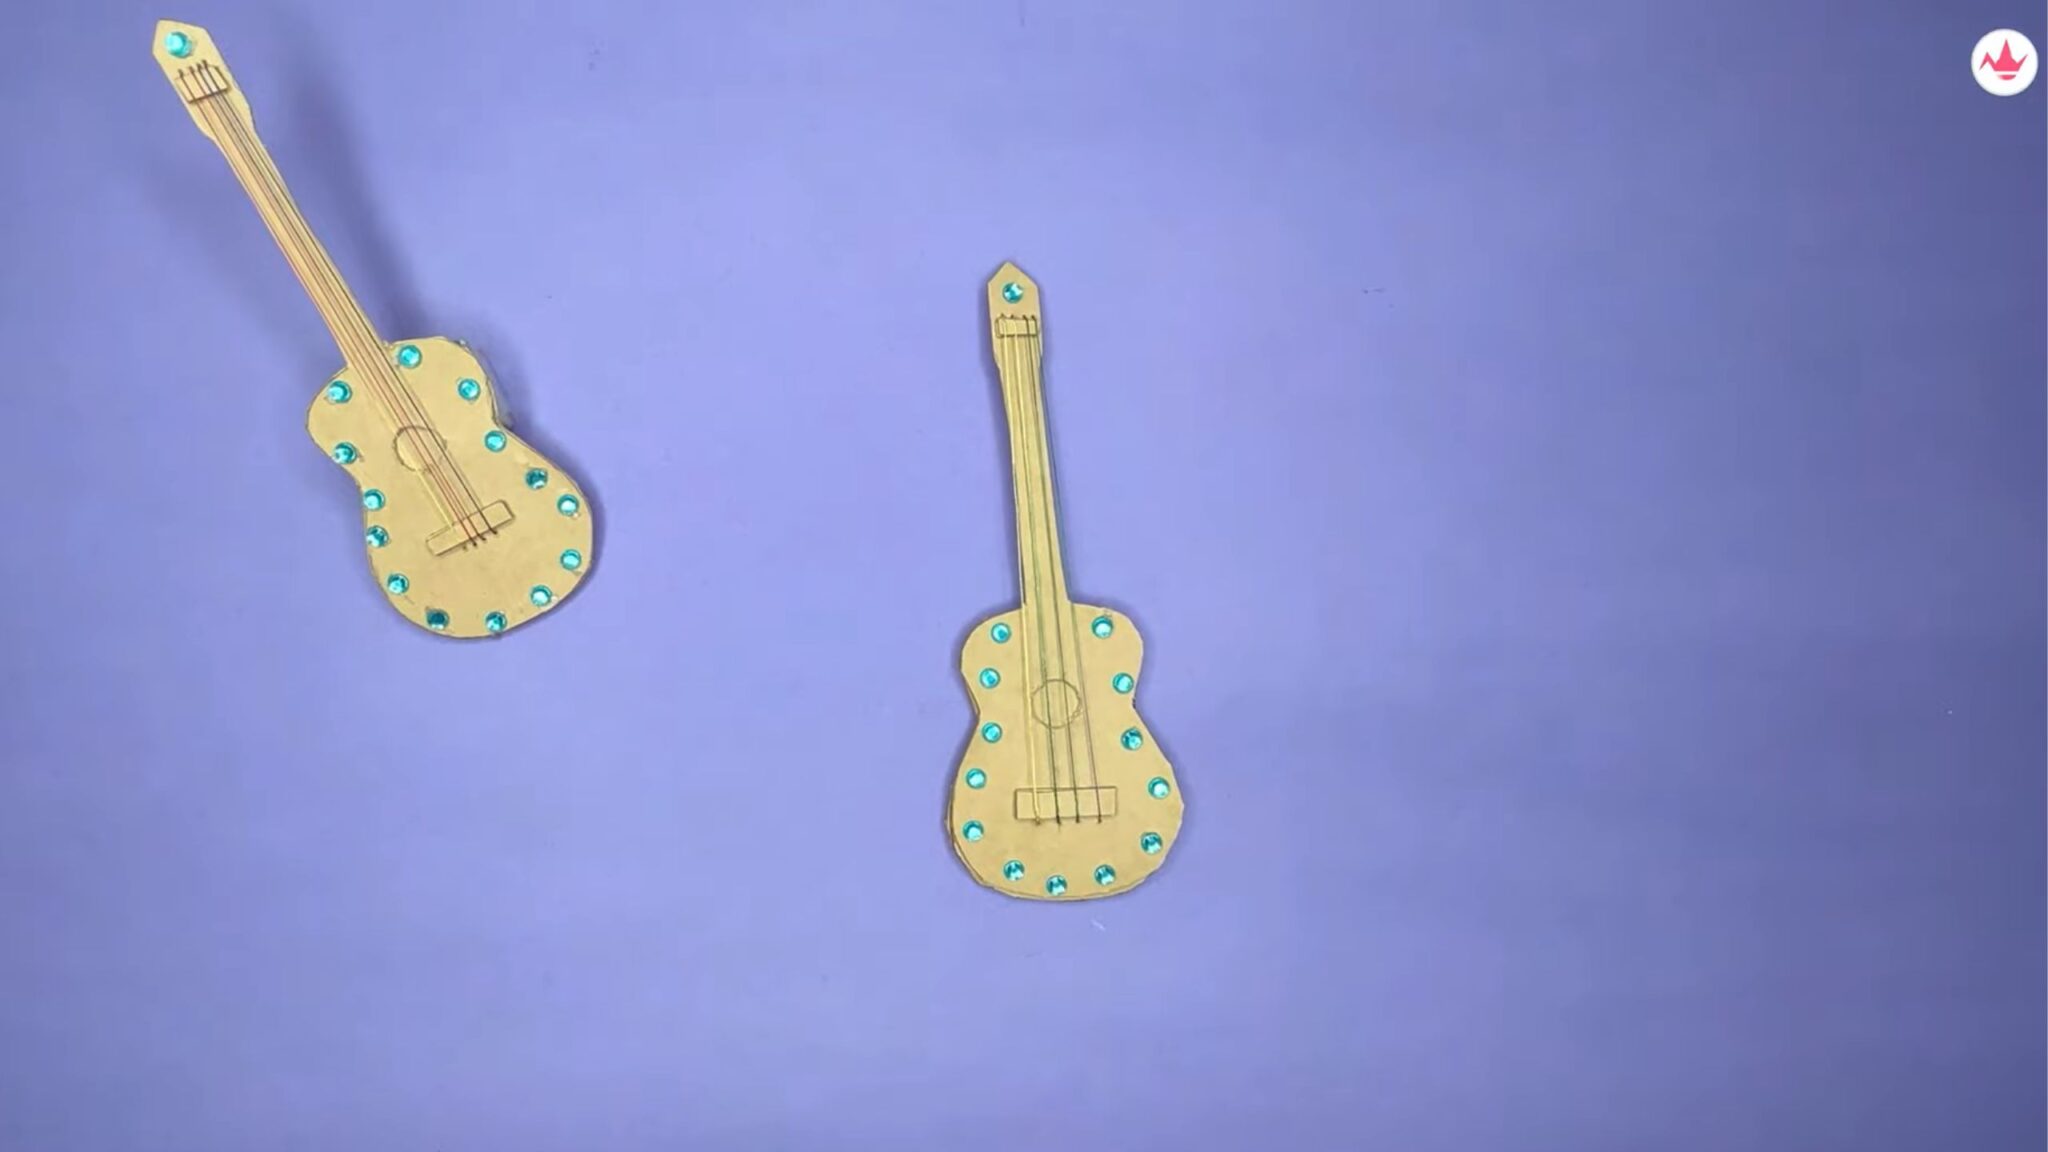
STEP 12 : Decorate
You may get creative with how you decorate the cardboard guitar. To make it seem better, you may embellish the base outline and the head of the neck with paint, adornments, or other elements.
” Strum ” imagine the sound of the Guitar notes, and hurray your DIY Cardboard mini Guitar is ready and you can play with this Guitar toy or keep it as a decorative item. You can also go through other papercrafts ideas which kids would love and one such lovable papercraft is How to Make Paper Sofa.
Precautions to be taken
- Cut all the carboard sheets in proper shape to get the perfect Guitar base.
- Use a good glue which can fix the cardboard sheets neatly
- To create bridge maintain the holes in same distance to keep the strings straight and upright
- Focus on the dimensions to get a good shape of the guitar
- You may use different decorative items to make the guitar look unique and also use different color threads to make the strings of the DIY cardboard Guitar.
We really hope you enjoyed and found our how-to DIY guitar instruction to be useful. This project may be used to play with, embellish, or create a decorative object. You can also enjoy reading our Guide – Stunning Crafts For Adults.
FAQS on How To Make Guitar
Yes, you can definitely make a guitar at home using supplies you probably already have. You can make guitar with cardboard sheets.

You can use cardboard sheet to make a guitar for kids. You can see our step-by-step tutorial on how to make guitar on fabbcraft.com or by visiting our YouTube channel.
You can follow our step by step guide on fabbcraft.com or also view the DIY Mini Guitar video available on our Youtube channel to make a mini guitar.