
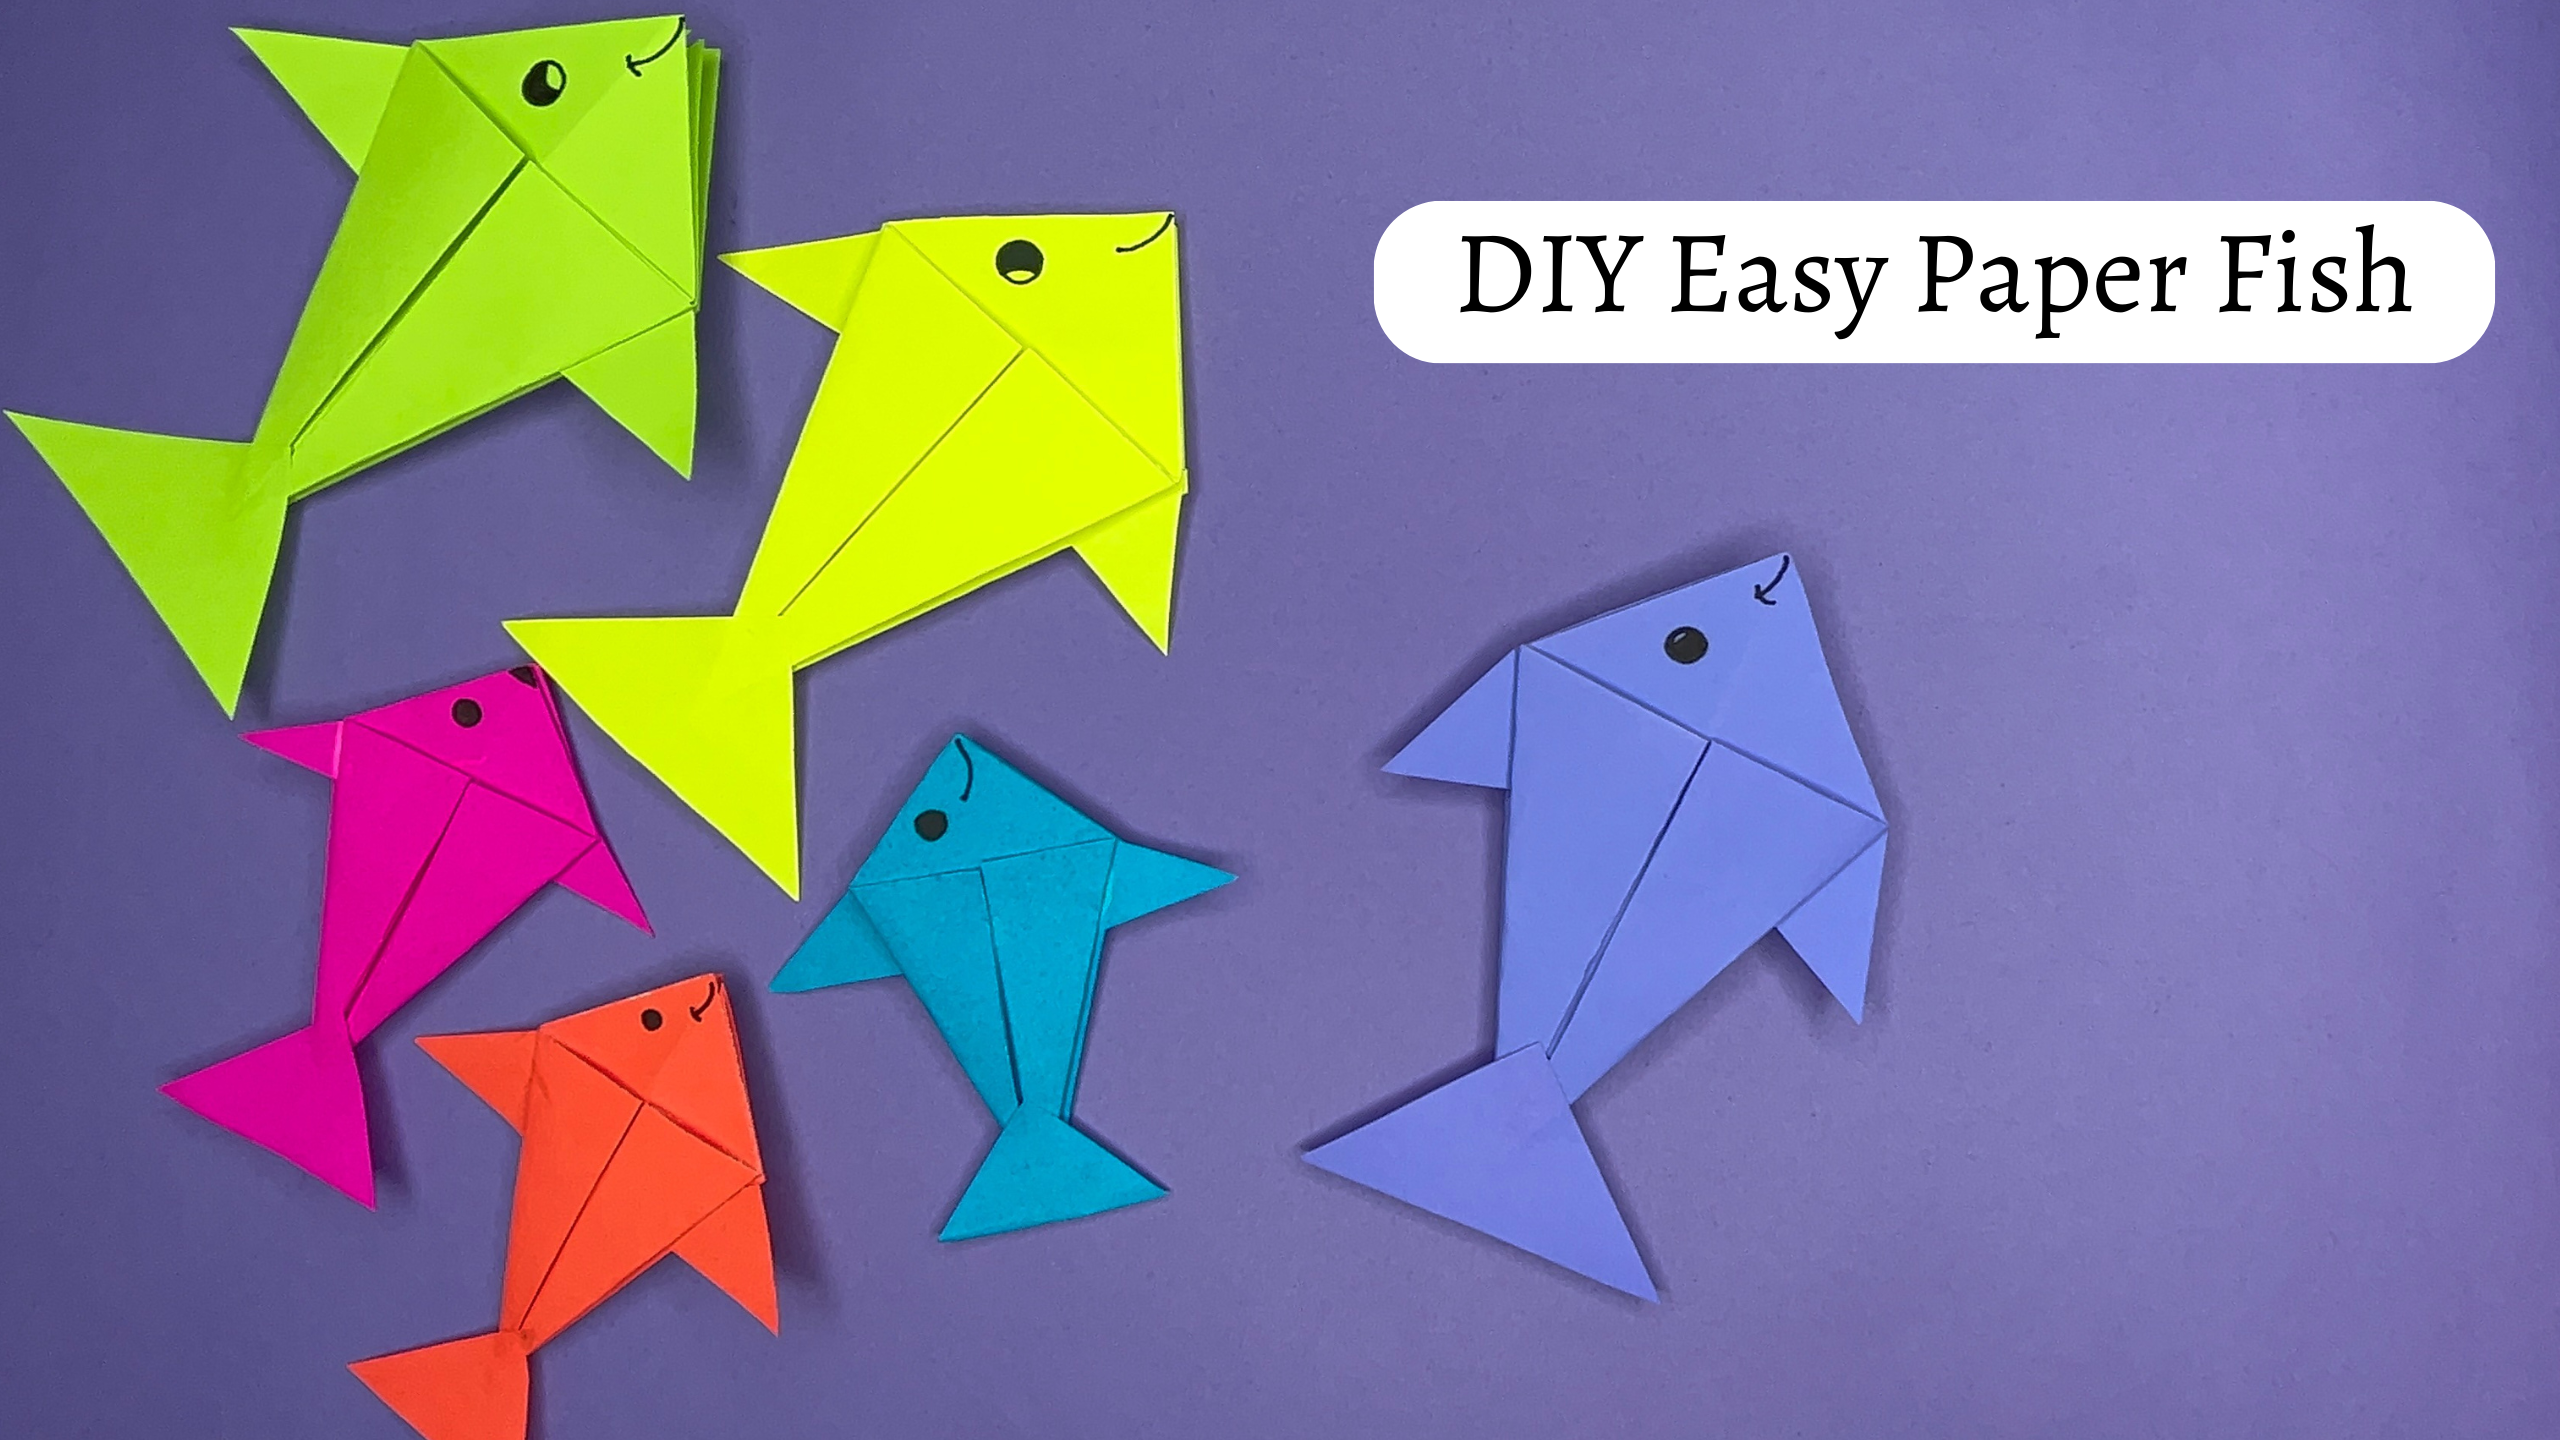
Origami is fun. Simple, beginner-level designs to incredibly sophisticated and detailed pieces of art may be created with origami. Kids might like building some origami masterpieces since they are simple and entertaining. One of the various designs that can be created with origami is a fish, and both novice and expert paper folders will enjoy working on this project. DIY Origami gives people the freedom to express their creativity and personal vision in the folding and designing of fish and other items.
Today, we will explore an easy ocean creature using origami paper step by step, which is specially made for beginners and is amongst the best paper crafts for kids. Kids may learn how to make origami with this easy-to-make project.
How To Make Origami Fish
Here’s the video which will explain how to make origami fish in detail.

We also cover the steps involved in detail for your perusal.
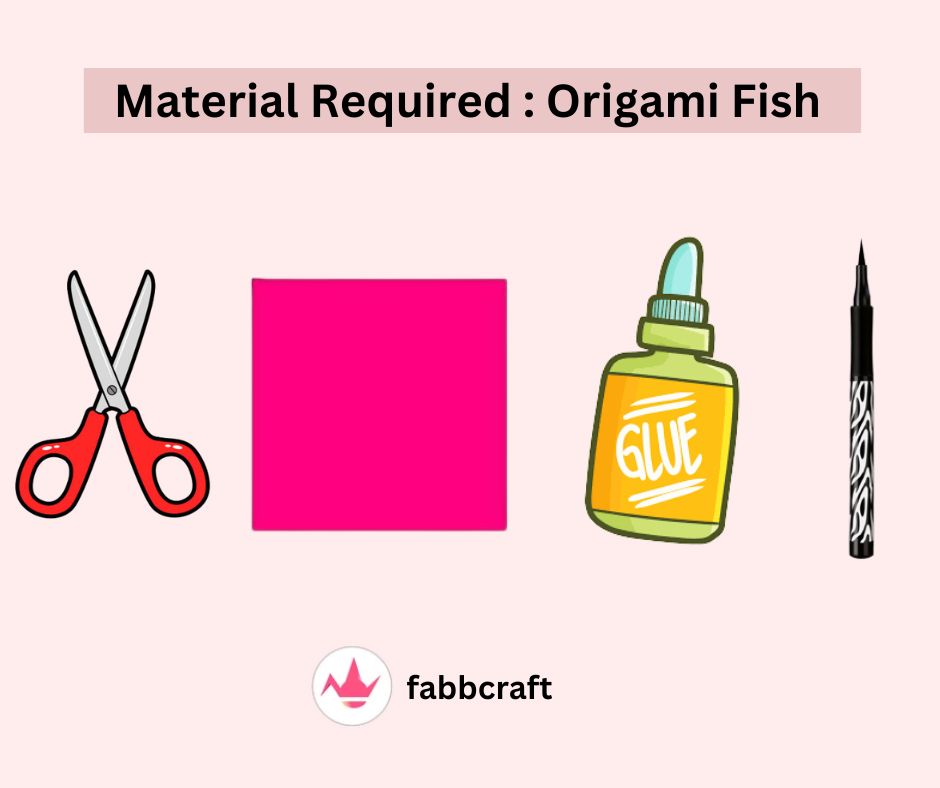
Materials You’ll Need:
- Origami Paper – ( Any Color ) with Size 15 CM X 15 CM and 5 CM X 5 CM
- A pair of scissors
- Glue
- Black Marker Pen
Origami Fish – Step By Step Tutorial
Origami Paper Fish is created through the art of paper folding. This amazing craft is easy and enjoyable Origami craft. You can also check our detailed guide of Origami Envelope. Its and easy craft idea for Kids. A square piece of paper is folded to resemble the body shape and attributes of a fish to create an origami fish. This can apply to the body, a tail, fins and eyes.
So let’s get started by learning how to make easy origami paper fish craft.
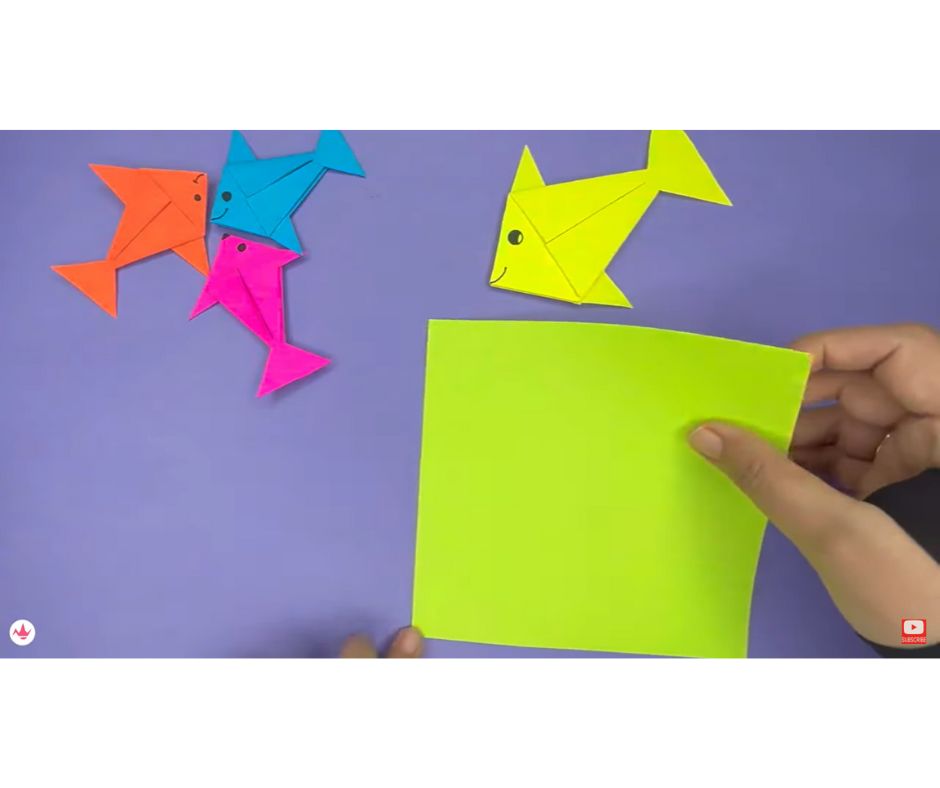
STEP 1 : Cut The Paper
Cut the paper to the required 15 by 15 cm size. For this simple project, you can select the shade of origami paper that you most like.
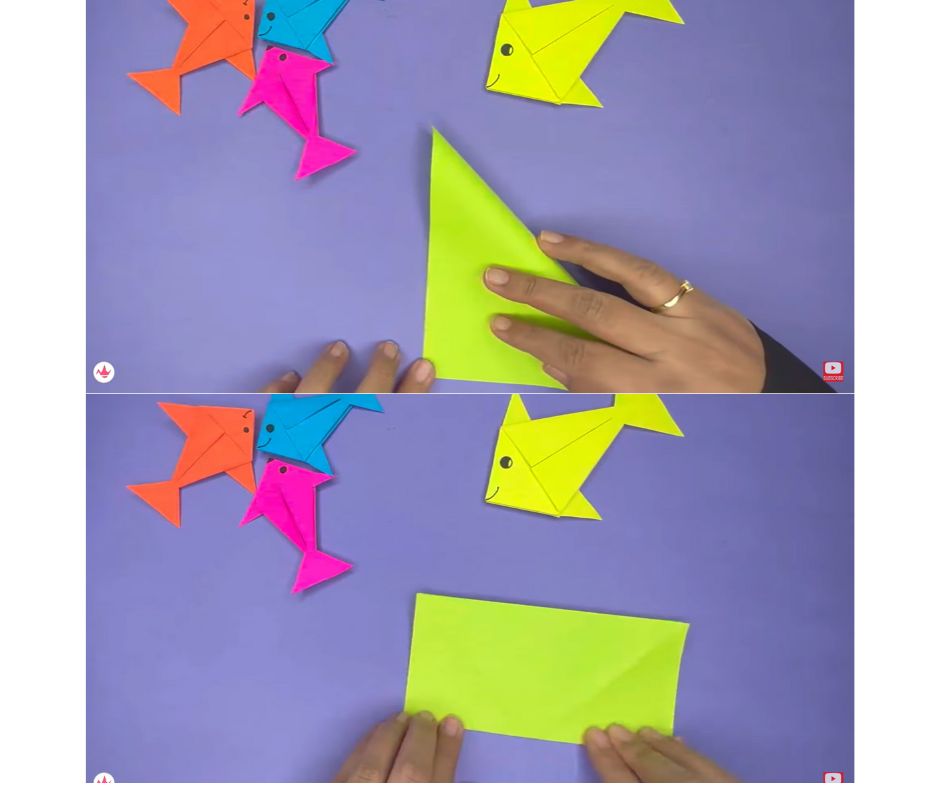
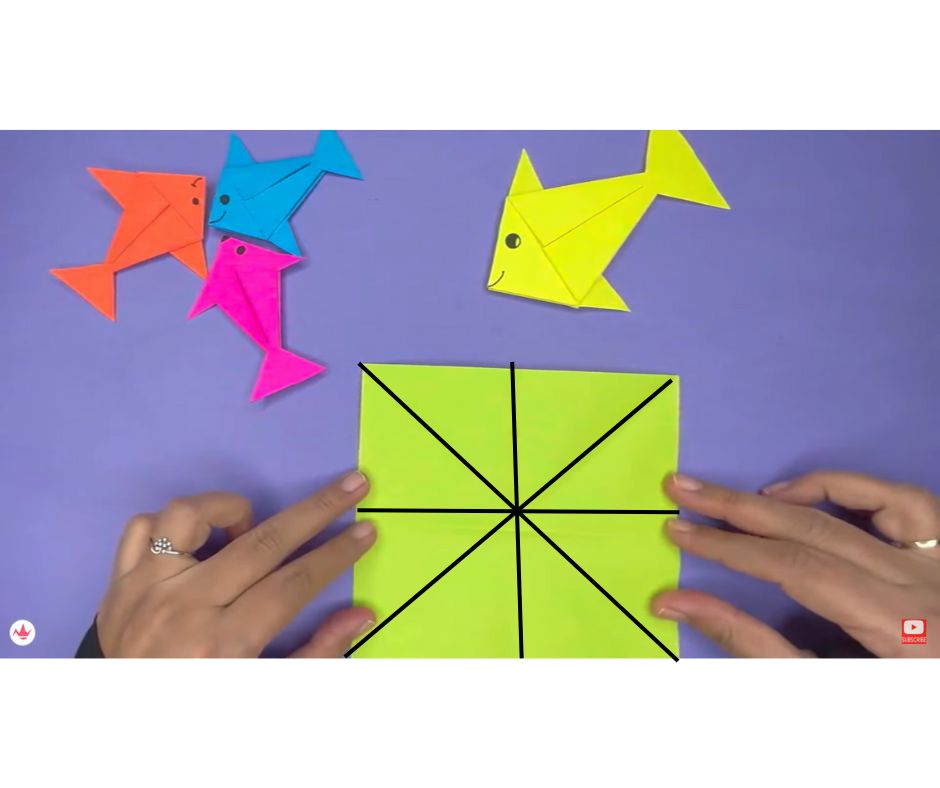
STEP 2: Fold The Paper
The paper is first folded by meeting the diagonal ends of the paper and next folded in half. Fold in the manner to guarantee that the crease is in the center while folding, line the edges. The origami paper will appear with 8 divided lines.
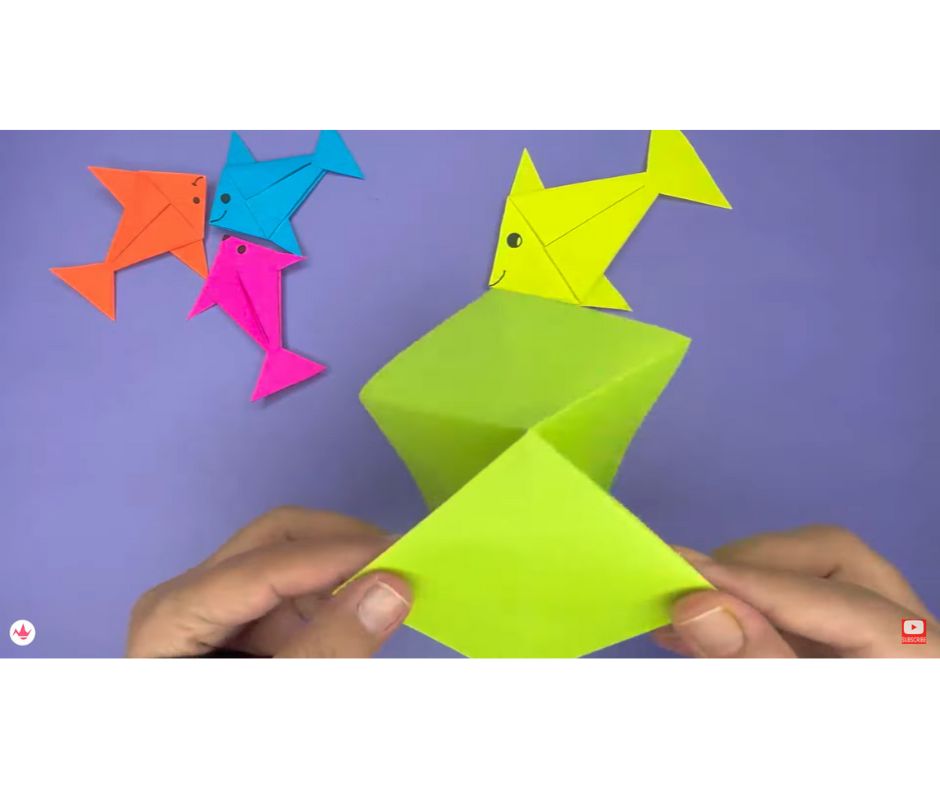
STEP 3: Make Vertical Folds
From these appearing division lines choose a line which forms triangle. Now, fold back from the two verticals and fold these verticals making the origami paper into a smaller square box shape.
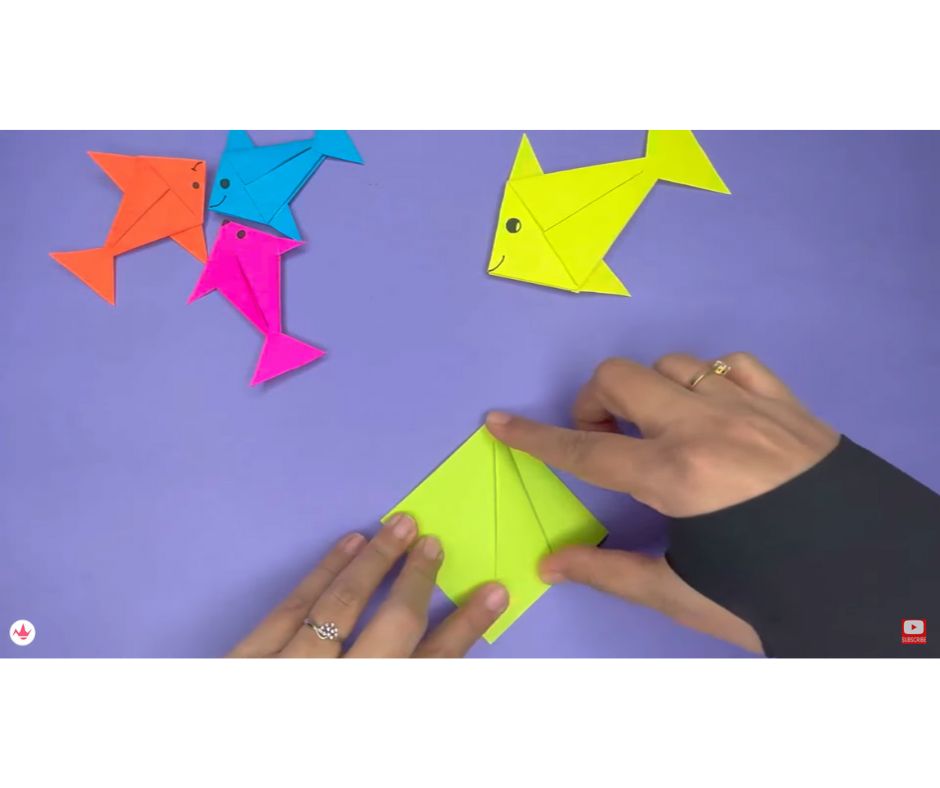
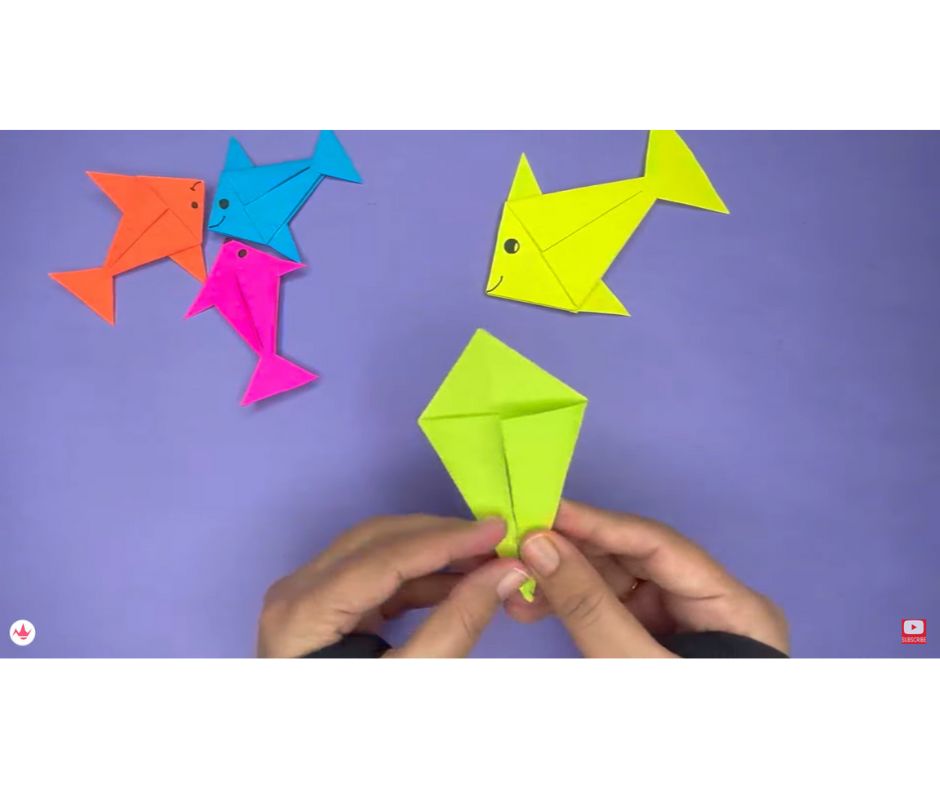
STEP 4: Create Fish Base
From this arrangement, fold the corner of the square paper to half from both sides, making it look like diamond shape. Repeat the steps from the other side of the paper too. The body of the fish is created. Keep the shape aside.
Interested in more tutorials? Check out our tutorial on how to make paper shoes.
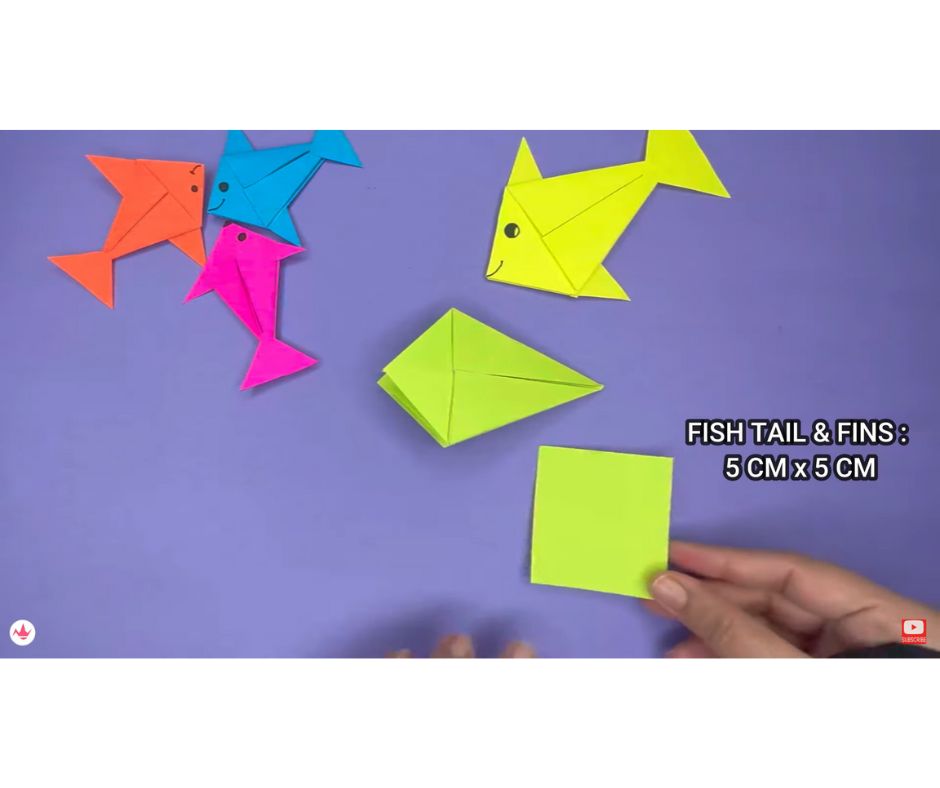
STEP 5: Cut Paper
We will now prepare Fish Tail and Fins with the same paper material measuring 5 CM by 5 CM.
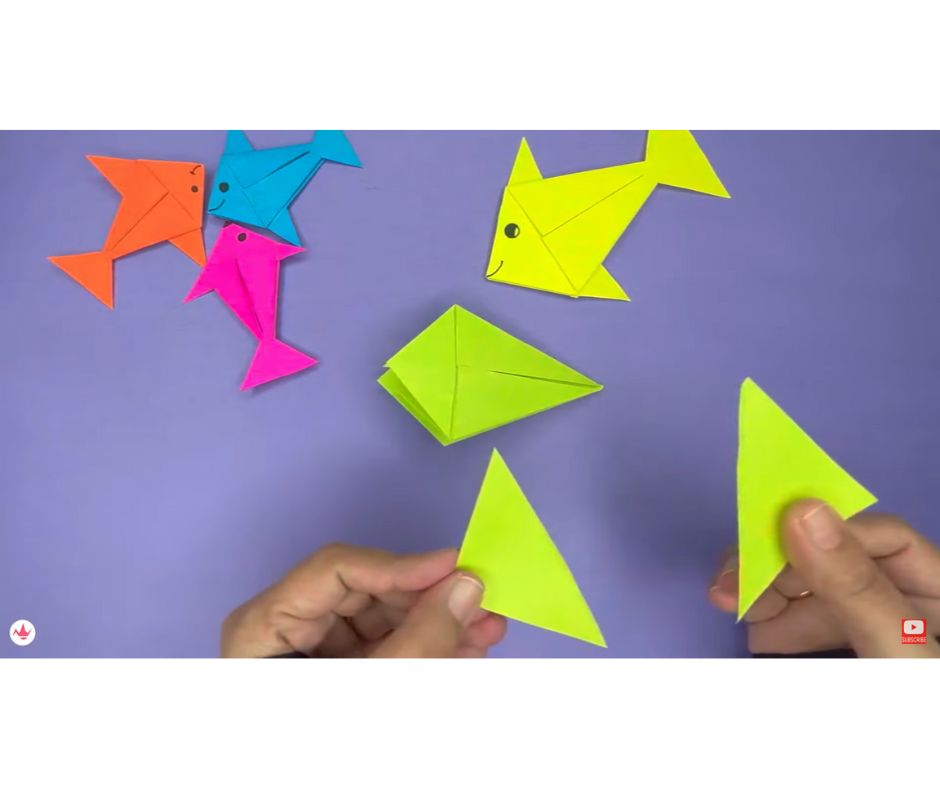
STEP 6: Create Fish Tail
Fold down the two opposite ends of the paper and from the appearing line cut the paper in two parts, creating two triangle shapes.
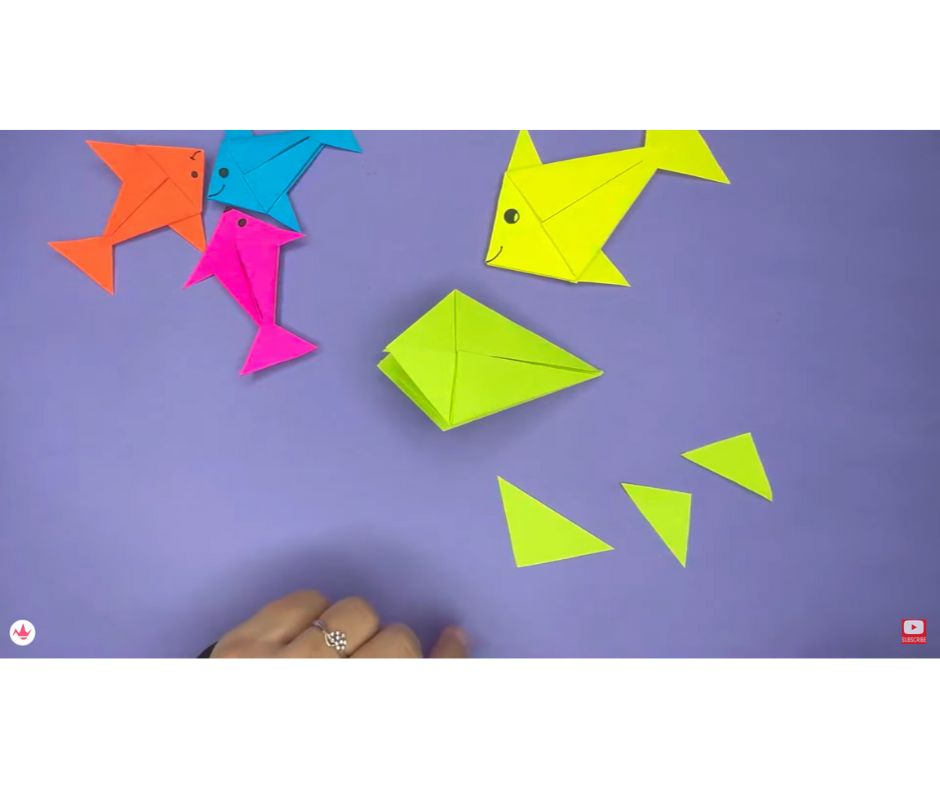
STEP 7: Create Fins
From the two triangle shape paper, one triangle shape will be a used as a origami fish tail and the other triangle shape will be subdivided into two smaller equal parts which will be used as the cute fins of the origami fish.
Similar to origami fish, you can also make dinosaur crafts for kids. The kids are always fascinated by dinosaur’s and simple love it.
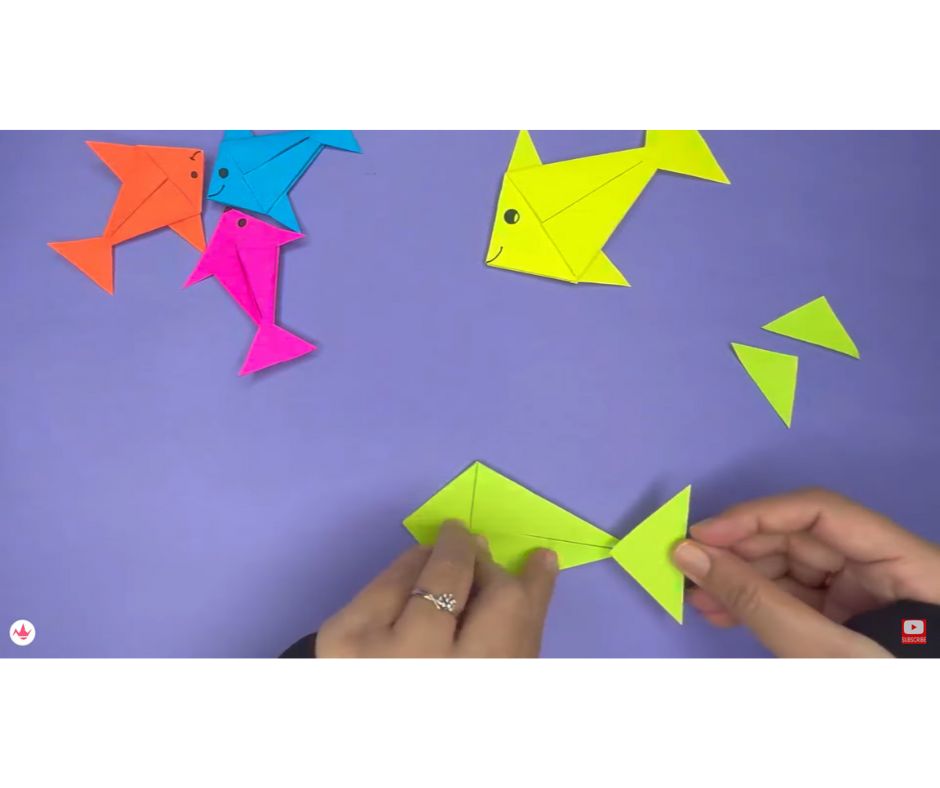
STEP 8: Paste it
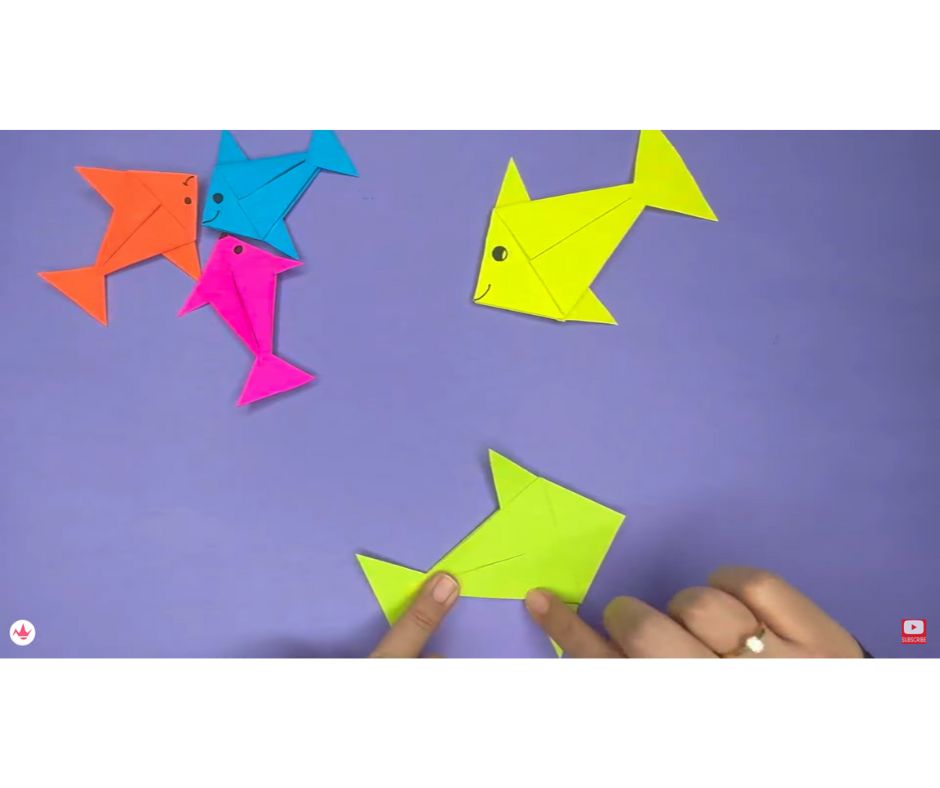
Take the origami fish body structure which was made earlier and paste the fish tail at the tip of the shape and paper fins to both sides.
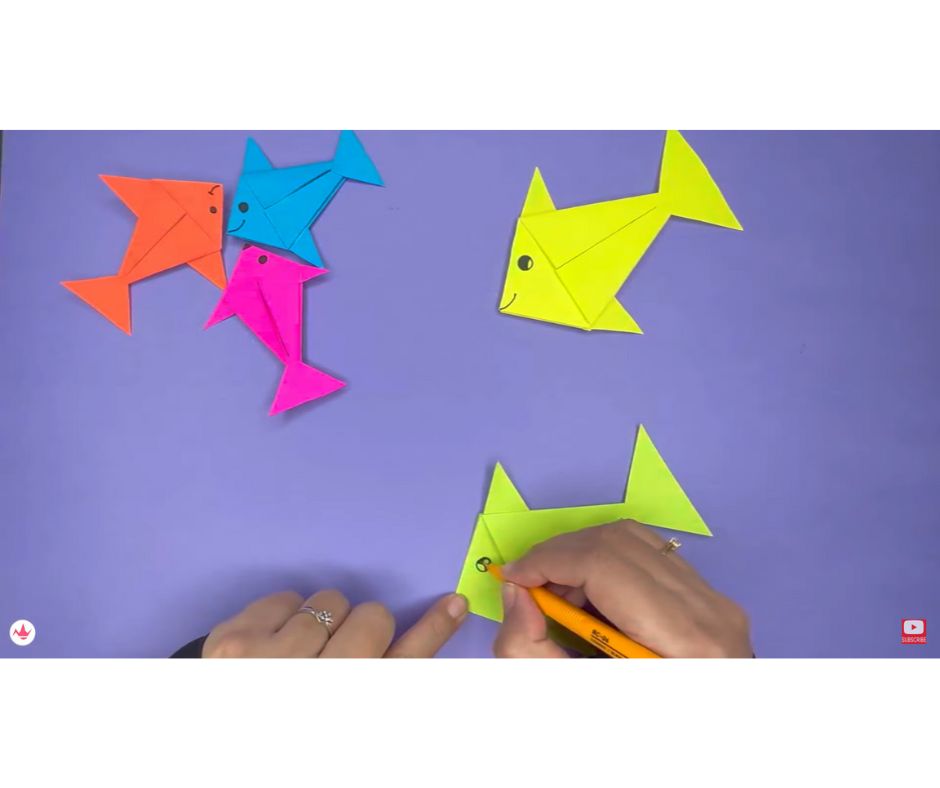
STEP 9: Create Eyes And Mouth
Create the fish eye by drawing a circle with a black marker, on the fish’s head and then filling in the third segment of the circle with dark shading. Additionally, draw a semi circle with an arrow at one end to resemble a fish’s mouth and create the appearance of a contented, smiling fish.
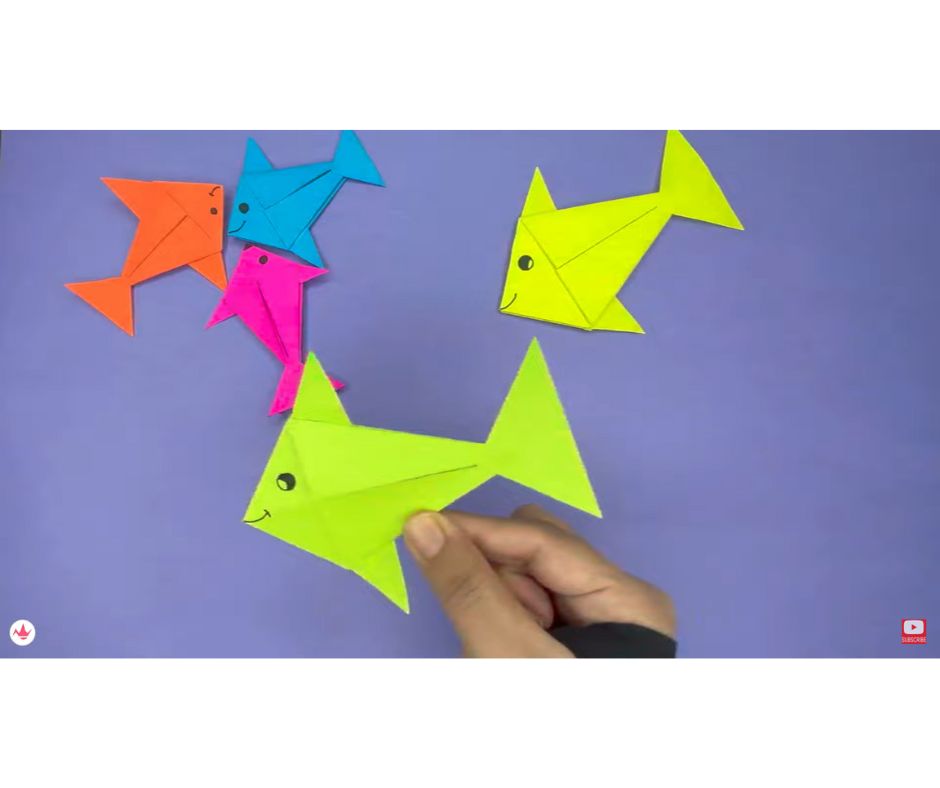
Hurray ! Your Origami Fish is ready to swim. Make, have fun, and play with this super easy and creative Origami Paper Fish, or use it to craft the best leprechaun traps. You can create these fishes with different vibrant colors and sizes too.
Precautions to be taken
- Use a good quality origami paper.
- Cut the paper using the specified measurements to get the desired form.
- To guarantee that your origami fish retains its shape, make sure your folds are crisp.
- Use enough glue to precisely adhere the fins and tails.
You may use origami fish for a lot of things, such as toys, décor, teaching, artistic expression, mothers day crafts, and much more. We hope this step-to-step guide to create origami Paper Fish will help you easily craft this project.
FAQs On Origami Fish
The easiest way to make origami fish is our DIY step by step guide available on www.fabbcraft.com or you can simply log on to our Fabbcraft YouTube channel for the same. The video tutorial will be fun to learn.
Yes, Origami Fish is a craft, which is customizable and can be made with different sizes and colors. The only check point to keep in mind is that the paper shape used should be square.
The base of the origami fish is shaped like a diamond and has a little flap in front. This base, as its name suggests, is used to create origami fish, which you can view here.


