
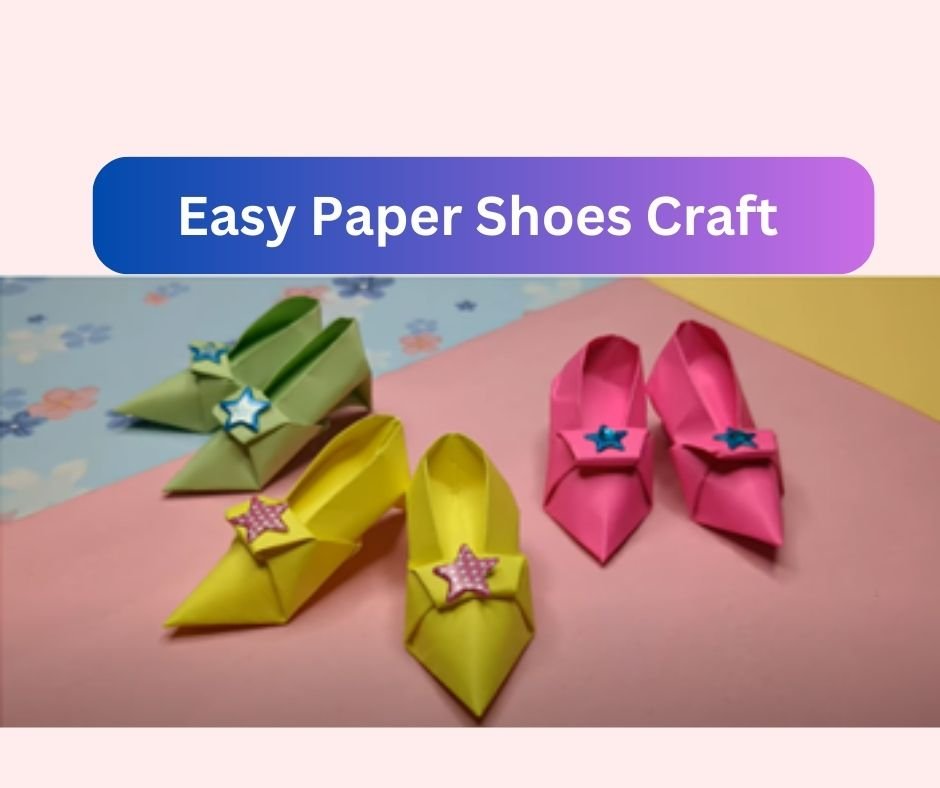
These paper shoes for kids are a great DIY project if you’re seeking for some appealing and simple craft ideas for kids. These paper shoes are bound to be a hit with kids. Kids may play with these paper shoes, attempt doing this simple craft on their own, and create these lovely shoes for their dolls. A fun craft activity is making paper shoes. The following is a step-by-step tutorial for making your own paper shoes.
Essential Tools and Materials Required:
- 4 Origami Sheets ( Your Preferred Colour ) with Size – 15 CM X 15 CM
- Use little stars or any other small object as embellishments.

How To Make Paper Shoes – Step By Step Tutorial (DIY Craft For Kids)
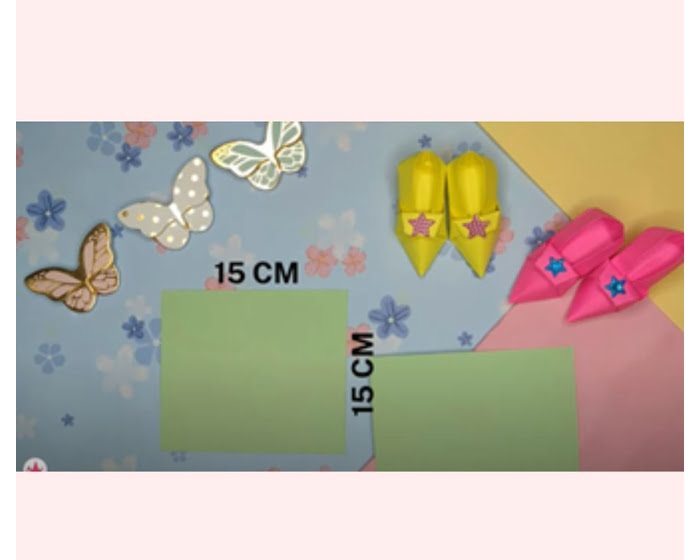
Step 1:
Cut the paper in the given dimension of 15X15CM and take the first sheet and fold the ends of both sides and open.
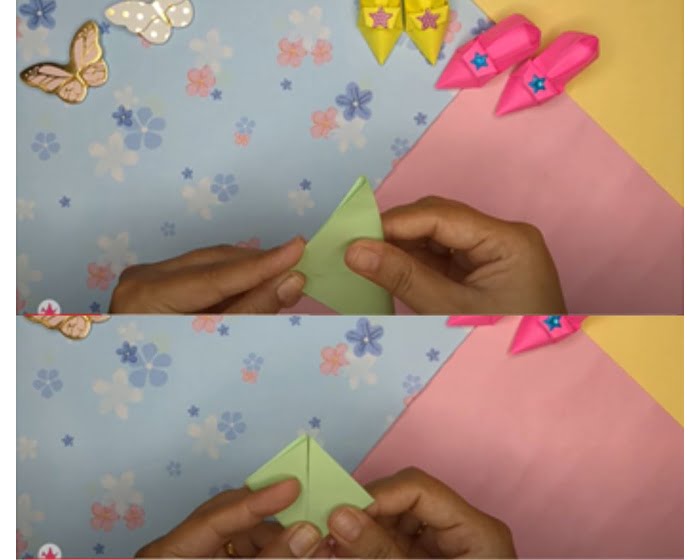
Step 2:
Again make a diagonal fold with the ends meeting and give a clean fold. Once the paper is folded, make another side fold from both ends, so that the paper converts into a small square shape. This fold will be similar to a kite shape.
Step 3:
Turn the paper on the other side and make equal folds meeting the end at the middle, similar to the last step. You will now get a diamond shape fold on this side.
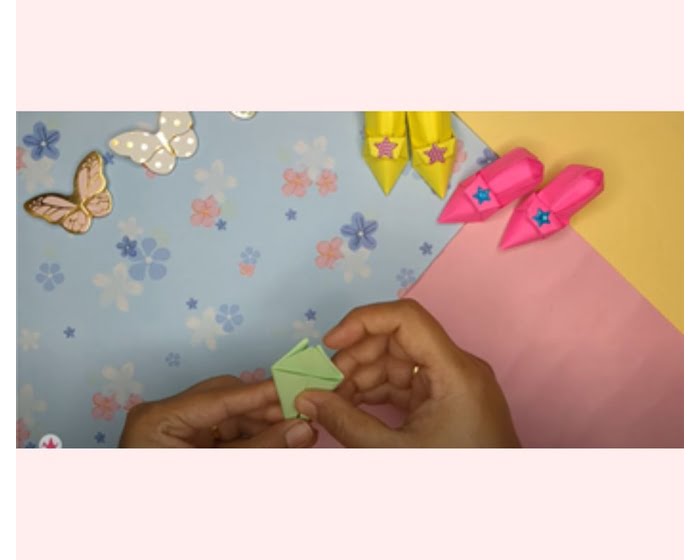
Step 4:
Open the sides and press the ends making a flat window on both sides.
Step 5:
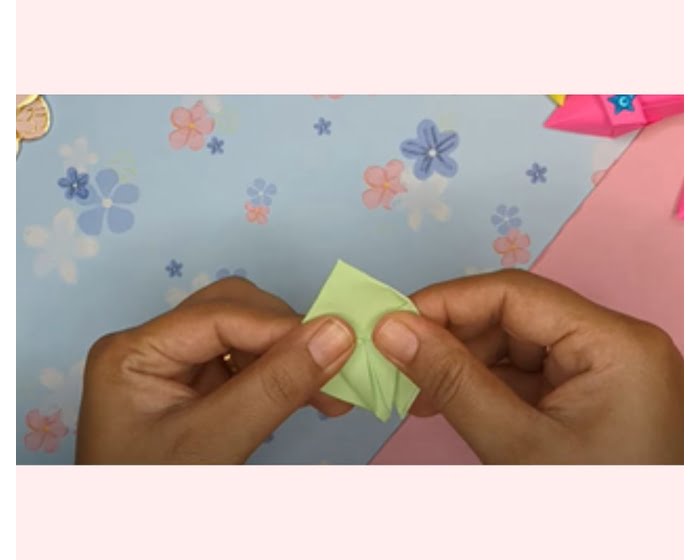
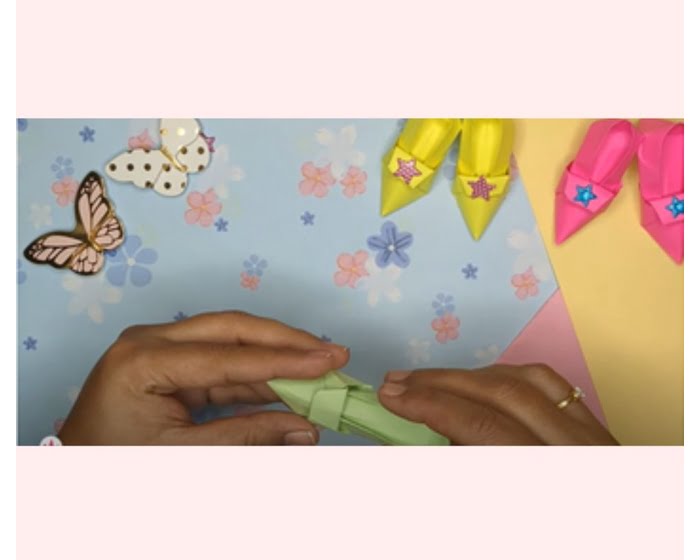
Flip the sides and bring the top open part to fold and put the fold inside both side open slots. The triangular part is bent inside. With your finger the below flap can be opened, which will give front shoe structure.
Step 6 :
Nicely press the folds below on the bottom and open the space between the bow and the paper and the front side of the shoe is prepared.
Now, lets make the heels and body of the shoes which would be prepared and joined to the upper part of the shoe.
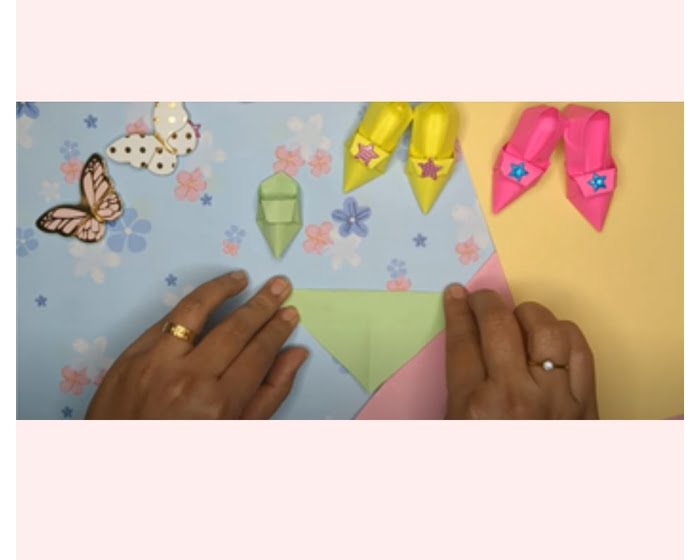
Step 7 :
Take the mentioned dimension paper with diagonal folds on both the sides, so that you get the center point of the craft paper to fold ahead.
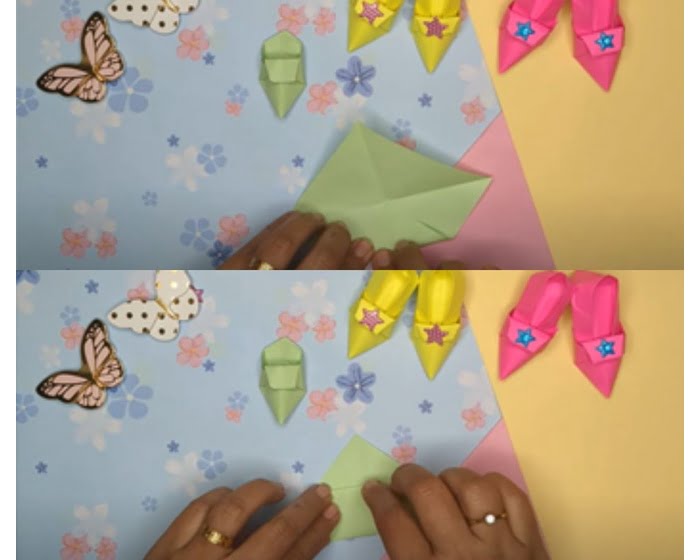
Step 8 :
Fold the paper form the end to the center and make another fold on the same fold above. You will get a triangular fold shape of the craft paper.
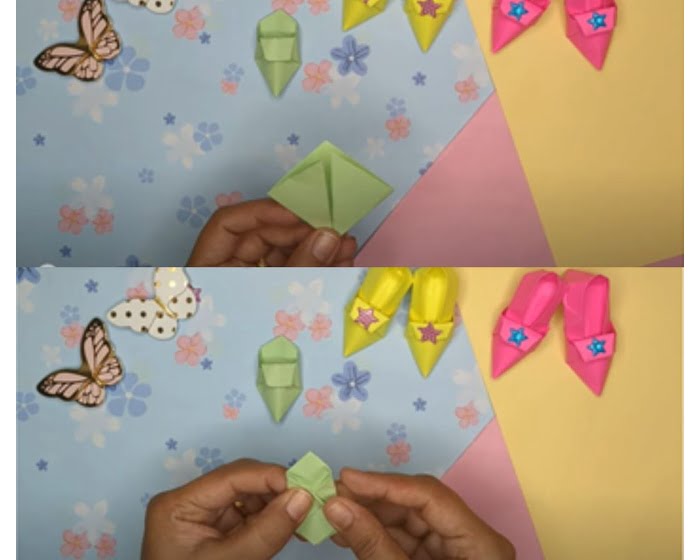
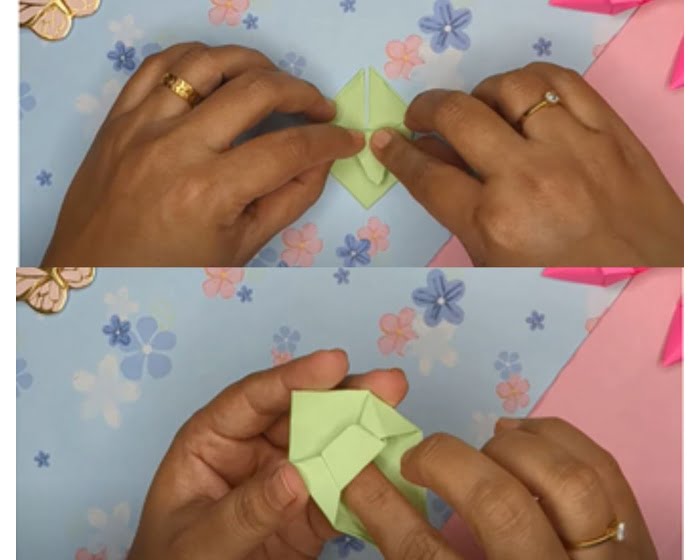
Step 9 :
Now turn the paper on the other side and fold the two end in such a way that they meet at the middle, joining each other. Again, turn back the paper and hold it in the same direction and let the two ends overlap each other, which is visible in the above picture.
Step 10 :
Turn back again and make the desired shape. With your finger, raise and flatten the sides.
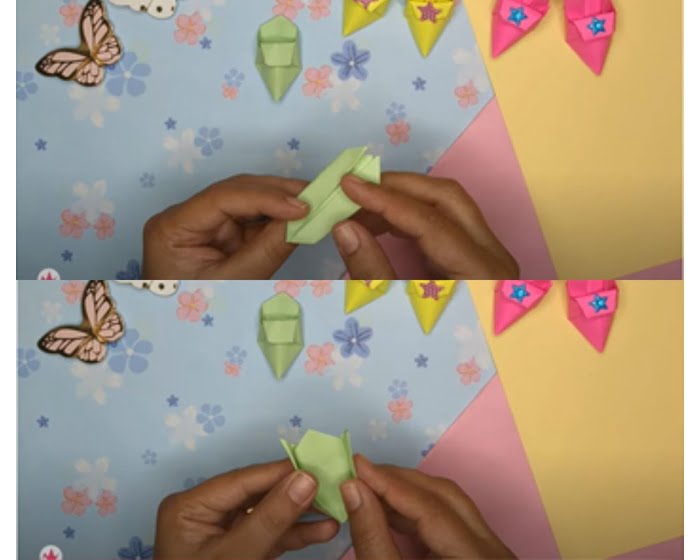
Step 11 :
Post, flattening the onside, turn back the side and press the inside flaps with the outer cover will turn into heels.
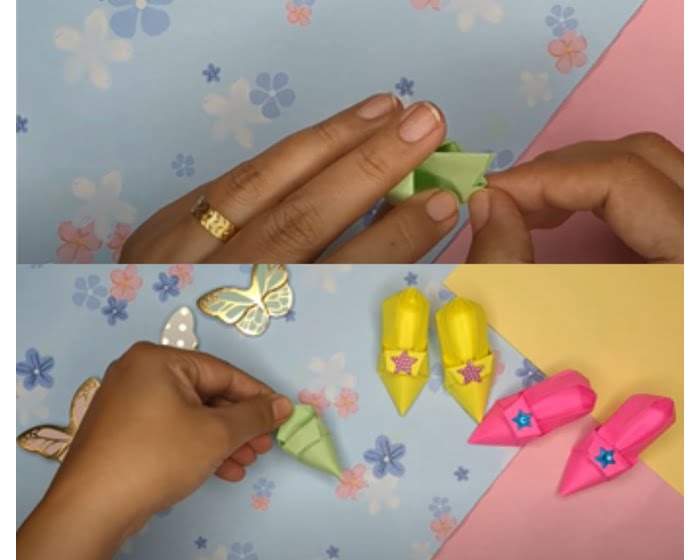
Step 12:
Insert the body into the front part of the shoe made earlier.
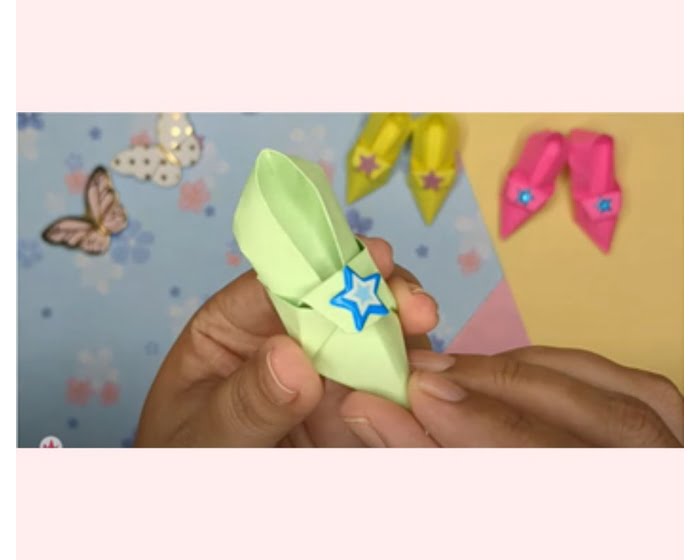
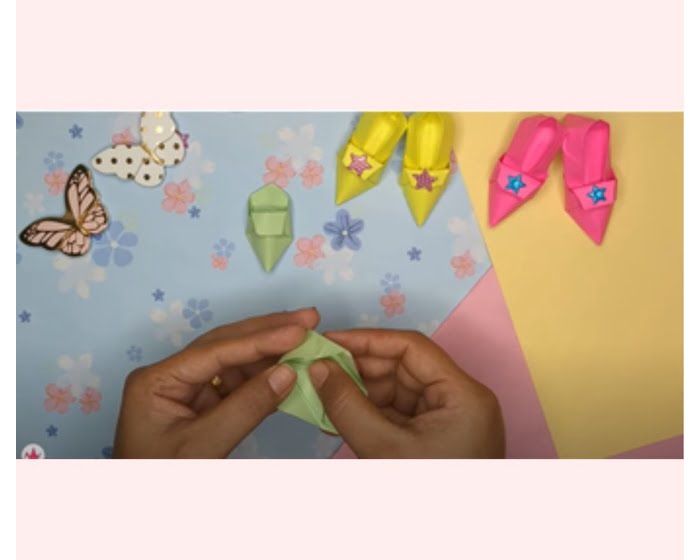
Step 13 :
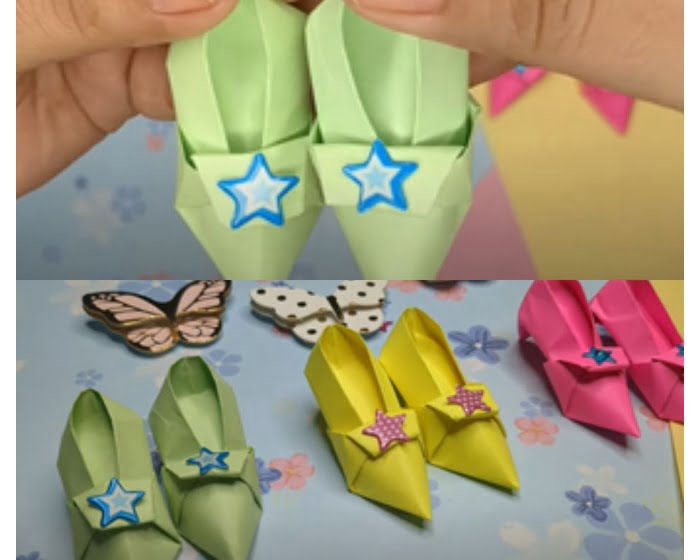
You can decorate the shoes with your favourite stars or glittery embellishments.
And your paper craft shoes are ready. You can now repeat the same process for the other pair of shoes. We are sure your kids will love this adorable craft. So why wait, create this easy and beautiful DIY shoe craft today.
Precautions one needs to take to get the best shoes:
- Cut the paper as per the mentioned dimension to get the perfect shape.
2. Use the same colour paper for the front and bottom designer body parts making.
3. Use embellishments of the same or small size as per the fold on the front shoe.
4. While making the designer body of the shoe, try keeping the heels pointed.
Frequently Asked Questions FAQs
- How to create paper shoes for Kids?
You can follow our DIY guide on fabbcraft.com or log on to our YouTube channel Fabbcraft to view an easy DIY tutorial for making this beautiful paper shoe craft.
- Are these shoes customizable?
Yes, you can customize these shoes, as per your preference by managing the paper size. Make sure to have the same dimensions on both sides of the paper.
- Which paper to use for creating the paper shoe craft?
You can use any thin paper or origami paper for this craft. You can take any of your preferred coloured sheets.
- Can I make flat shoes from this craft ?
Yes, you can easily make a flat shoe with this DIY process, by only flattening the heels while creating.


