
Beautiful crafts are something everyone can enjoy—who could resist them? Whether you’re a skilled artist or just starting out, weekends are the perfect time to explore your creative side. We’ve gathered 25 popular ice cream stick ideas that suit all experience levels, from beginners to experts!
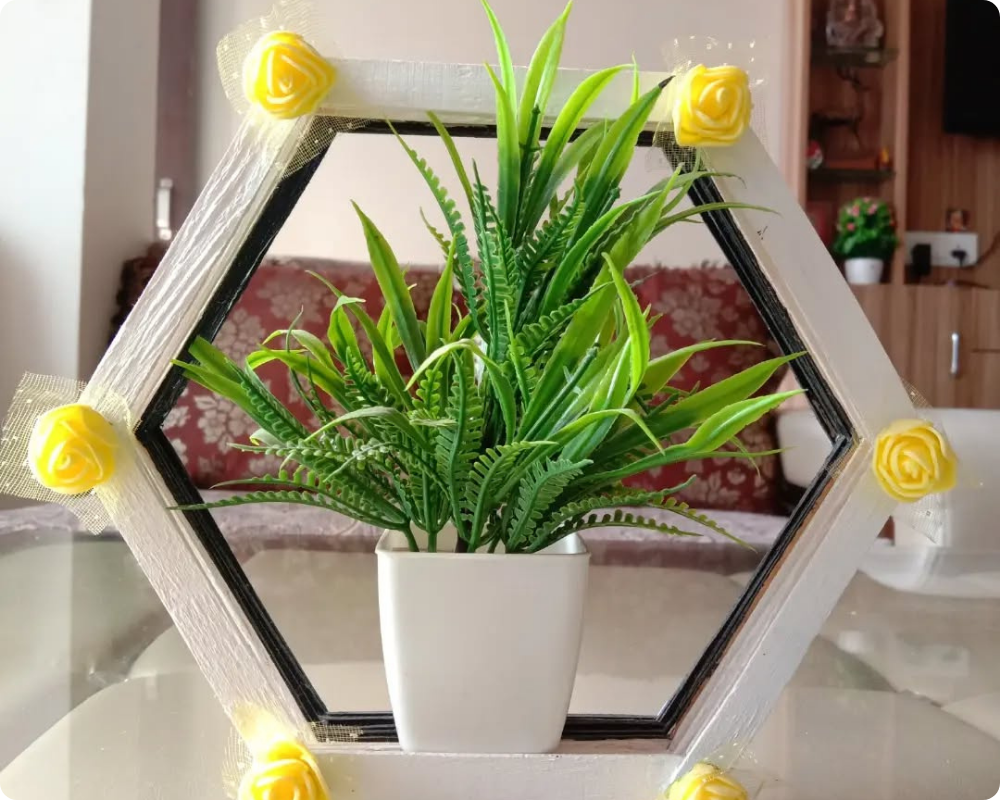
1. Plant Frame
To make this beautiful hexagon photo-frame-style plant holder, start by cutting six equal pieces of sturdy cardboard or lightweight wood to form the sides of the hexagon. Glue the ends together neatly to create the shape, ensuring it’s stable and even. Once the frame is ready, paint it with white acrylic paint and let it dry completely. To give it a finished look, outline the inner edges with black paint or tape for contrast. Next, decorate each corner with small artificial yellow roses and pieces of net fabric for a delicate touch. Place a small artificial plant in a white pot behind or inside the frame so that it appears centered through the hexagonal opening. This charming DIY frame adds a fresh and modern look to any living space, making it a perfect home décor piece.
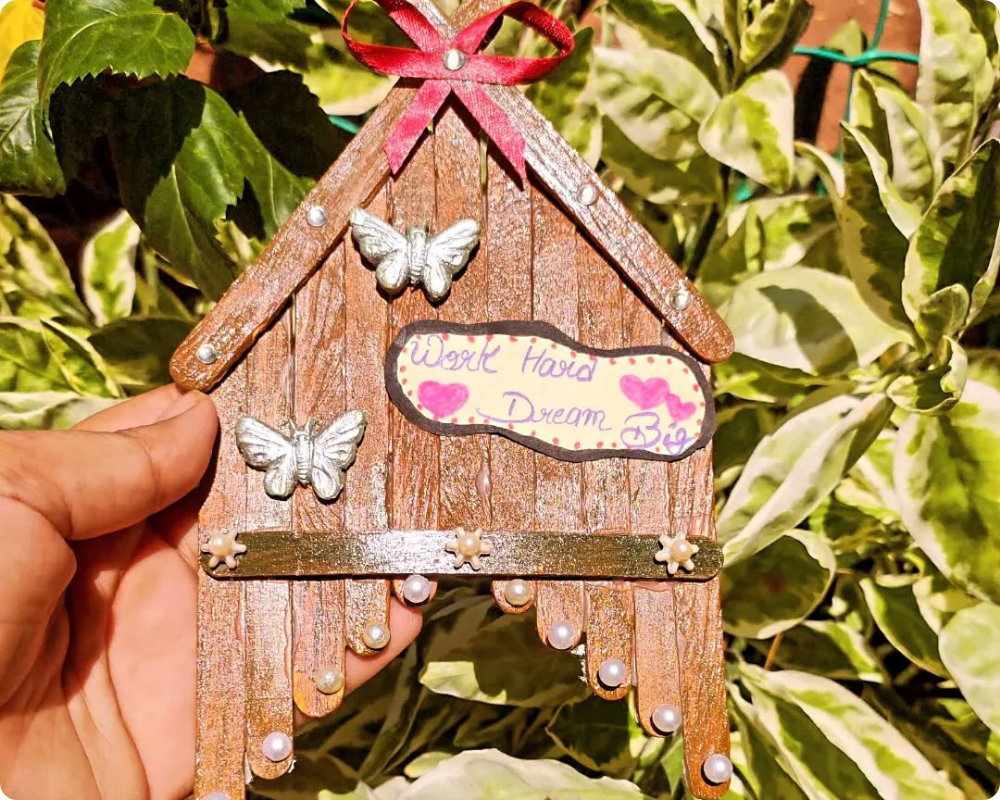
2. Tree House
To make this tree house take multiple ice cream sticks and cut them in different sizes from small to large and make sure each piece should have its duplicate. Now attach all the sticks together from small to large together and paint it in wood colour. Design them with stones and attach a cute ribbon on it.
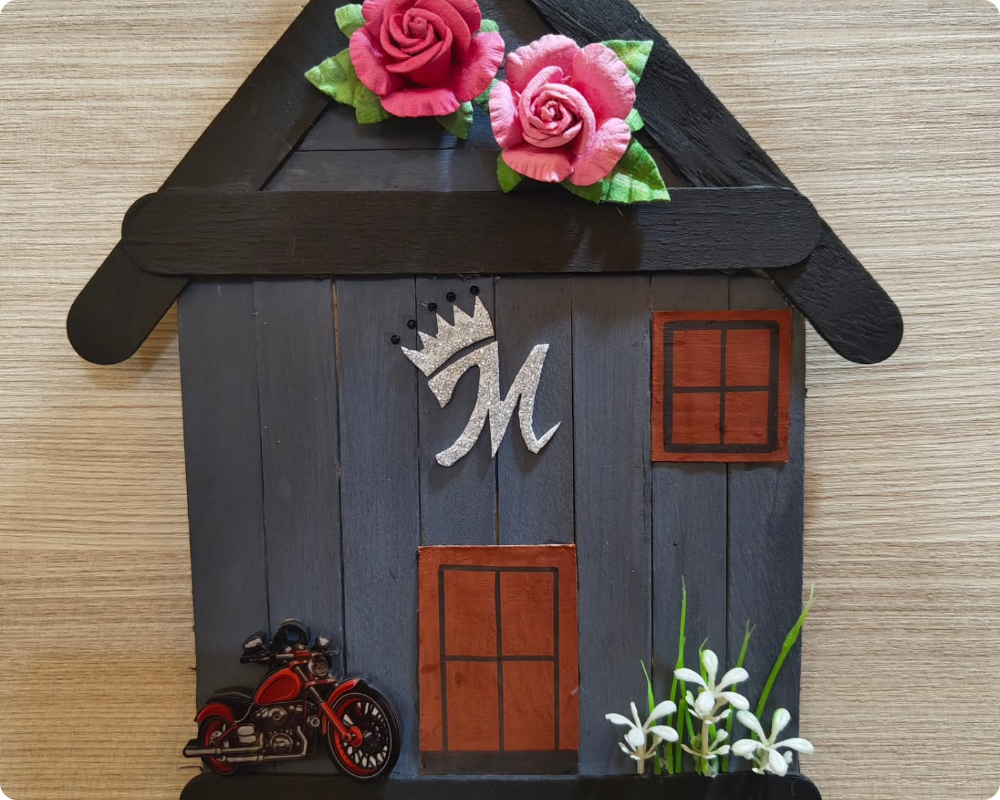
3. Black House
To make this charming popsicle stick house wall décor, start by gathering large craft sticks, glue, acrylic paints (black, grey, and brown), artificial flowers, small embellishments like a mini bike sticker, and a decorative letter or monogram. First, arrange and glue the popsicle sticks vertically to form the house’s body, then use two sticks diagonally for the roof and one horizontally across to strengthen it. Paint the roof black and the walls a dark grey, allowing it to dry completely. Add details like a brown-painted door and window using small cut-out cardboard pieces or paint directly on the sticks. Decorate the top with pink artificial roses and green leaves, and glue a silver letter or crown cutout in the center for a personalized touch. Finish by adding small white artificial flowers and the mini bike sticker at the bottom for decoration. This DIY craft makes a beautiful personalized wall hanging or gift.
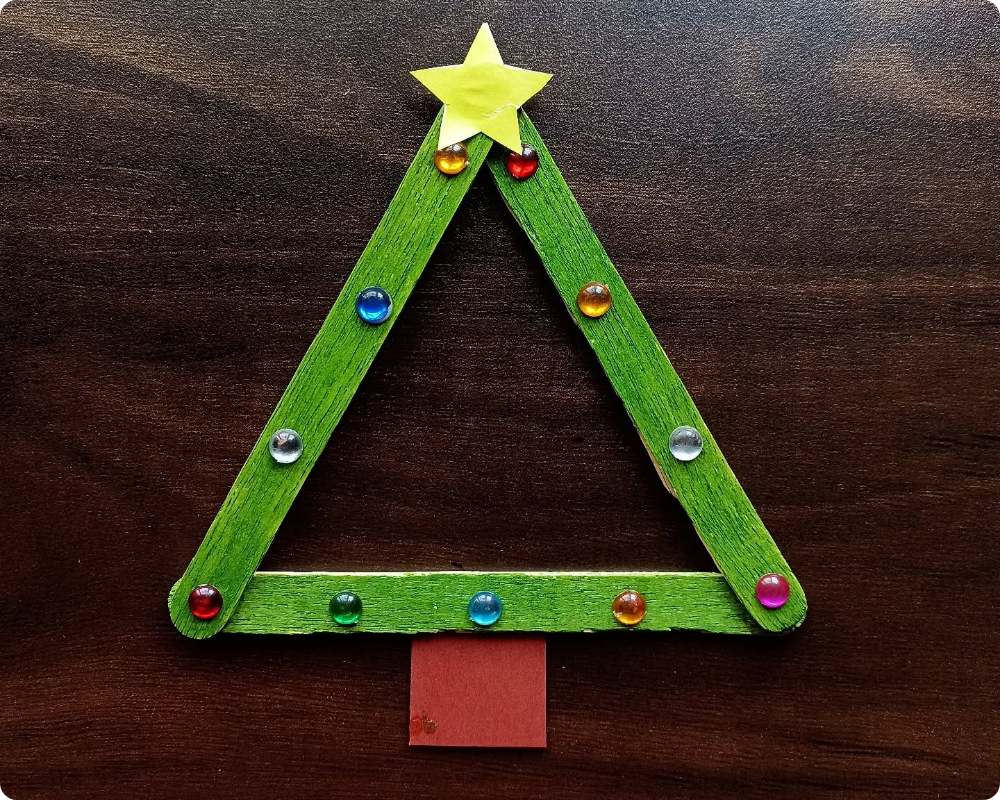
4. Christmas Tree
To make this Christmas tree, take 3 sticks colour it green and add stones over it. Now join the 3 sticks one with another to form a triangle shape. Your Christmas tree is ready.
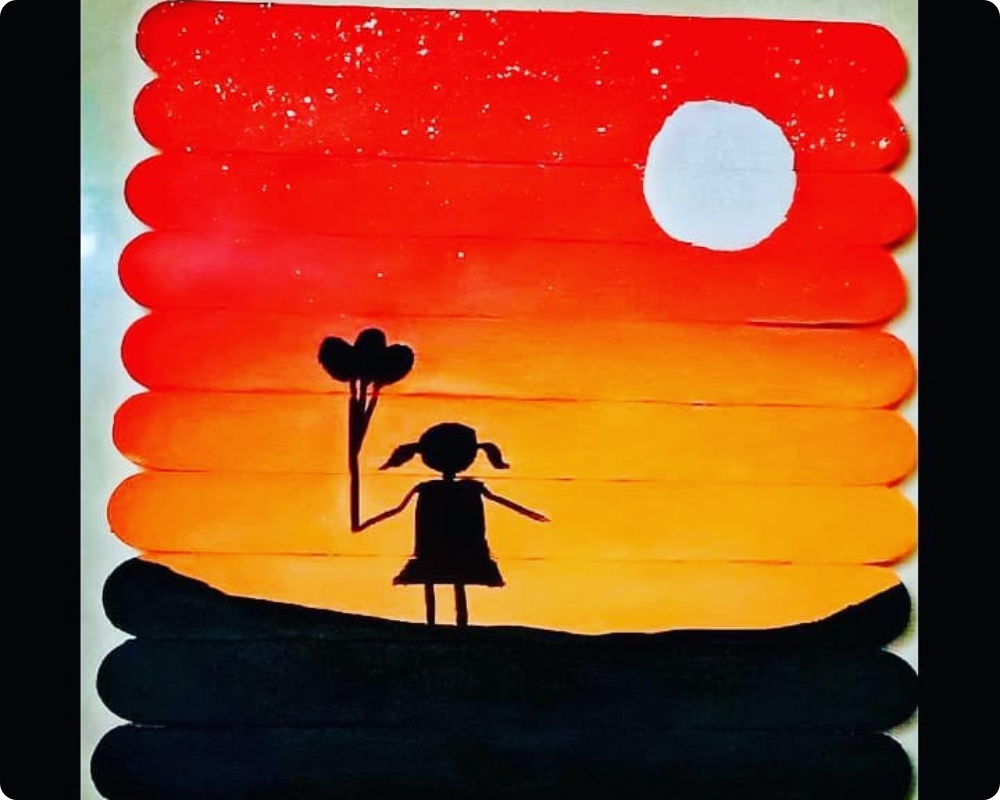
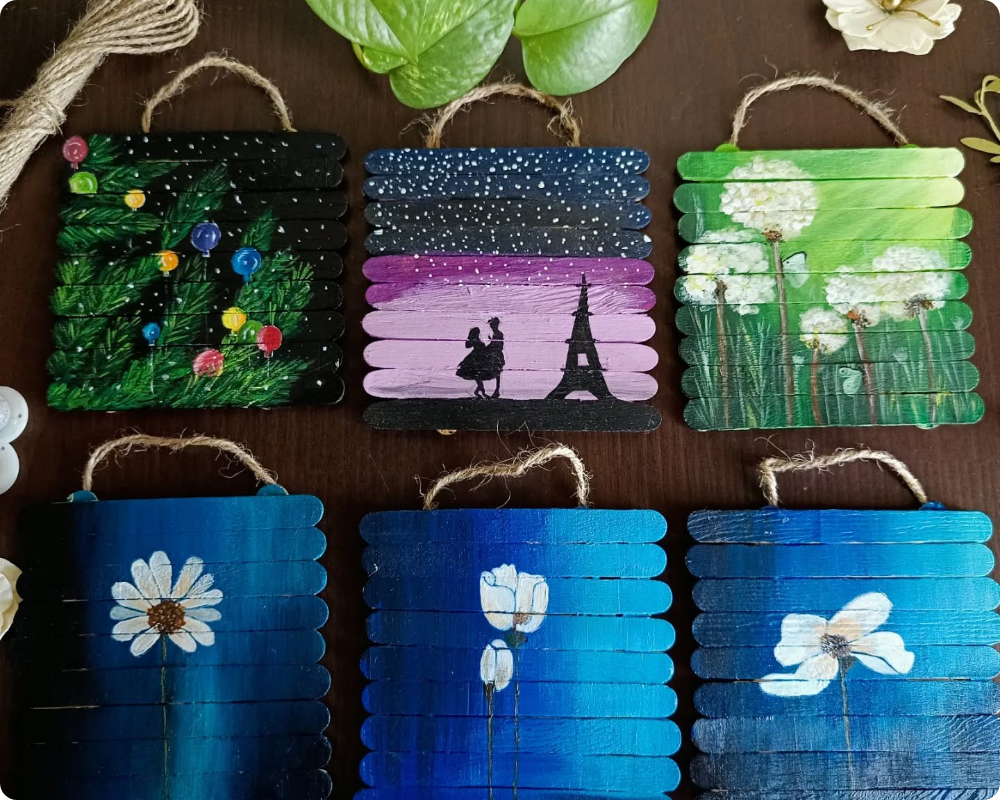
5. Scenery Stick
To make this, attach 10-12 sticks one with another and paint it white. Then draw this beautiful scenery with various colours. Keep a girl holding balloons in black. Your photo is ready.
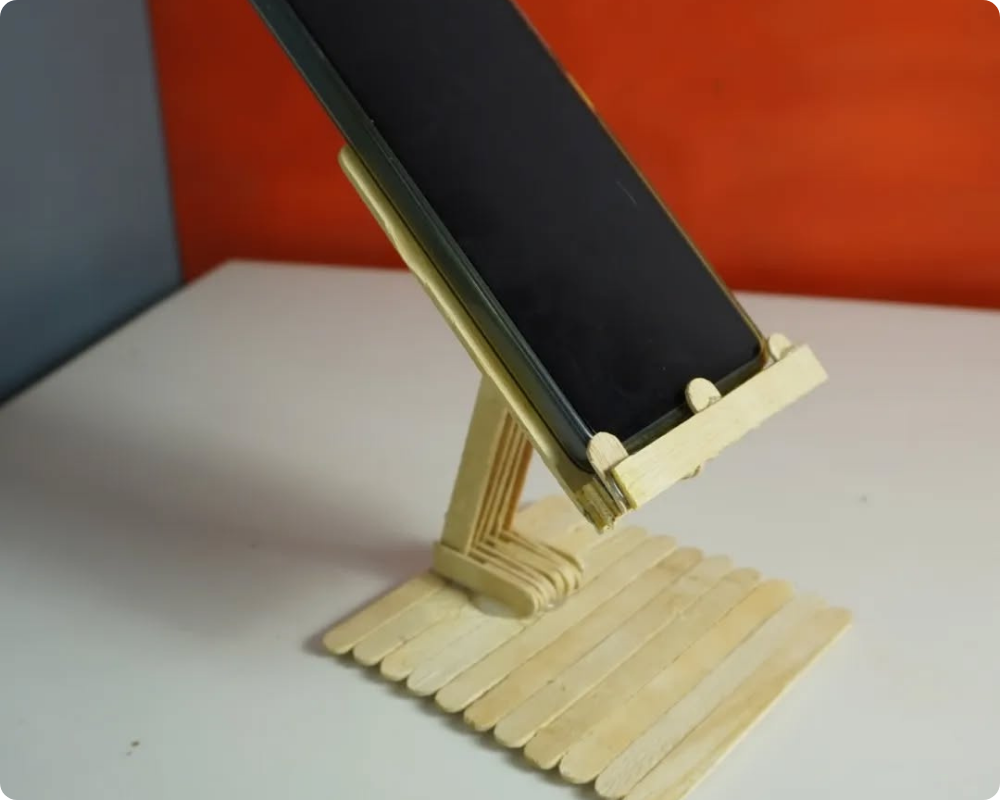
6. Phone Stand
To make a phone holder with ice cream sticks, start by gathering about 10–12 clean sticks, glue, and some decorative materials like paint or stickers. First, create the base by gluing four sticks side by side in a flat row. Then, glue two more sticks on the edges of the base for extra strength. Next, make a backrest by arranging and gluing another four sticks vertically, slightly tilted backward, and attach it securely to the base. Add one or two sticks in front to act as a stopper so your phone doesn’t slip. Once the structure is firm and dry, decorate it with bright colors or patterns to give it a personal touch. Your simple and creative phone holder is ready to use!
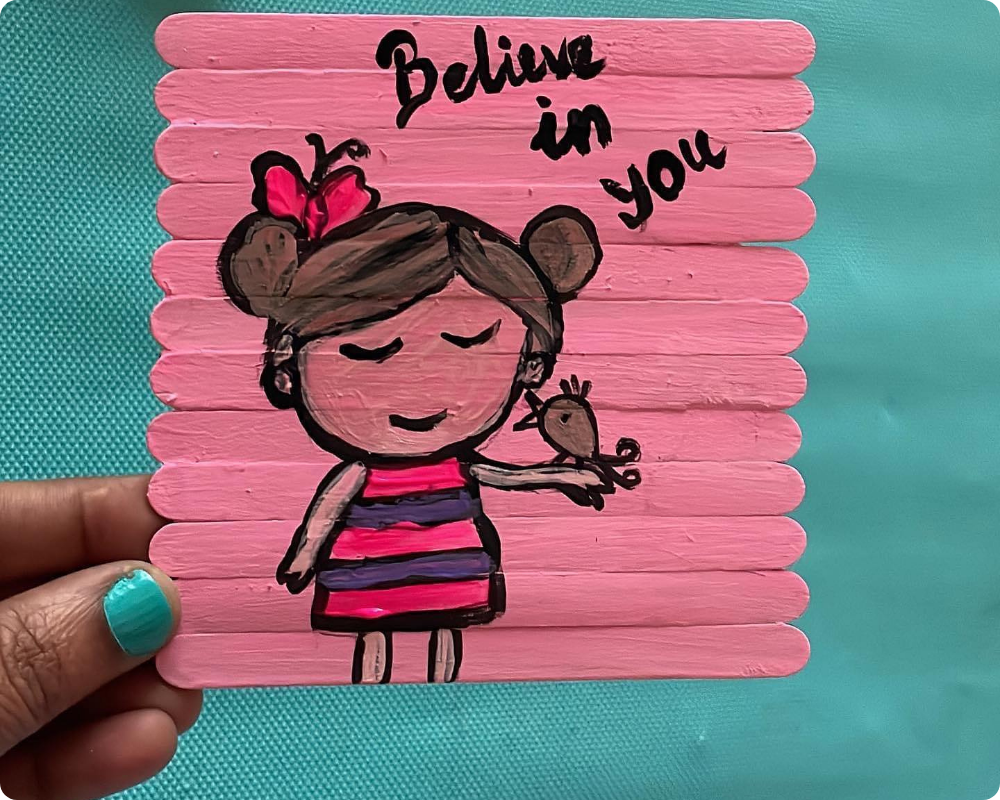
7. Believe in You
To make this, attach 10-12 sticks one with another and paint it pink. Then draw this cute girl holding a bird. Take a black paint and write believe in you. Your photo is ready.
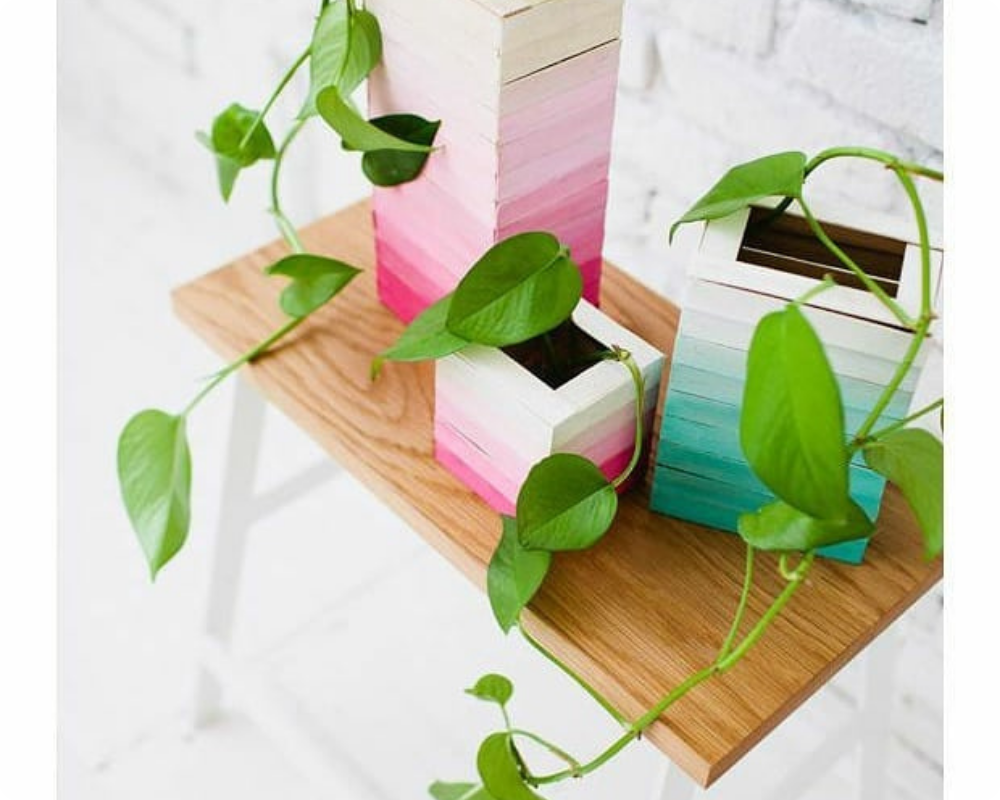
8. Pot for Planters
To make a pot for planters using ice cream sticks, start by collecting around 30–40 sticks, glue, and a small plastic or paper cup as the base. First, clean and dry the sticks thoroughly. Then, take the cup and apply glue around its outer surface. Carefully stick the ice cream sticks vertically, side by side, covering the entire cup. Make sure the bottom ends of the sticks are even so the pot stands properly. Once the glue dries, you can paint the sticks with bright or pastel colors and even add designs or glitter for decoration. Finally, place a small plant or succulent inside the cup, and your eco-friendly, handmade ice cream stick planter pot is ready to brighten up your space!
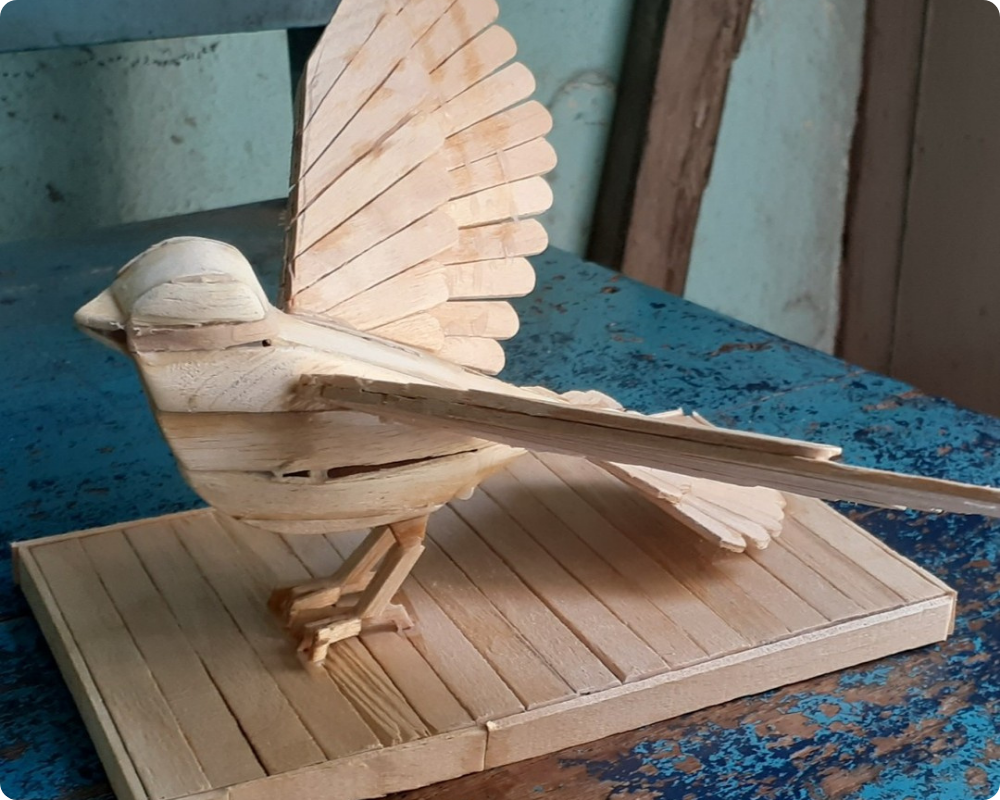
9. Stick Bird
To make a bird with ice cream sticks, start by gathering a few sticks, glue, colored paper, and markers. Arrange two sticks in a “V” shape to form the wings and glue another stick across them to make the body. Use colored paper or craft foam to cut out the bird’s head, tail, and beak, then glue them onto the structure. Add small paper or googly eyes to bring your bird to life. Once the glue dries, paint the sticks in bright colors like blue, yellow, or red, and decorate the wings with patterns or glitter for extra charm. Your adorable ice cream stick bird is now ready — perfect for wall décor or school craft projects!
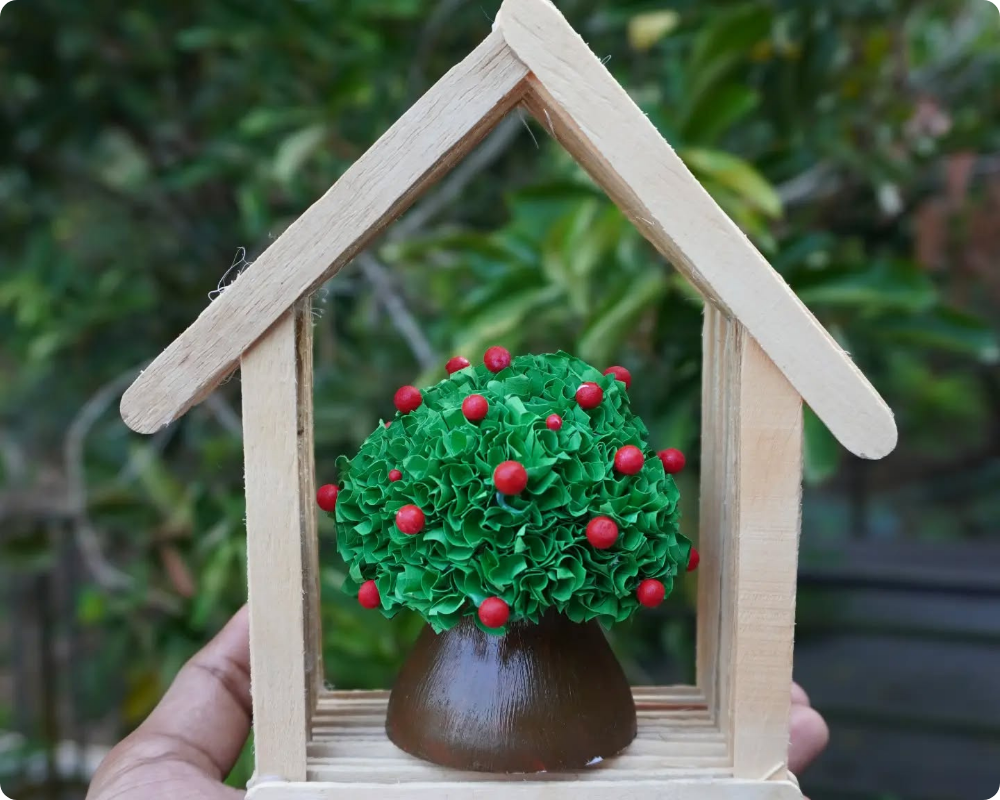
10. Ice cream stick home
To make this adorable miniature tree house craft, start by gathering popsicle sticks, a small plastic or clay pot, green craft paper, red beads or small foam balls, glue, and scissors. First, create the frame of the house by gluing popsicle sticks into a rectangular shape with a triangular roof on top. Make sure the structure is sturdy and let it dry completely. Next, form the tree by rolling green craft paper into tight folds or crumpling it into small pieces to create a bushy texture, then glue them together into a round shape. Attach red beads randomly to resemble fruits or flowers. Secure the paper tree onto the small pot using strong glue, and once dry, place or glue the pot inside the wooden house frame. This charming craft makes a cute tabletop decoration and brings a touch of nature-inspired creativity to your space.
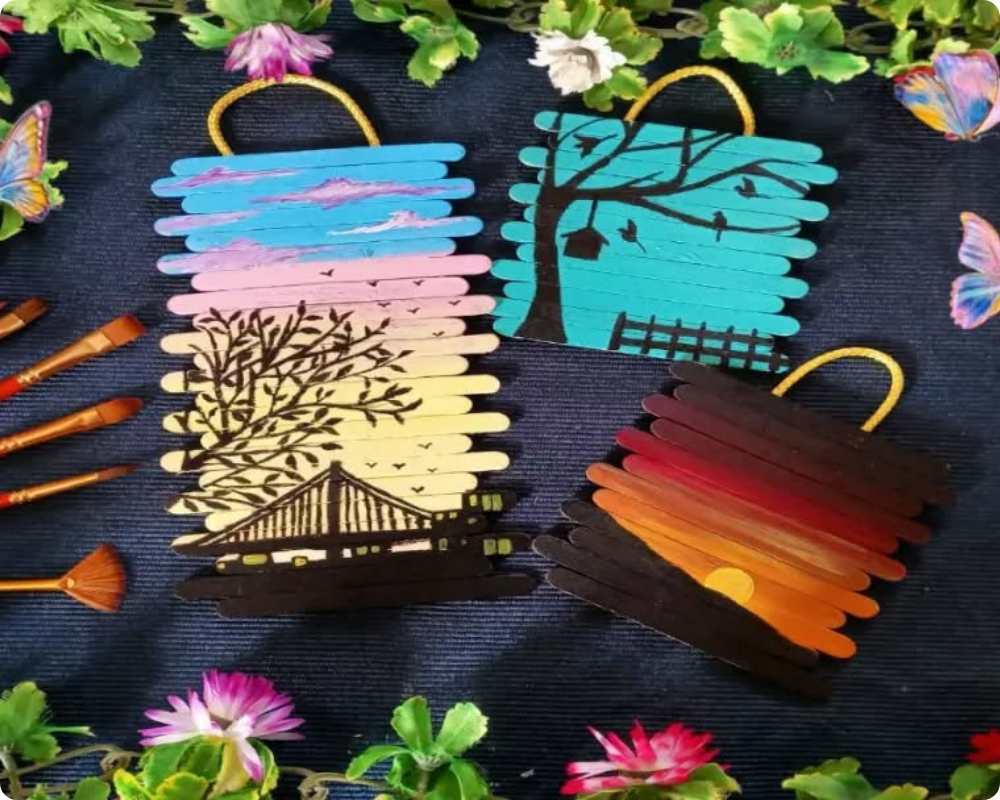
11. Icecream Stick Canvas
To make these beautiful popsicle stick wall hangings, start by arranging several ice cream sticks side by side to form a rectangle, then glue two sticks horizontally at the back to hold them together. Once dry, paint each piece with different background shades—such as sunset hues, sky blues, or pastel gradients—using acrylic paints. Allow the paint to dry completely before adding fine black designs like trees, birds, bridges, or landscapes with a thin brush or marker. You can also experiment with silhouettes to make the colors stand out. Attach a small loop of rope or thread at the top for hanging. These vibrant and creative popsicle stick paintings are perfect as DIY home decor pieces or handmade gifts, adding a touch of color and charm to any wall.
12. Hanging Icecream Stick Canvas
To make a hanging canvas with ice cream sticks, start by gluing four sticks together in a square or rectangular shape to form the frame. Make sure the corners are aligned neatly and let the glue dry completely. Cut a piece of white or colored paper or fabric slightly larger than the frame and glue it to the back so it stretches smoothly across the opening like a canvas. Once it’s ready, paint or draw your favorite design, such as flowers, quotes, or patterns, on the canvas. After decorating, attach a piece of string or ribbon to the top corners of the frame for hanging. You can also add beads or tiny decorations to make it more stylish. Your beautiful ice cream stick hanging canvas is now ready to display!
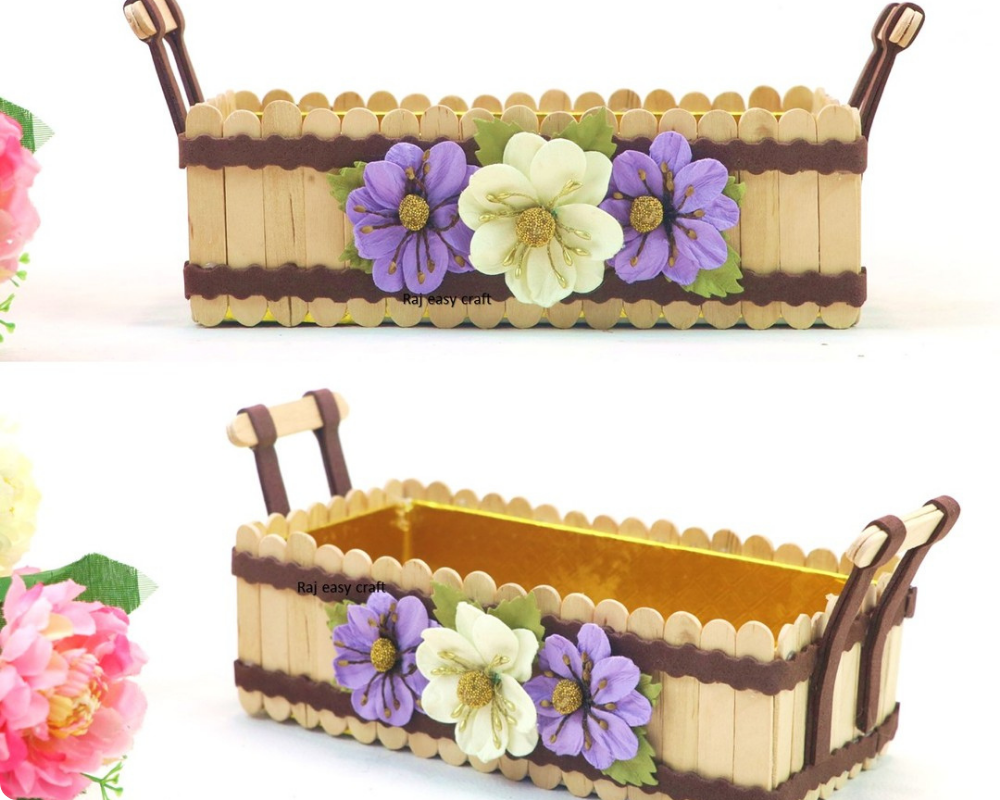
13. Icecream Stick Box
To make a fruit bowl with ice cream sticks, start by collecting about 40–50 sticks, glue, and some paint for decoration. Begin by arranging and gluing a few sticks in a crisscross pattern to form the base. Once the base is strong and dry, start stacking more sticks layer by layer, slightly shifting each layer outward to give the bowl a curved shape. Continue gluing until the bowl reaches your desired height. After it’s dry, paint the bowl in bright colors or natural wood tones for a polished look. You can even add a coat of clear varnish for shine. This handmade ice cream stick fruit bowl is both creative and functional — perfect for holding artificial fruits or small snacks!
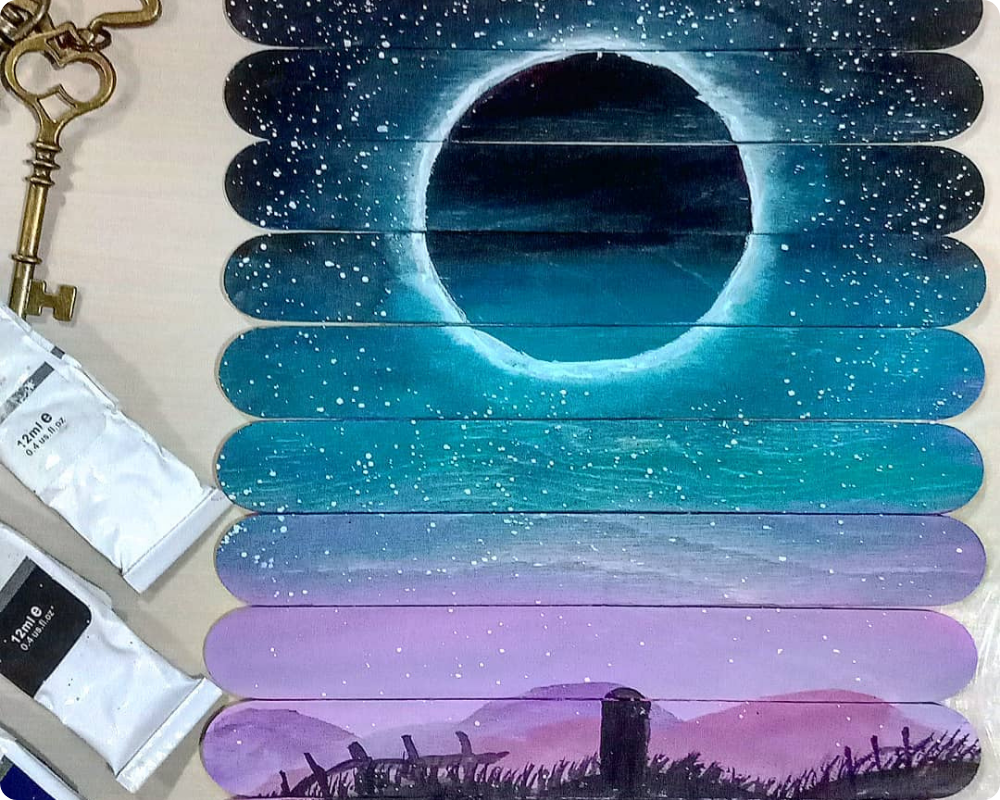
14. Moon and Stars
To make this, attach 10-12 sticks one with another and paint it white. Add dark blue, light blue and purple colour. With the help of spray painting add white stars all over the sky. Add a radiating moon with white colour. At last, with black colour draw grass and post.
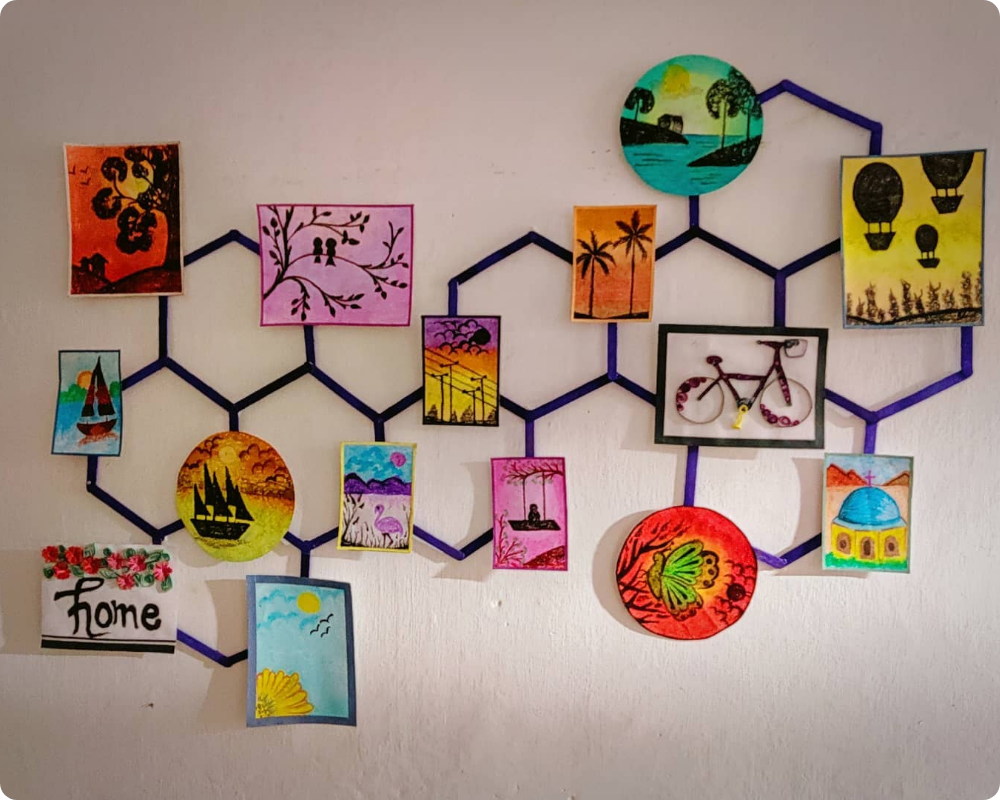
15. Wall Background
To make this wall background take ice cream sticks and attach one ice cream stick with another in hexagonal shape and add a picture on it. Thus, a cute wall background is ready.
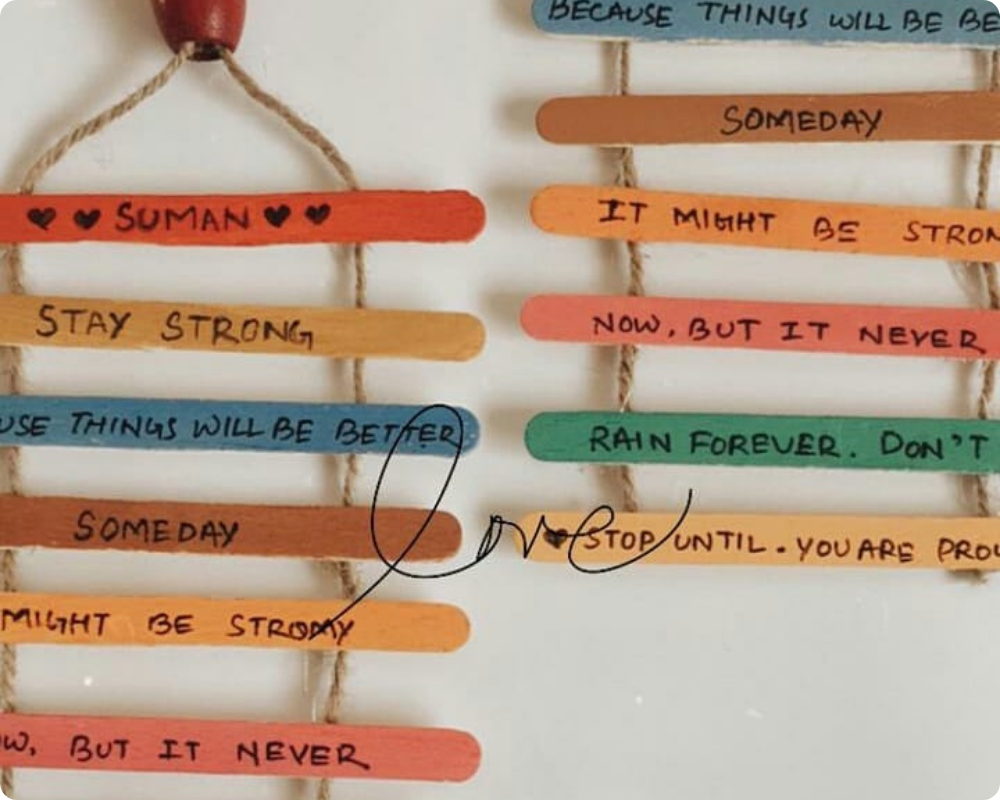
16. Wall Hanging Stick Quotes
To make this take a long rope and attach ice cream sticks on both ends of the rope. Colour the ice cream stick and add quotes to them. Your wall hanging stick quote is ready.
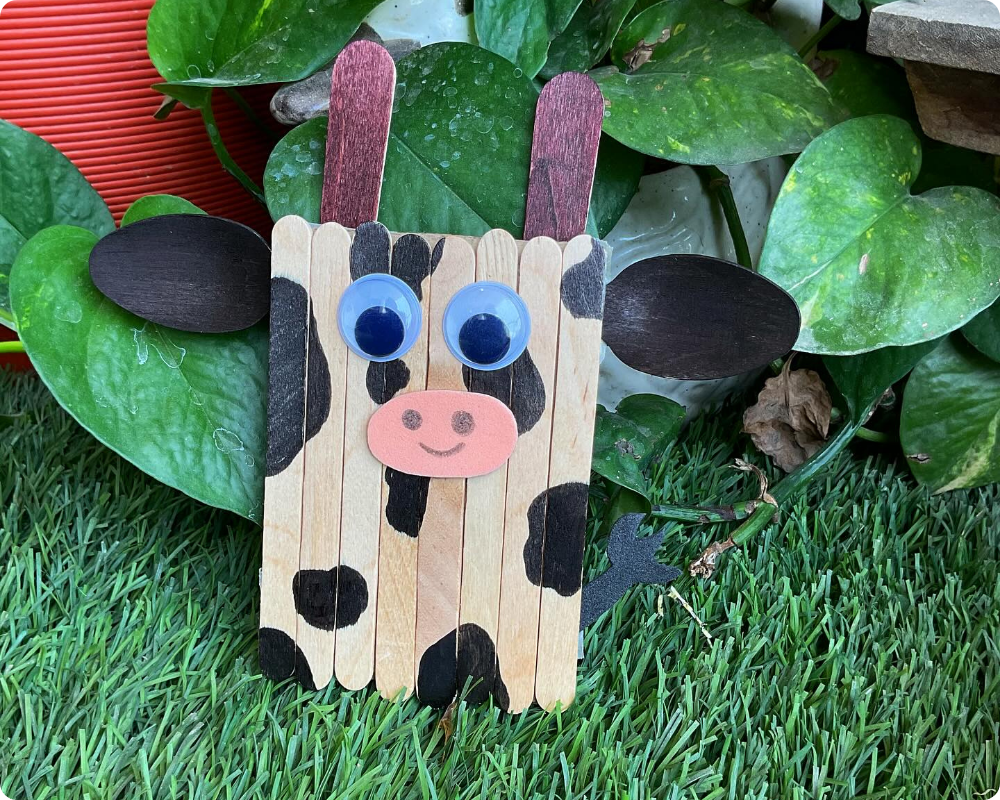
17. Icecream Cow
To make this ice cream cow take a black marker , attach 6-7 ice cream sticks and draw black patches all over the base. Add eyes and sponge mouth on it. Your cow popsicle is ready,
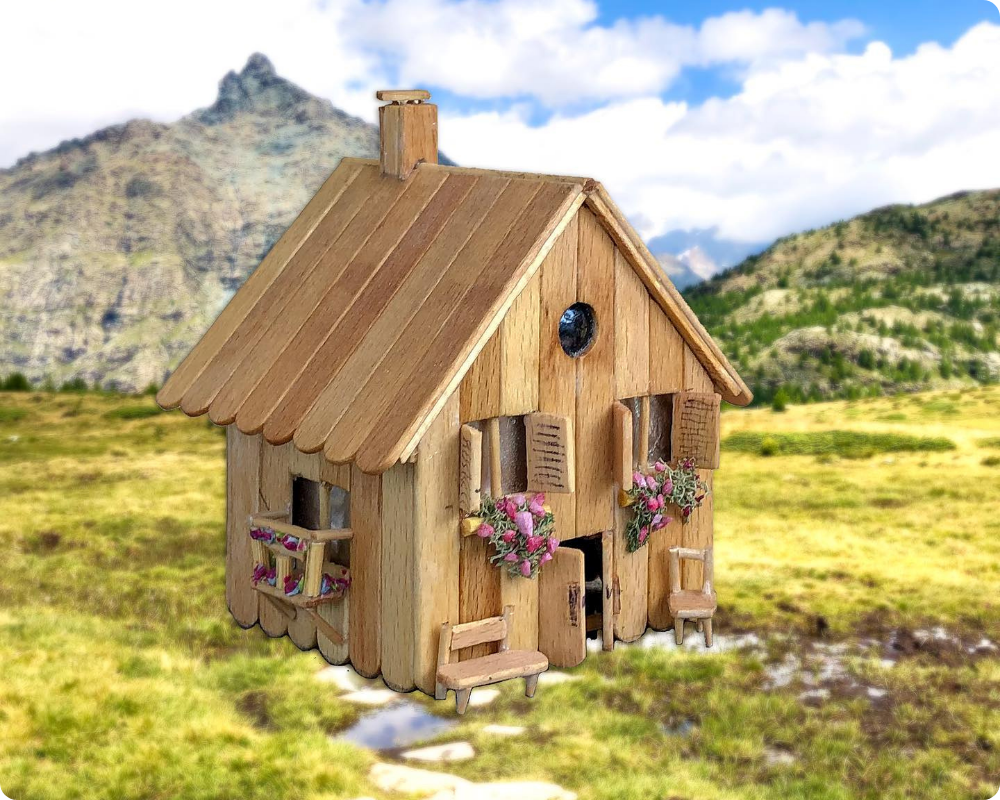
18. Icecream Stick Home
To make a home with ice cream sticks, start by gathering plenty of sticks, glue, and a flat cardboard base. Begin by creating four walls — glue the sticks side by side to form panels, then join the panels together to make a box-shaped house. Cut out small spaces for windows and a door before assembling. For the roof, glue several sticks together in two flat sections and attach them at an angle to form a triangle shape. Once the structure is secure, paint the house in bright colors and decorate it with small paper flowers, a fence, or a garden made from extra sticks. Let it dry completely, and your cute ice cream stick home will be ready to display!
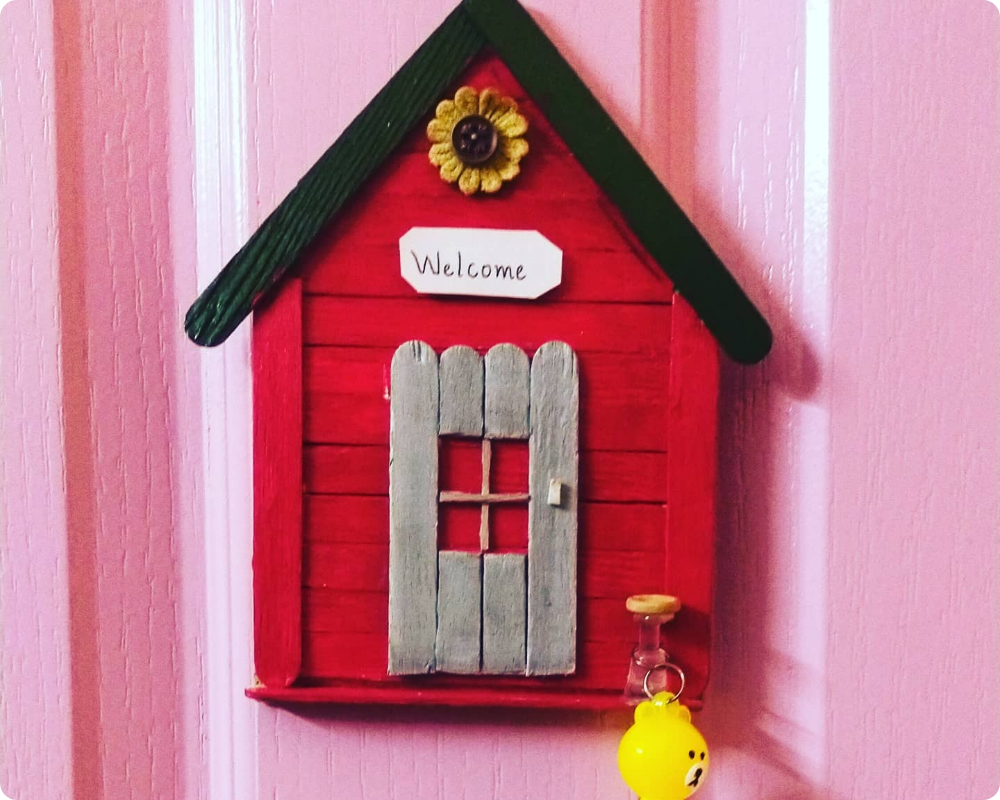
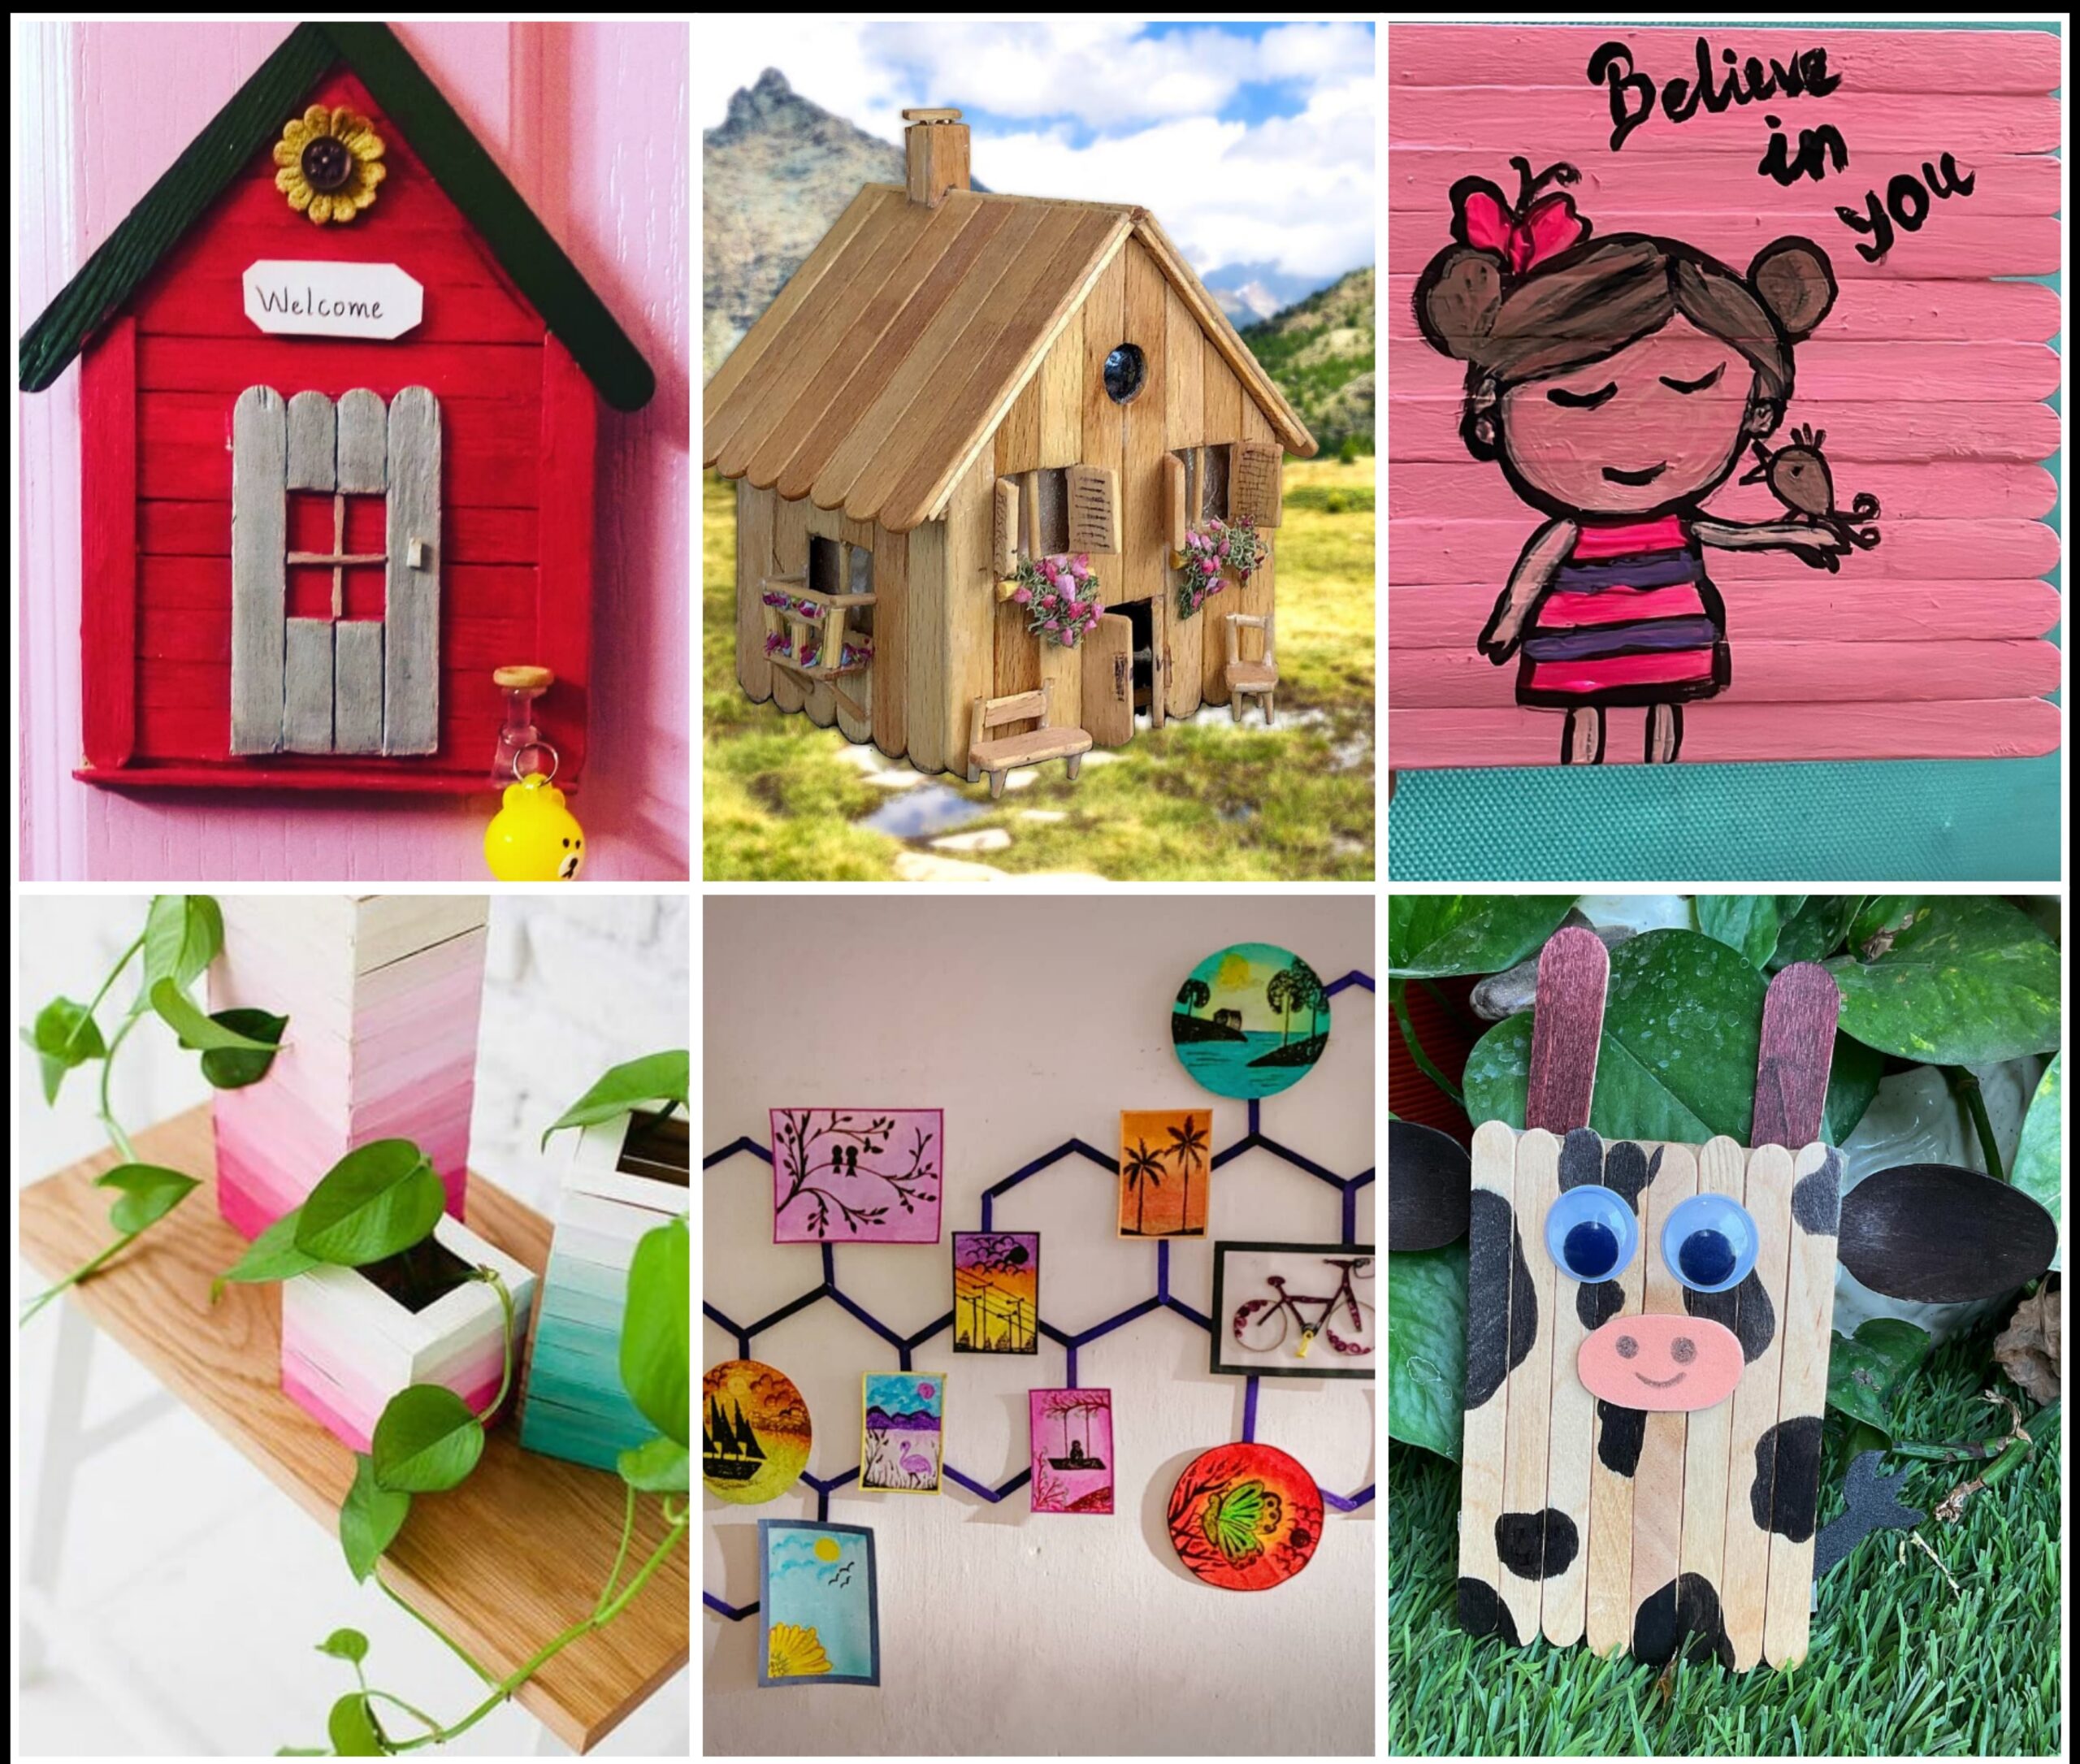
19. Key Holder
To make this cute little house-shaped wall decor, start by gathering materials: wooden craft sticks, a small piece of cardboard or thin wood for the base, acrylic paints (red, green, yellow, and gray), glue, a small decorative flower or button, a small label for the “Welcome” sign, and a hook or peg. First, cut and glue the sticks together to form the shape of a house—use red-painted sticks for the walls and green ones for the roof. Once dry, add a small rectangular door made from three gray-painted sticks and attach it to the front. Glue a tiny window frame above or beside the door. Attach the flower at the top center of the roof and place the “Welcome” sign below it. Finally, screw or glue a small hook at the bottom to hang a keychain or ornament. Let everything dry completely before hanging your charming handmade decoration on a wall or door.

20. Key Hanger
To make a key holder with ice cream sticks, start by arranging and gluing about 8–10 sticks side by side to form a rectangular base. Once dry, glue two sticks horizontally across the top and bottom for extra support. Decorate the base with paint, markers, or colorful paper to make it look attractive. Next, attach small hooks or push pins along the bottom row of sticks — these will hold your keys. You can also glue a string or ribbon to the back for hanging the holder on a wall. Add creative touches like stickers, beads, or a small nameplate to personalize it. Once complete, your handmade ice cream stick key holder will be a fun and functional addition to your home!


