Crafting is more than just a fun activity for kids—it’s incredibly beneficial too! It sparks creativity, boosts confidence, and helps develop fine motor skills. Plus, it’s a great way to spend quality time together as a family. Want to explore some simple and engaging preschool craft ideas for your little ones? Keep scrolling to discover more.
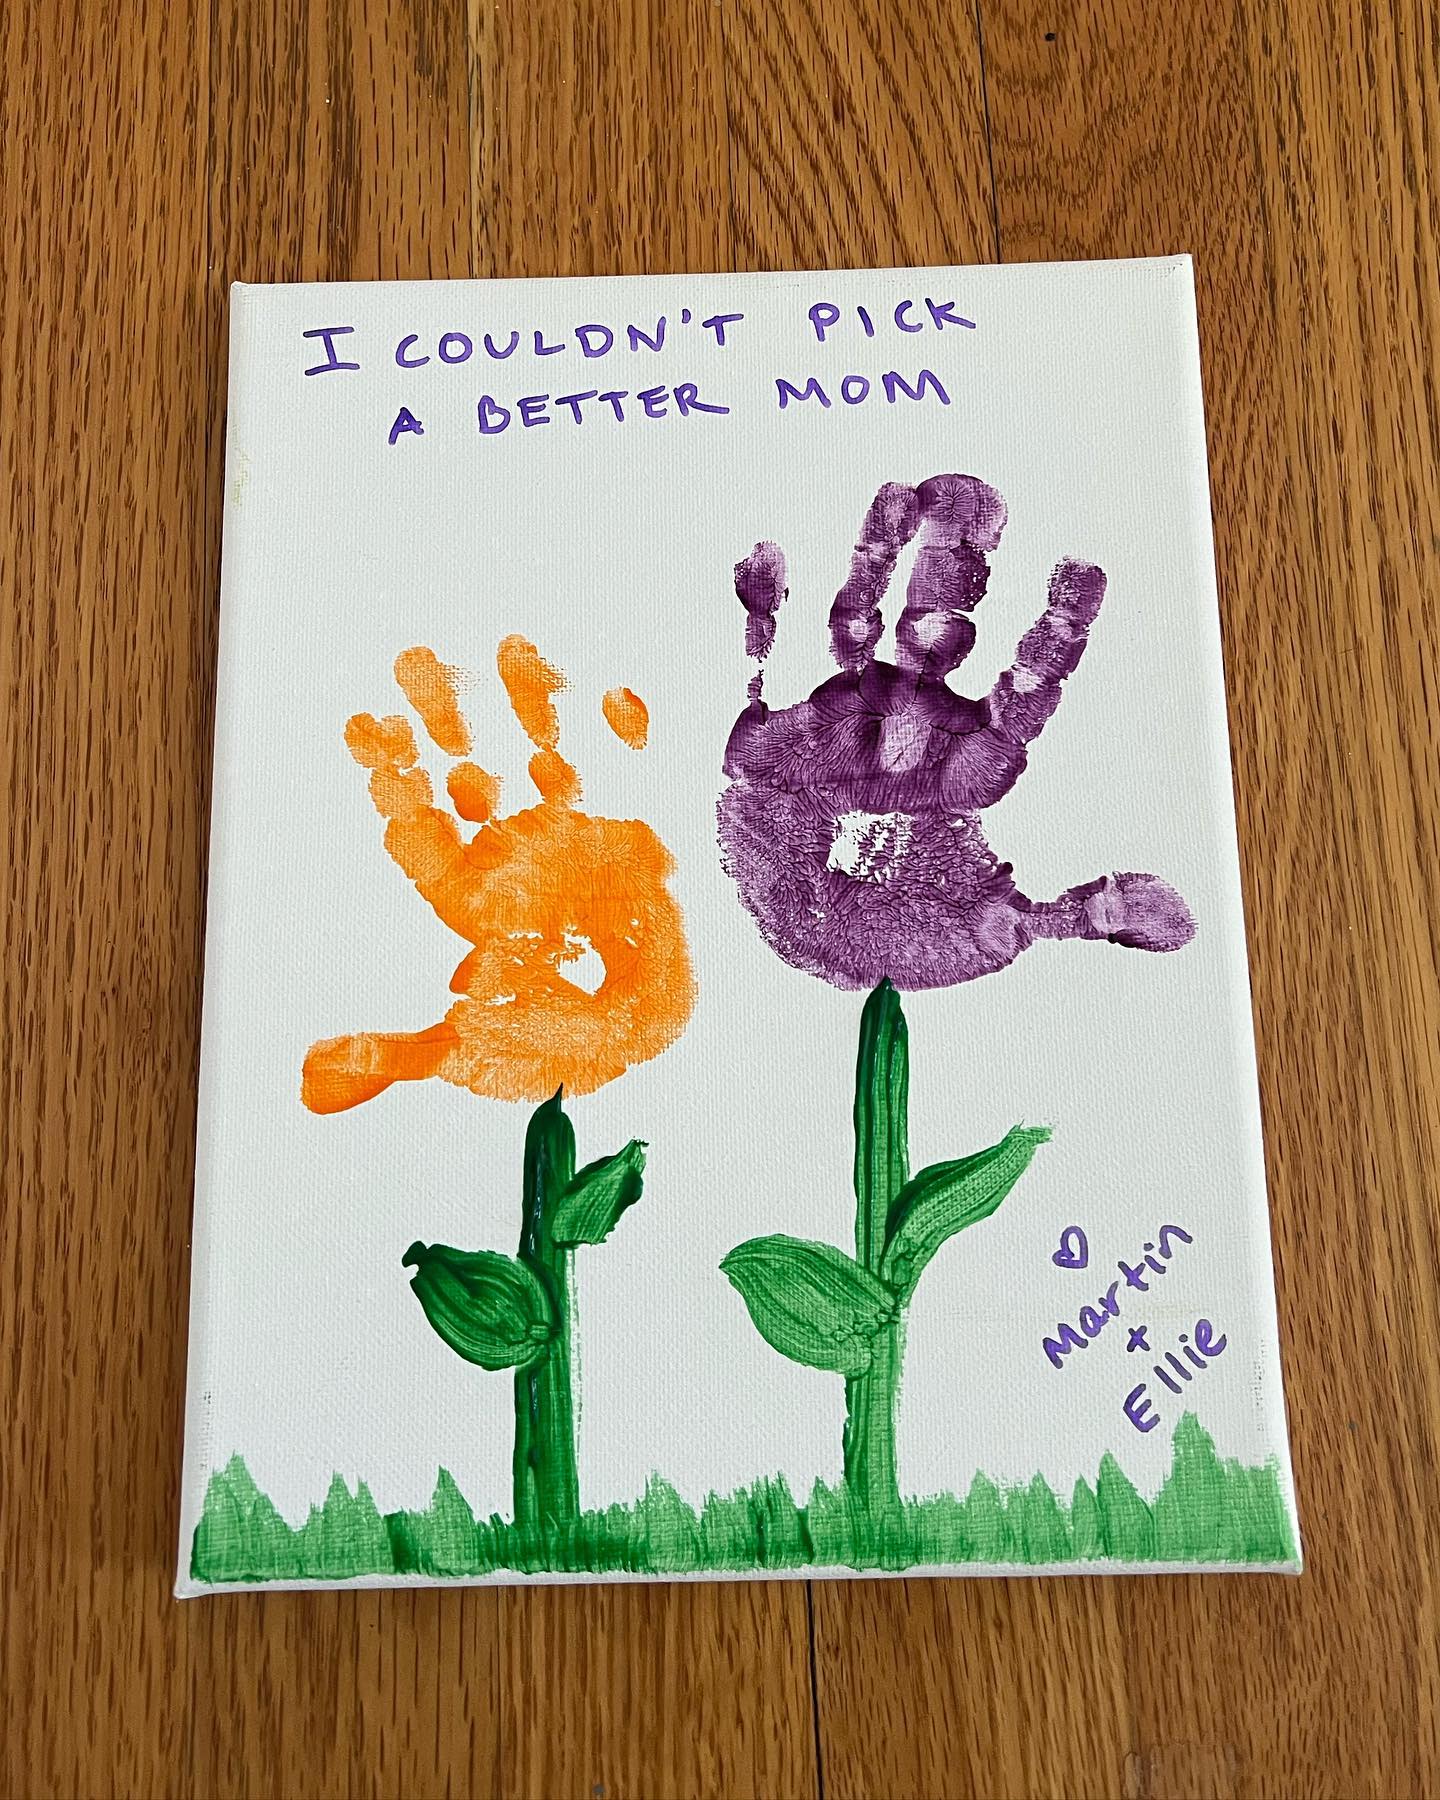
1. Hand Print
This is a fun activity! Colour your palm with a single colour, then put it on a canvas. Press and hold for some time, and then try with another hand. A beautiful flower with form, and then decorate it with some leaves or more colours.
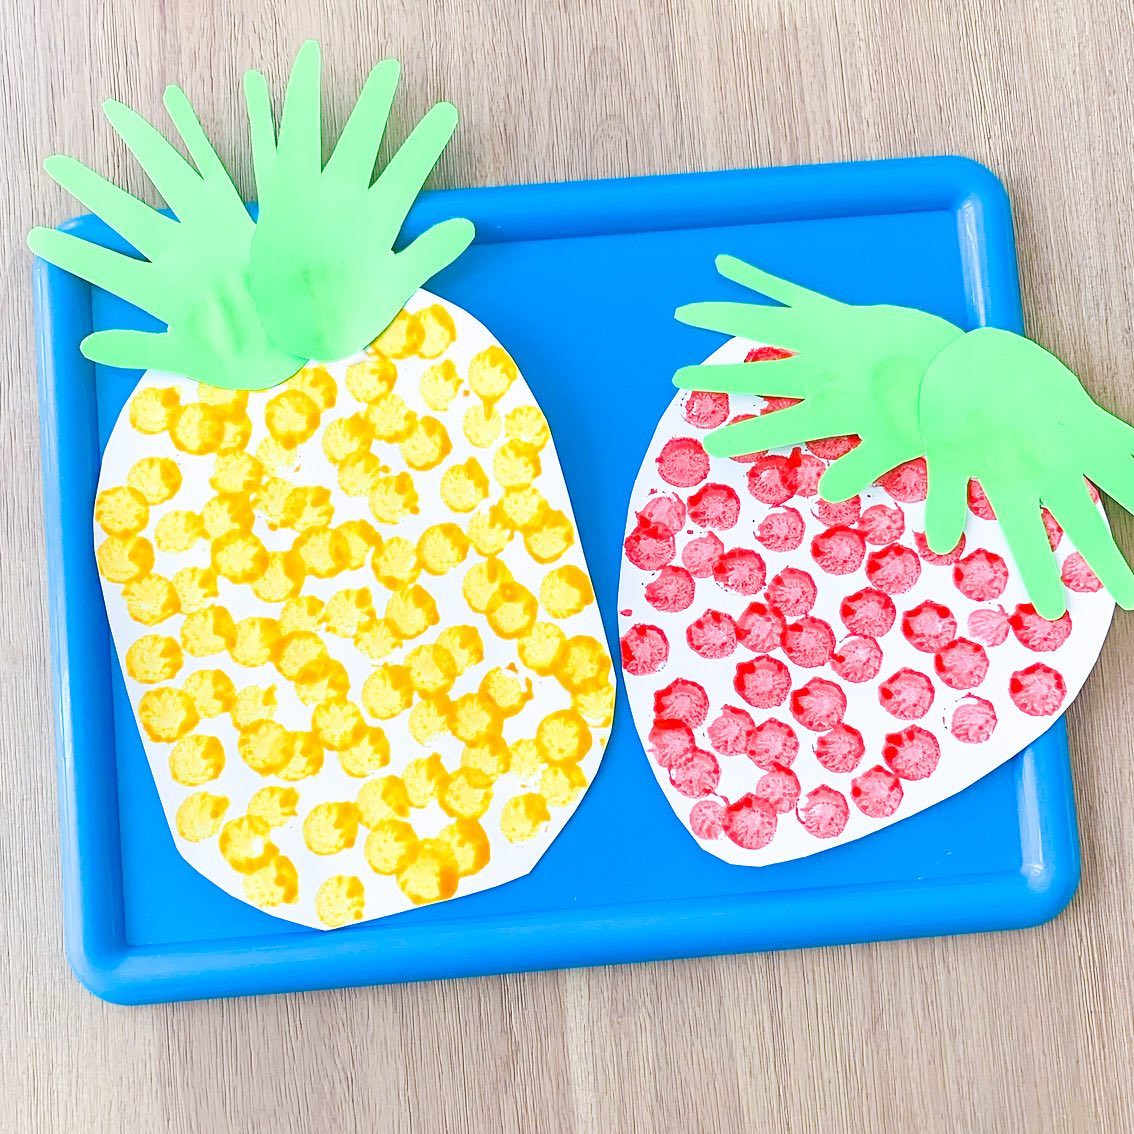
2. Multiple Print
Cut out a piece of white paper in the form of a melon or a strawberry. Take a lady’s finger, cut the top and pit it in paint and then stamp the paper with it. Do it multiple times, and a pretty design will form like the above image.

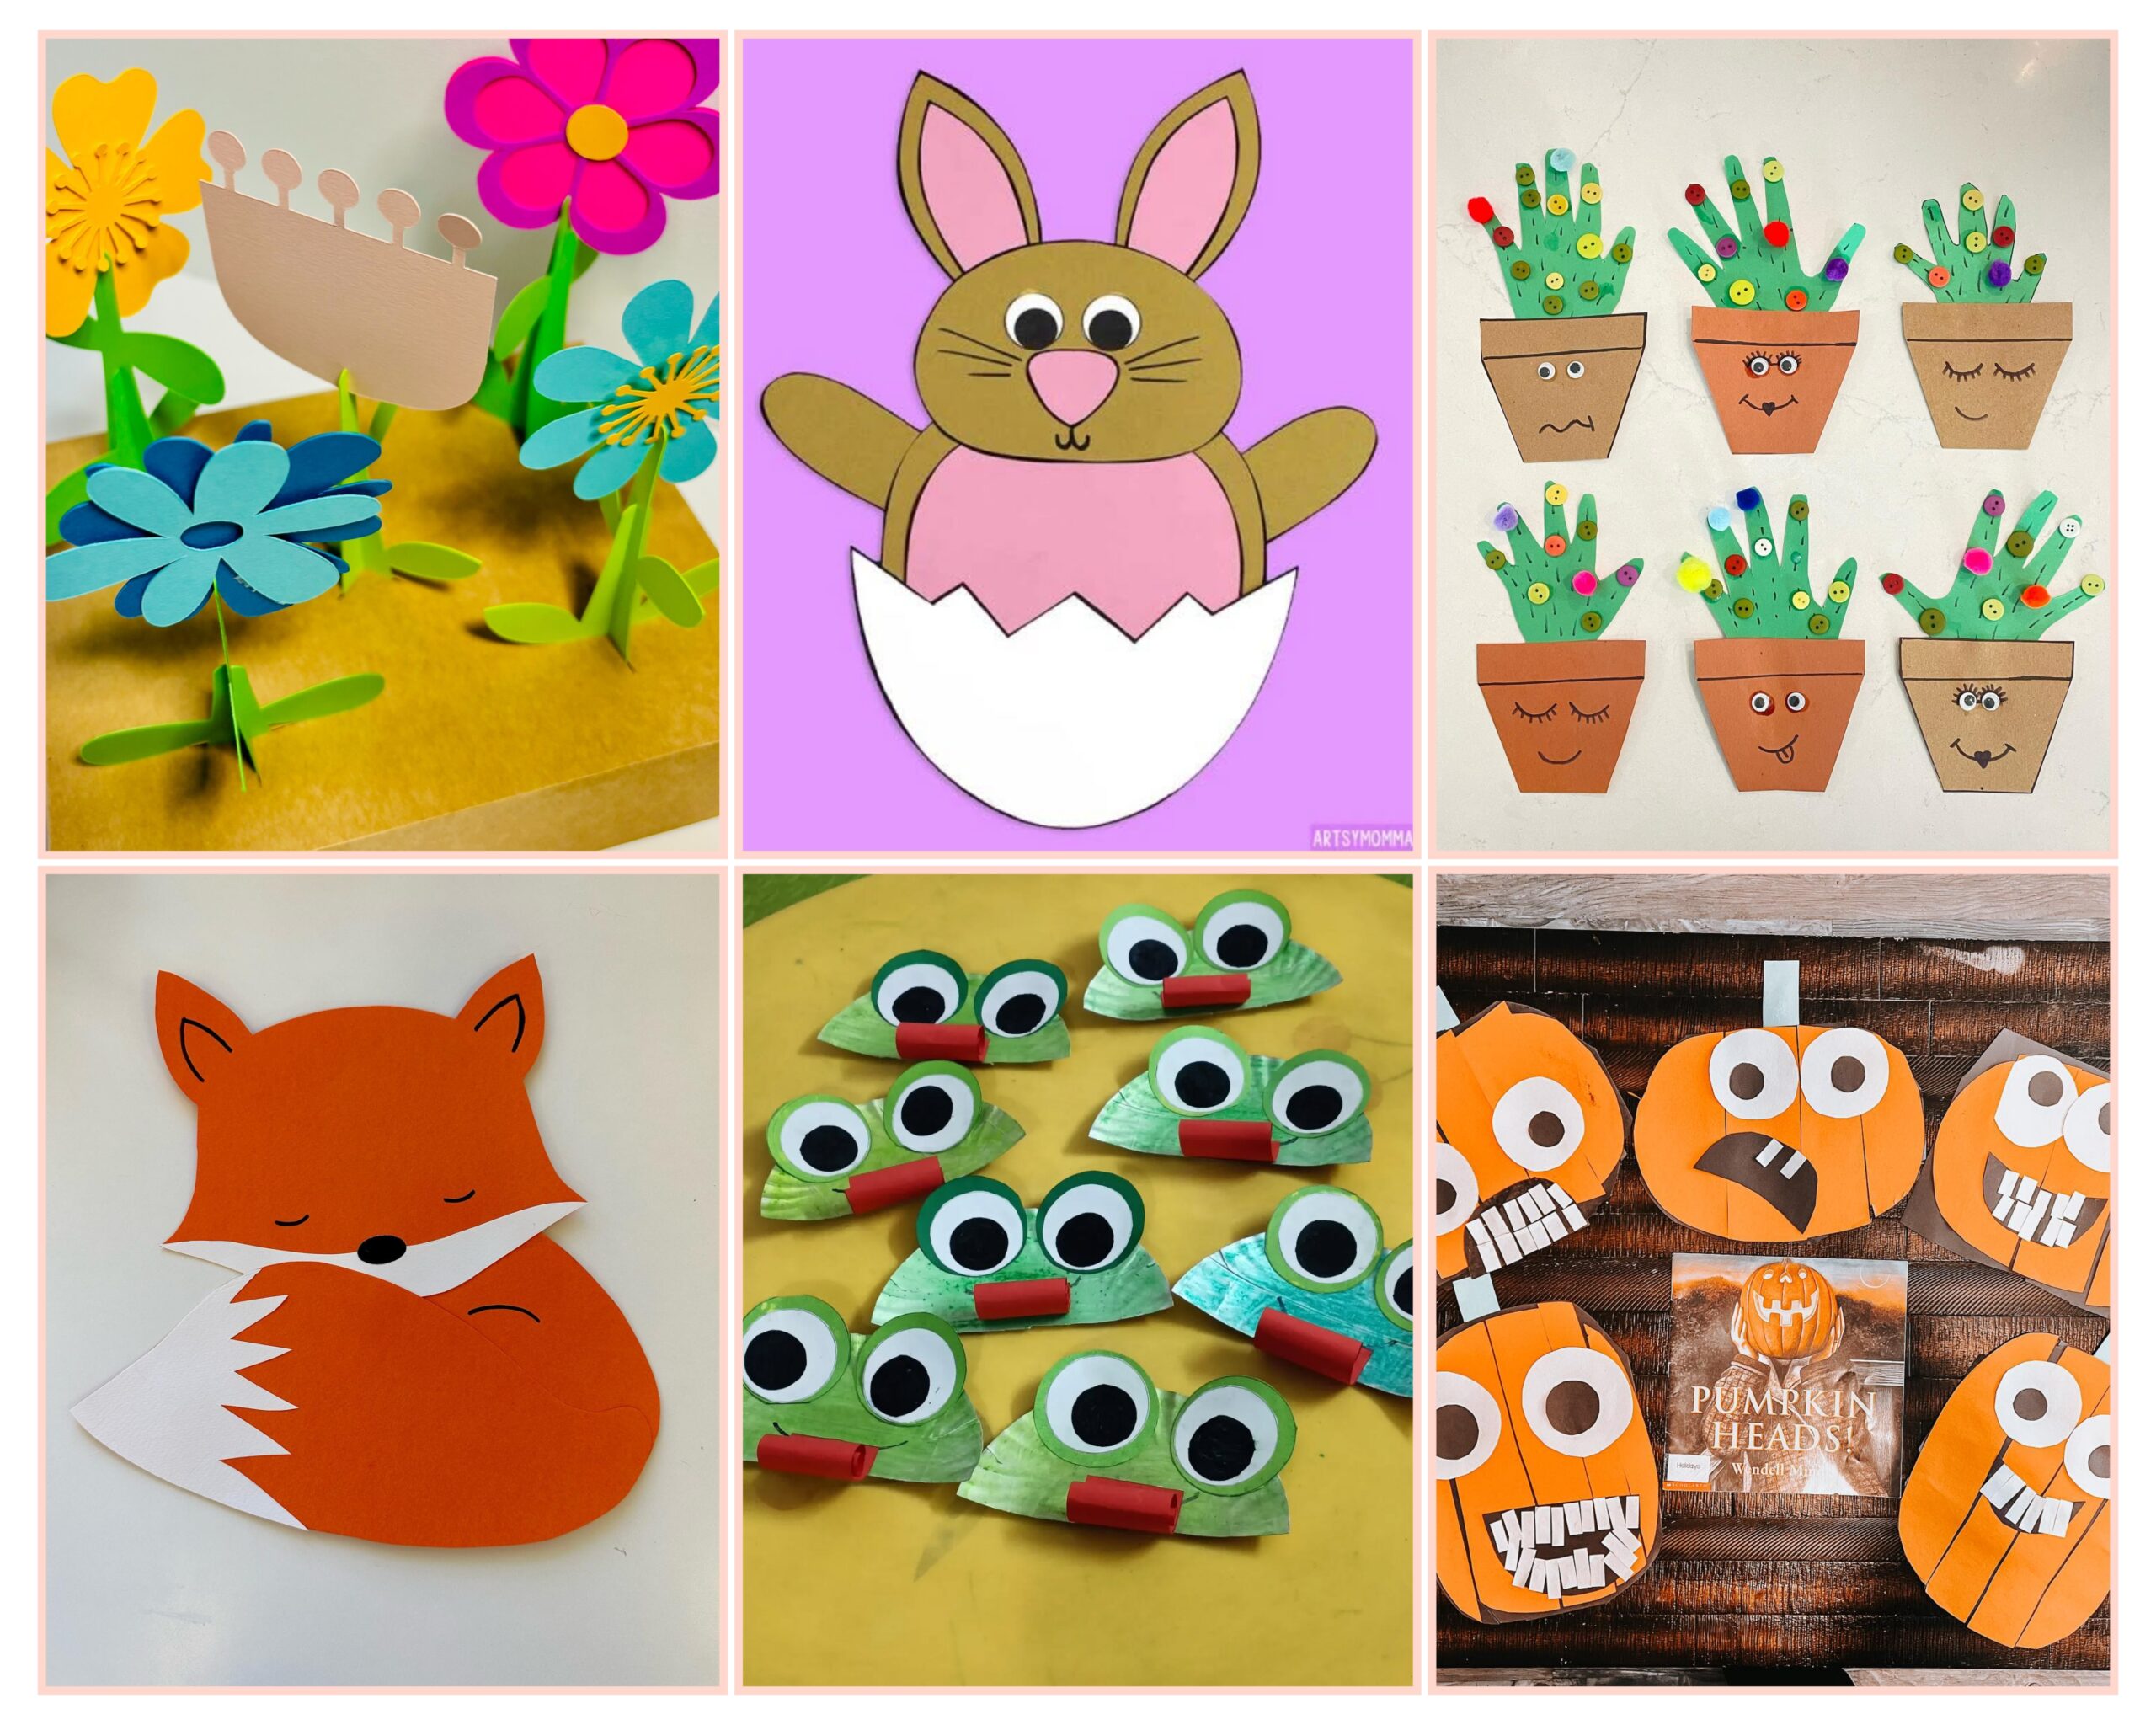
3. Cardboard Craft
For this craft, you can take scrapbook papers, cut them into flowers, stems and then attach them on a cardboard base. A beautiful garden with form.
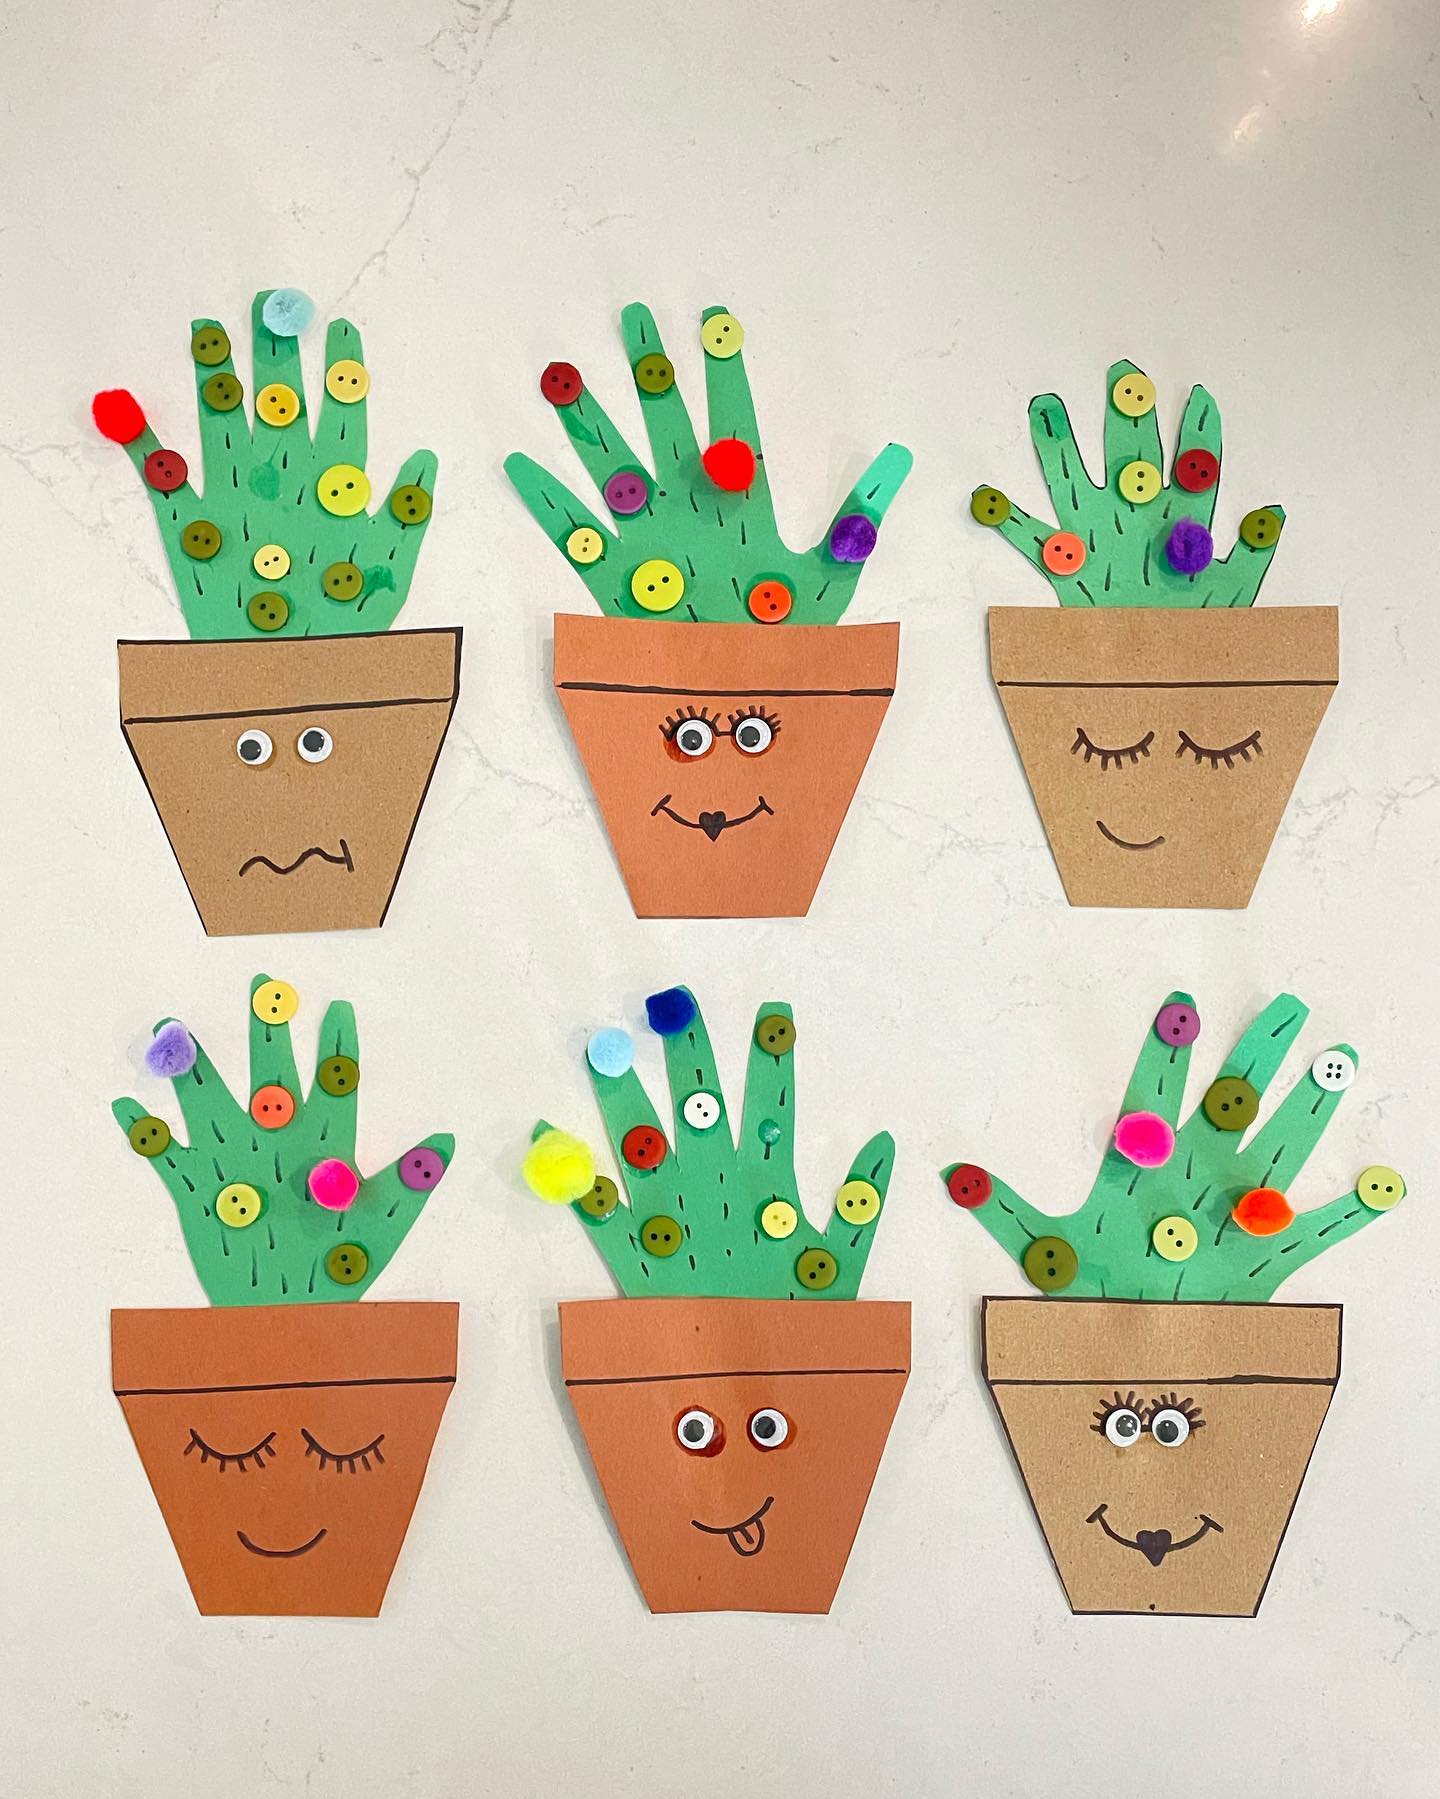
4. Button Craft
For this, cut out some papers in the form of a hand and design it with colourful buttons- this will give the illusion of flowers. Put them in paper cutter pots and then again draw some faces on the pots.
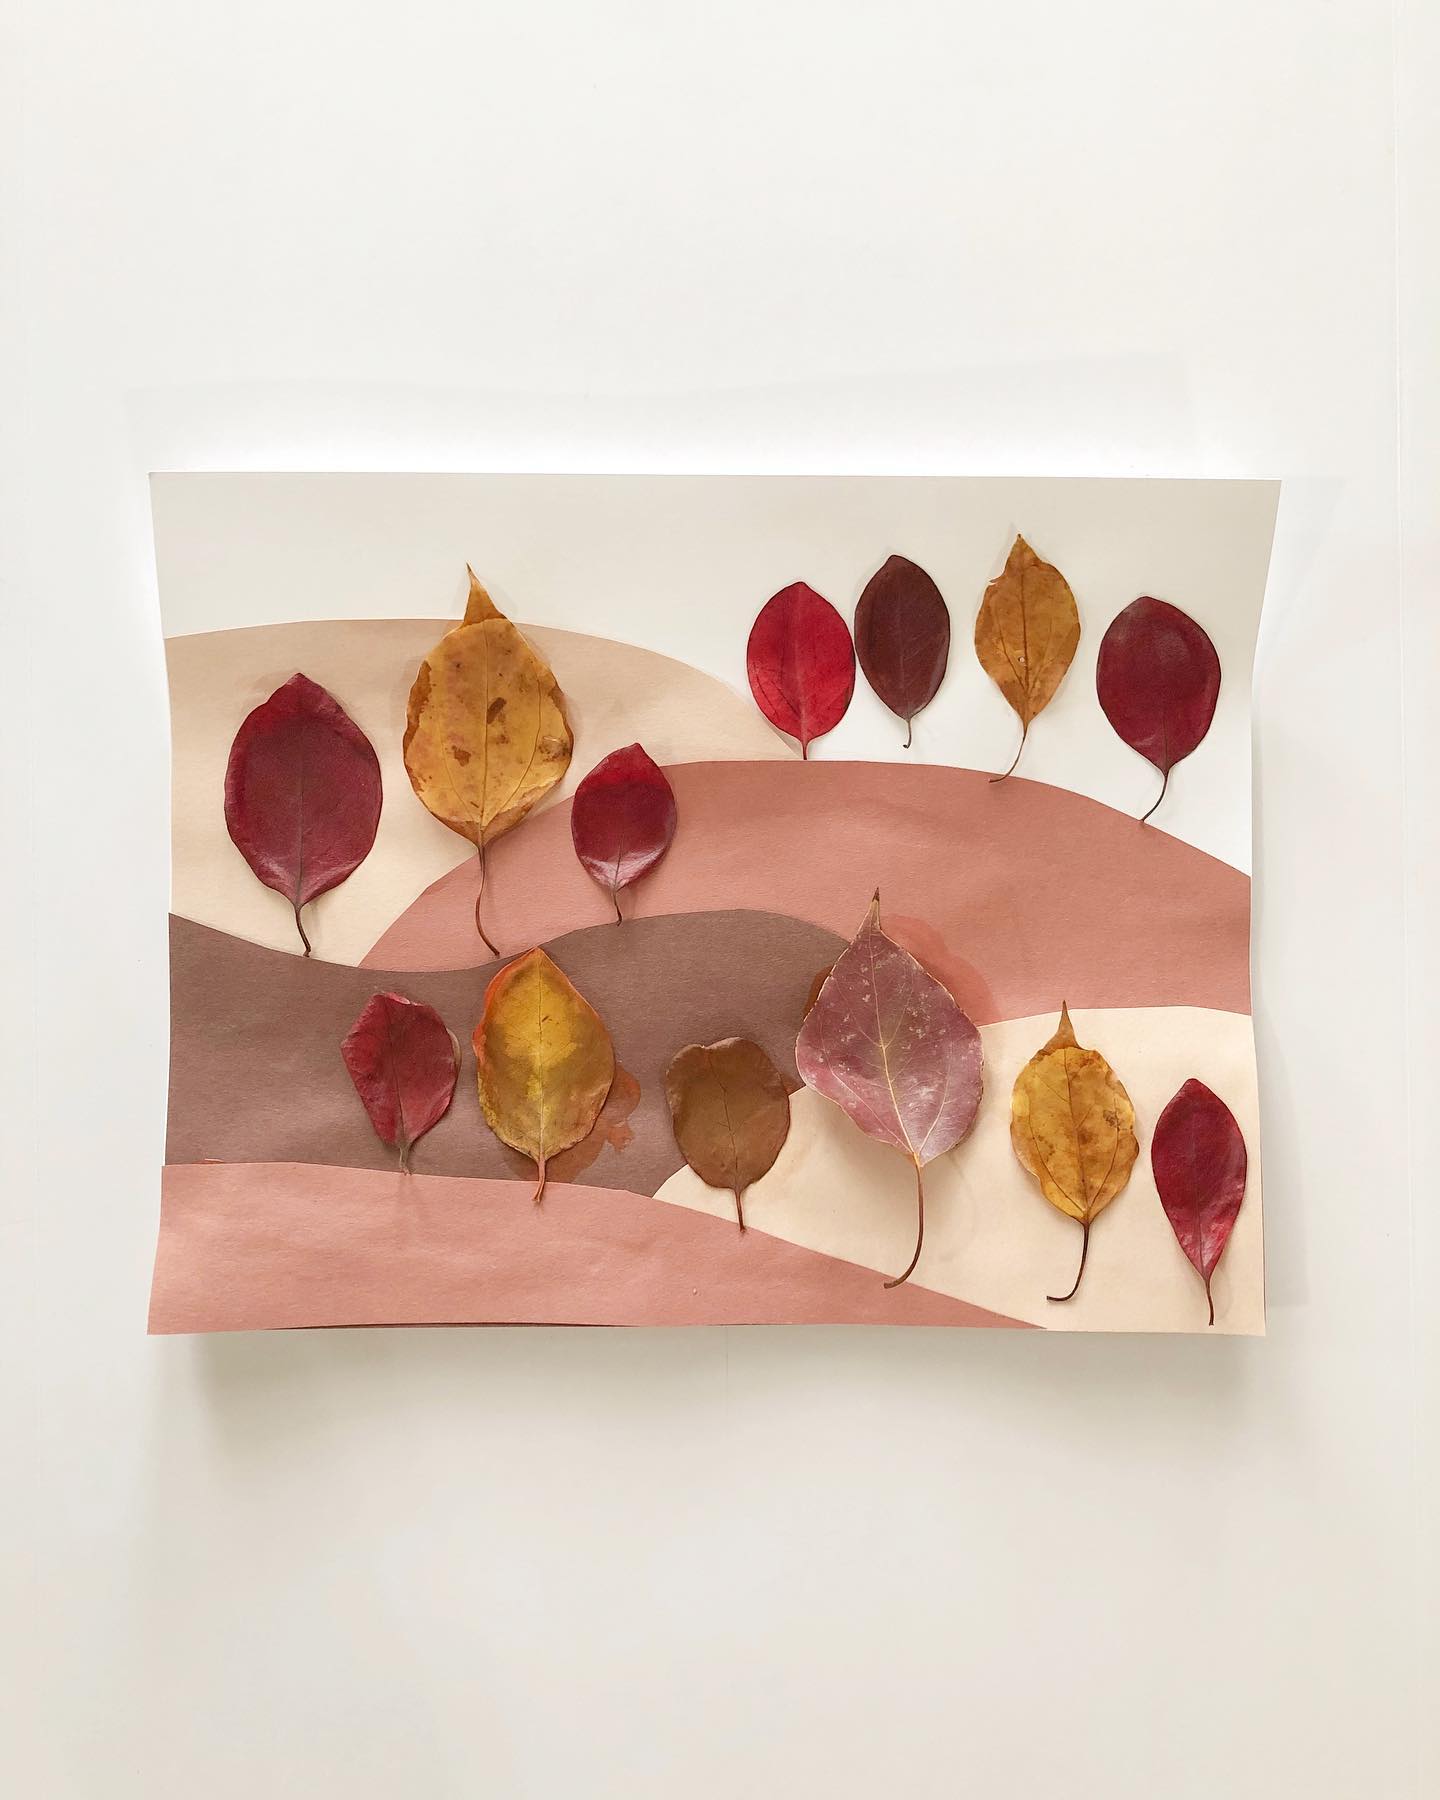
5. Leaves Craft
For this craft, take some colours and draw beautiful valleys with it and then stick leaves on the paper
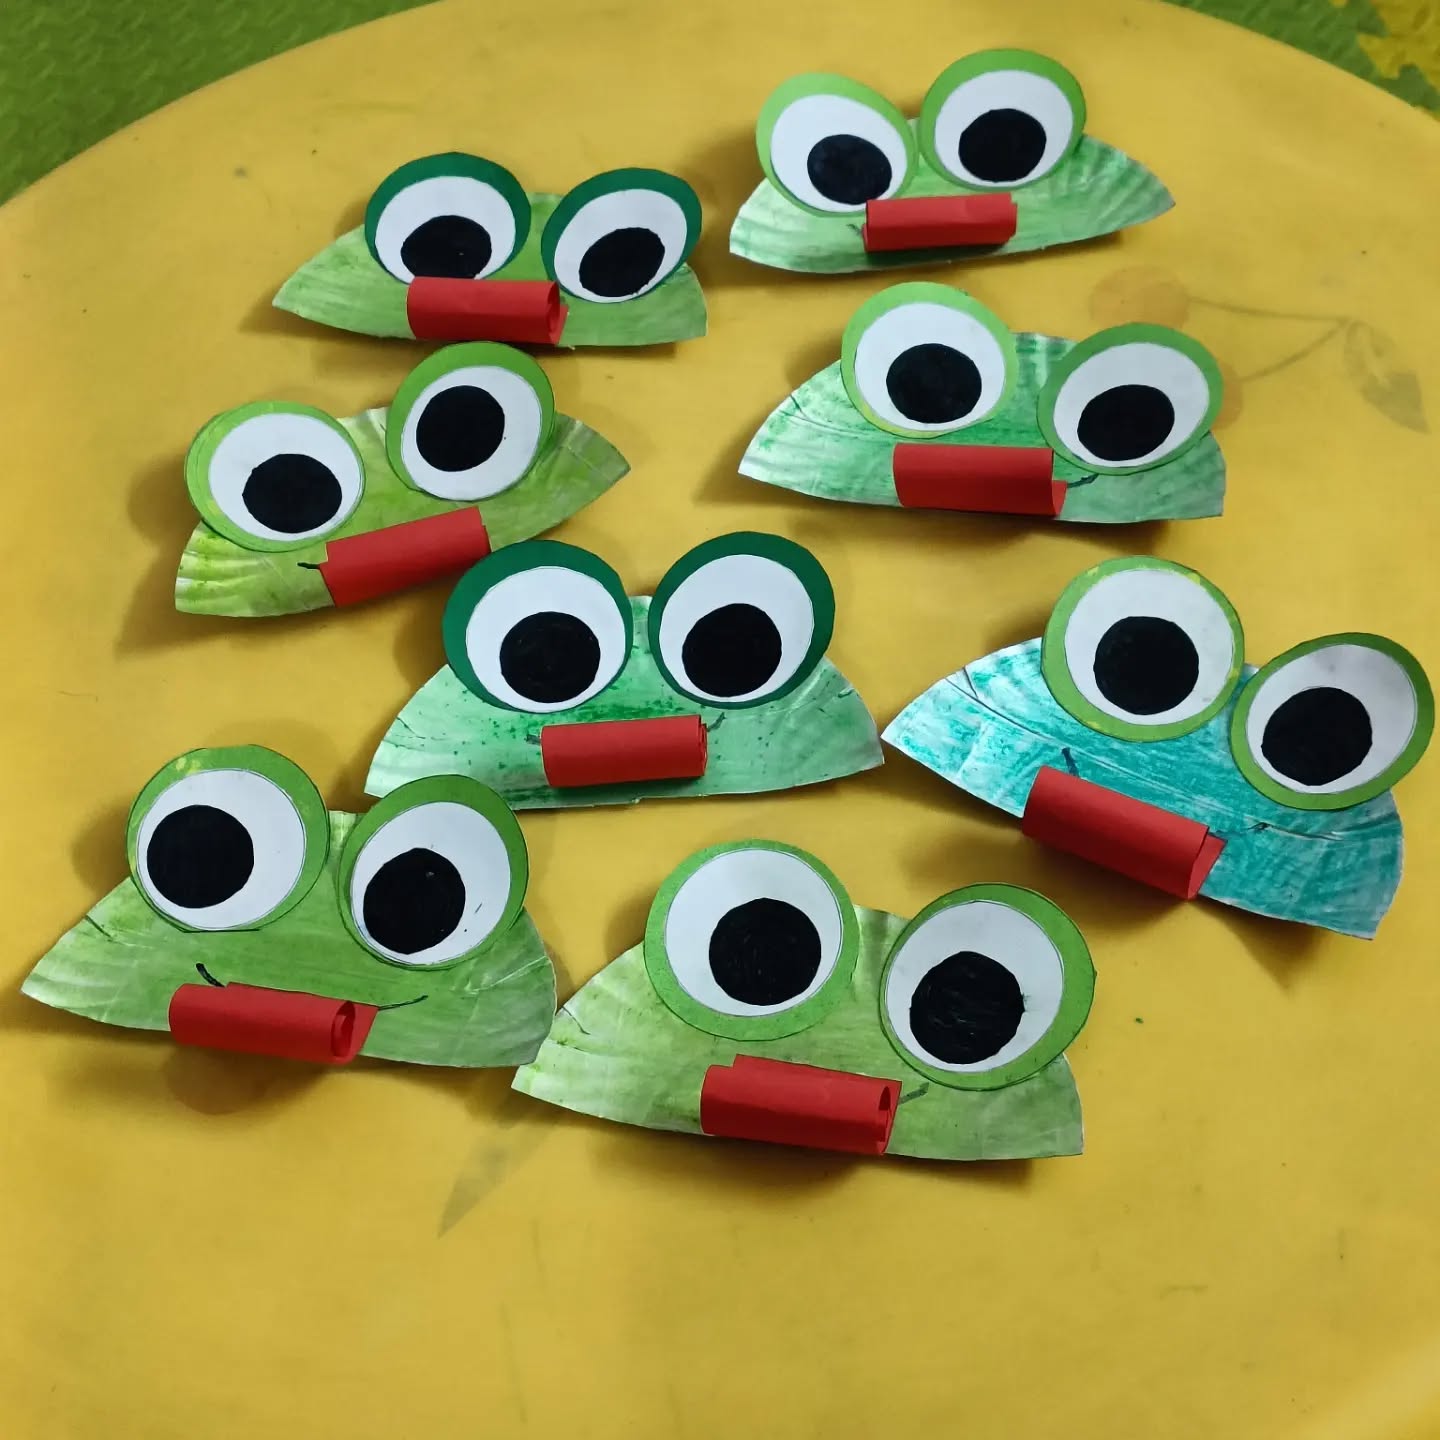
6. Frog face
To create a frog face with paper, start by cutting a large circle out of green construction paper for the head. Next, make two white circles for the eyes and smaller black circles for the pupils, then glue the pupils onto the white circles. Attach the eyes to the top of the green circle so they slightly stick out. Draw a wide smile in the center using a marker or glue on a curved piece of black paper. For added detail, you can cut a thin red or pink strip for the tongue and glue it beneath the mouth. Optional features like small nostrils or rosy cheeks can be added with markers or extra paper. This simple craft is fun, creative, and perfect for kids.
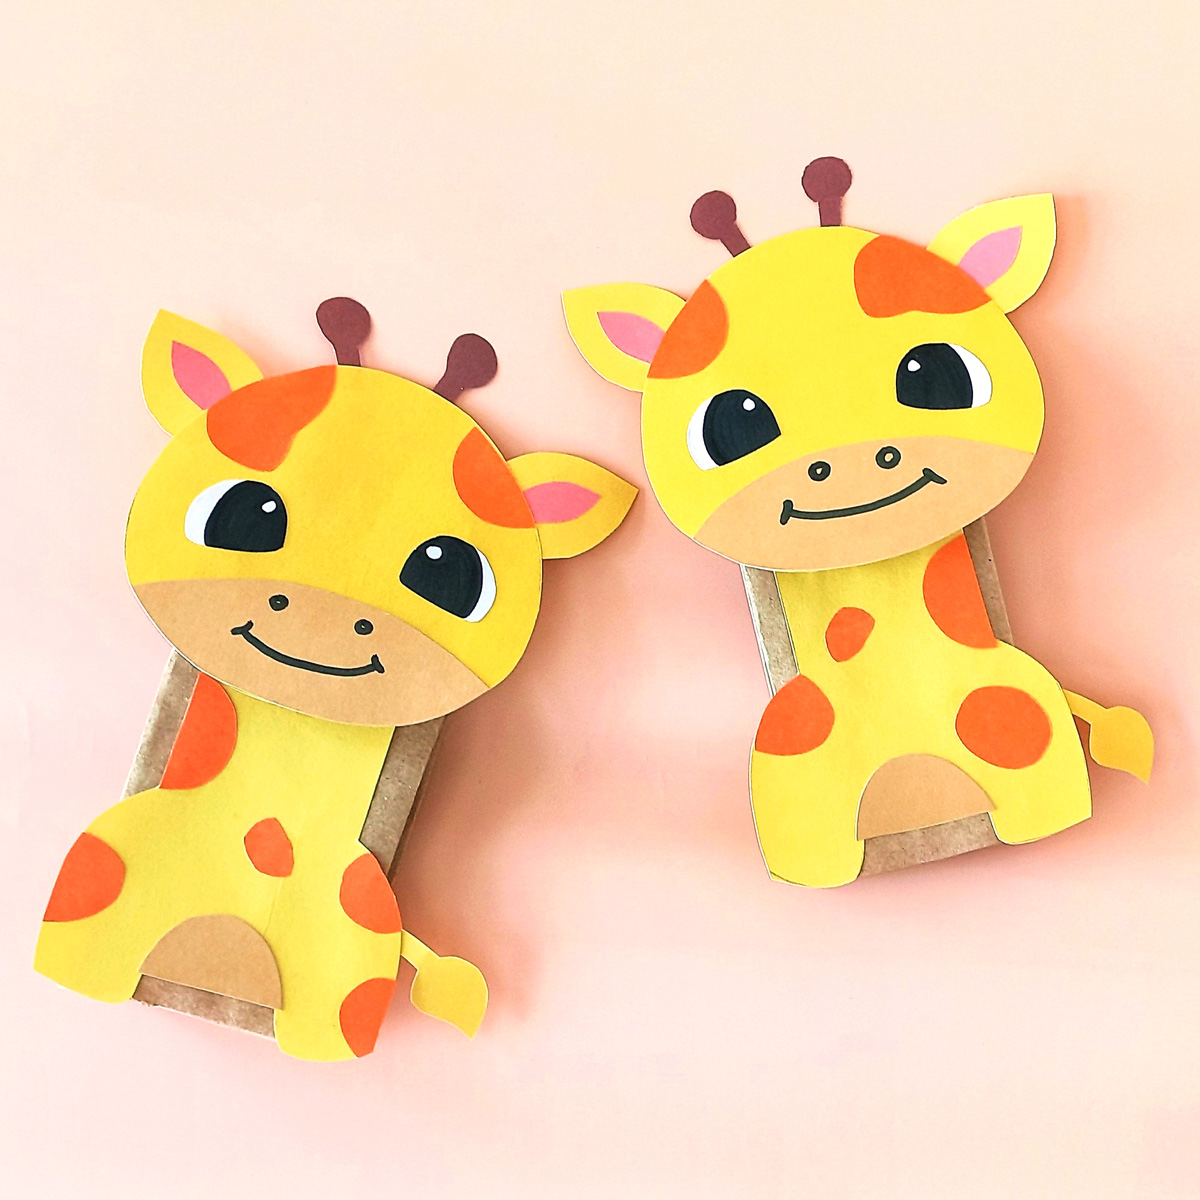
7. Giraffe
To make this adorable paper giraffe craft, start by gathering colored construction paper in yellow, orange, brown, black, white, and pink, along with scissors, glue, and a brown paper bag. First, cut out the giraffe’s head, ears, body, legs, and tail from yellow paper. Add brown or orange spots to the body, a light brown snout area, and inner ear pieces in pink. For the eyes, use white and black circles, and draw on highlights to make them pop. Glue all facial features and the small brown horns to the head. Attach the completed head to the flap of the paper bag, and glue the body to the main section. Add the legs and tail to complete the look. This makes a cute giraffe puppet that’s perfect for storytelling or playtime!

8. Fox
To make this beautiful fox, first outline a fox on orange paper and cut it out. For white portions, stick paper on it. Then draw black lines for the nose and ears.
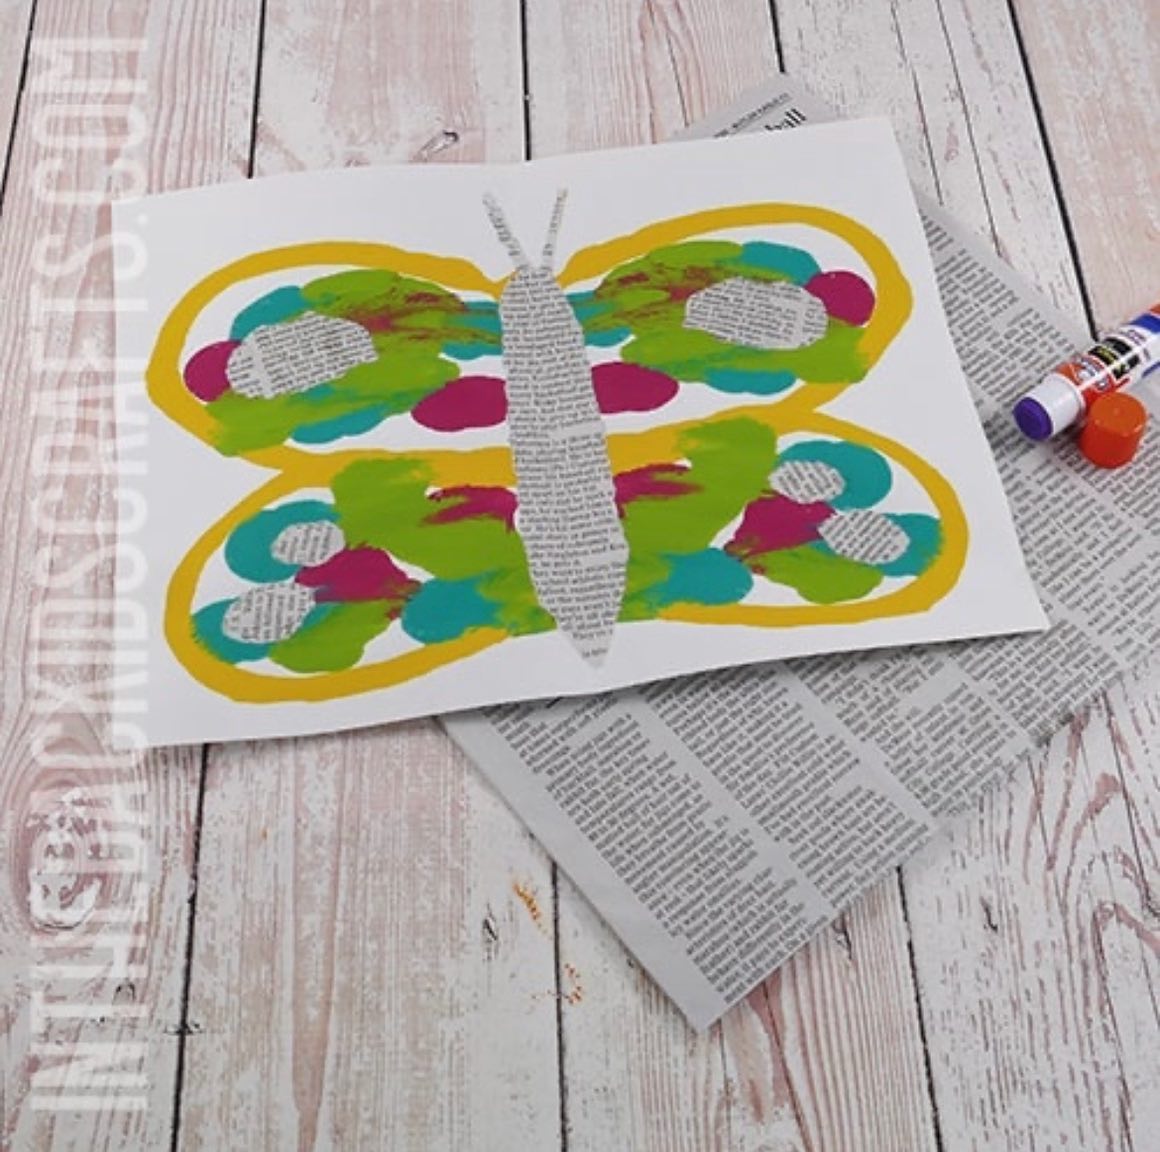
9. Butterfly
Outline a butterfly with some paint and do some collage work with newspaper – cut few pieces of paper and stick with patterns.
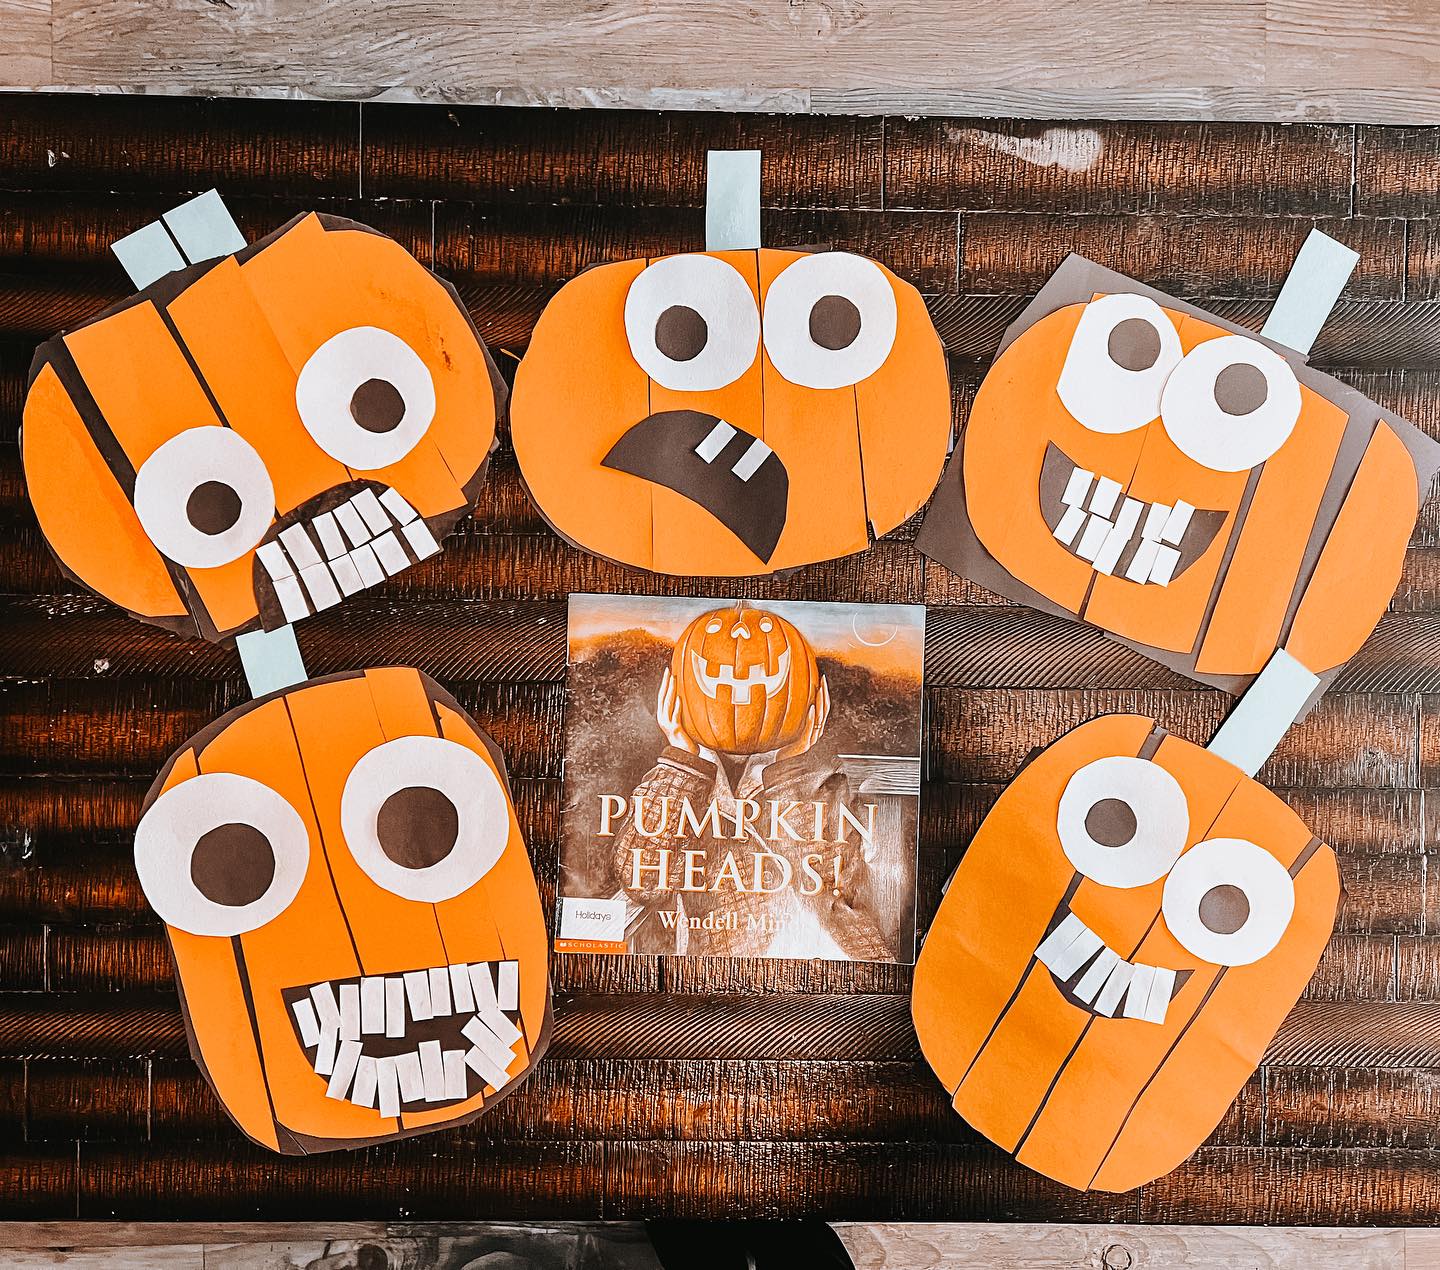
10. Pumpkin
To make these fun and expressive paper pumpkin heads, start by cutting out large pumpkin shapes from orange construction paper. Cut thin vertical strips of orange and glue them onto a darker background to create a dimensional pumpkin effect. Next, cut out large white circles for the eyes and smaller brown or black circles for the pupils, then glue them in place. Use black or white paper to cut out various mouth shapes—some with teeth, some open, and some smiling—to give each pumpkin a unique expression. Finish by adding a short green stem at the top of each pumpkin. This craft is a creative way for kids to explore emotions and get into the fall spirit, especially when paired with the book Pumpkin Heads! by Wendell Minor.
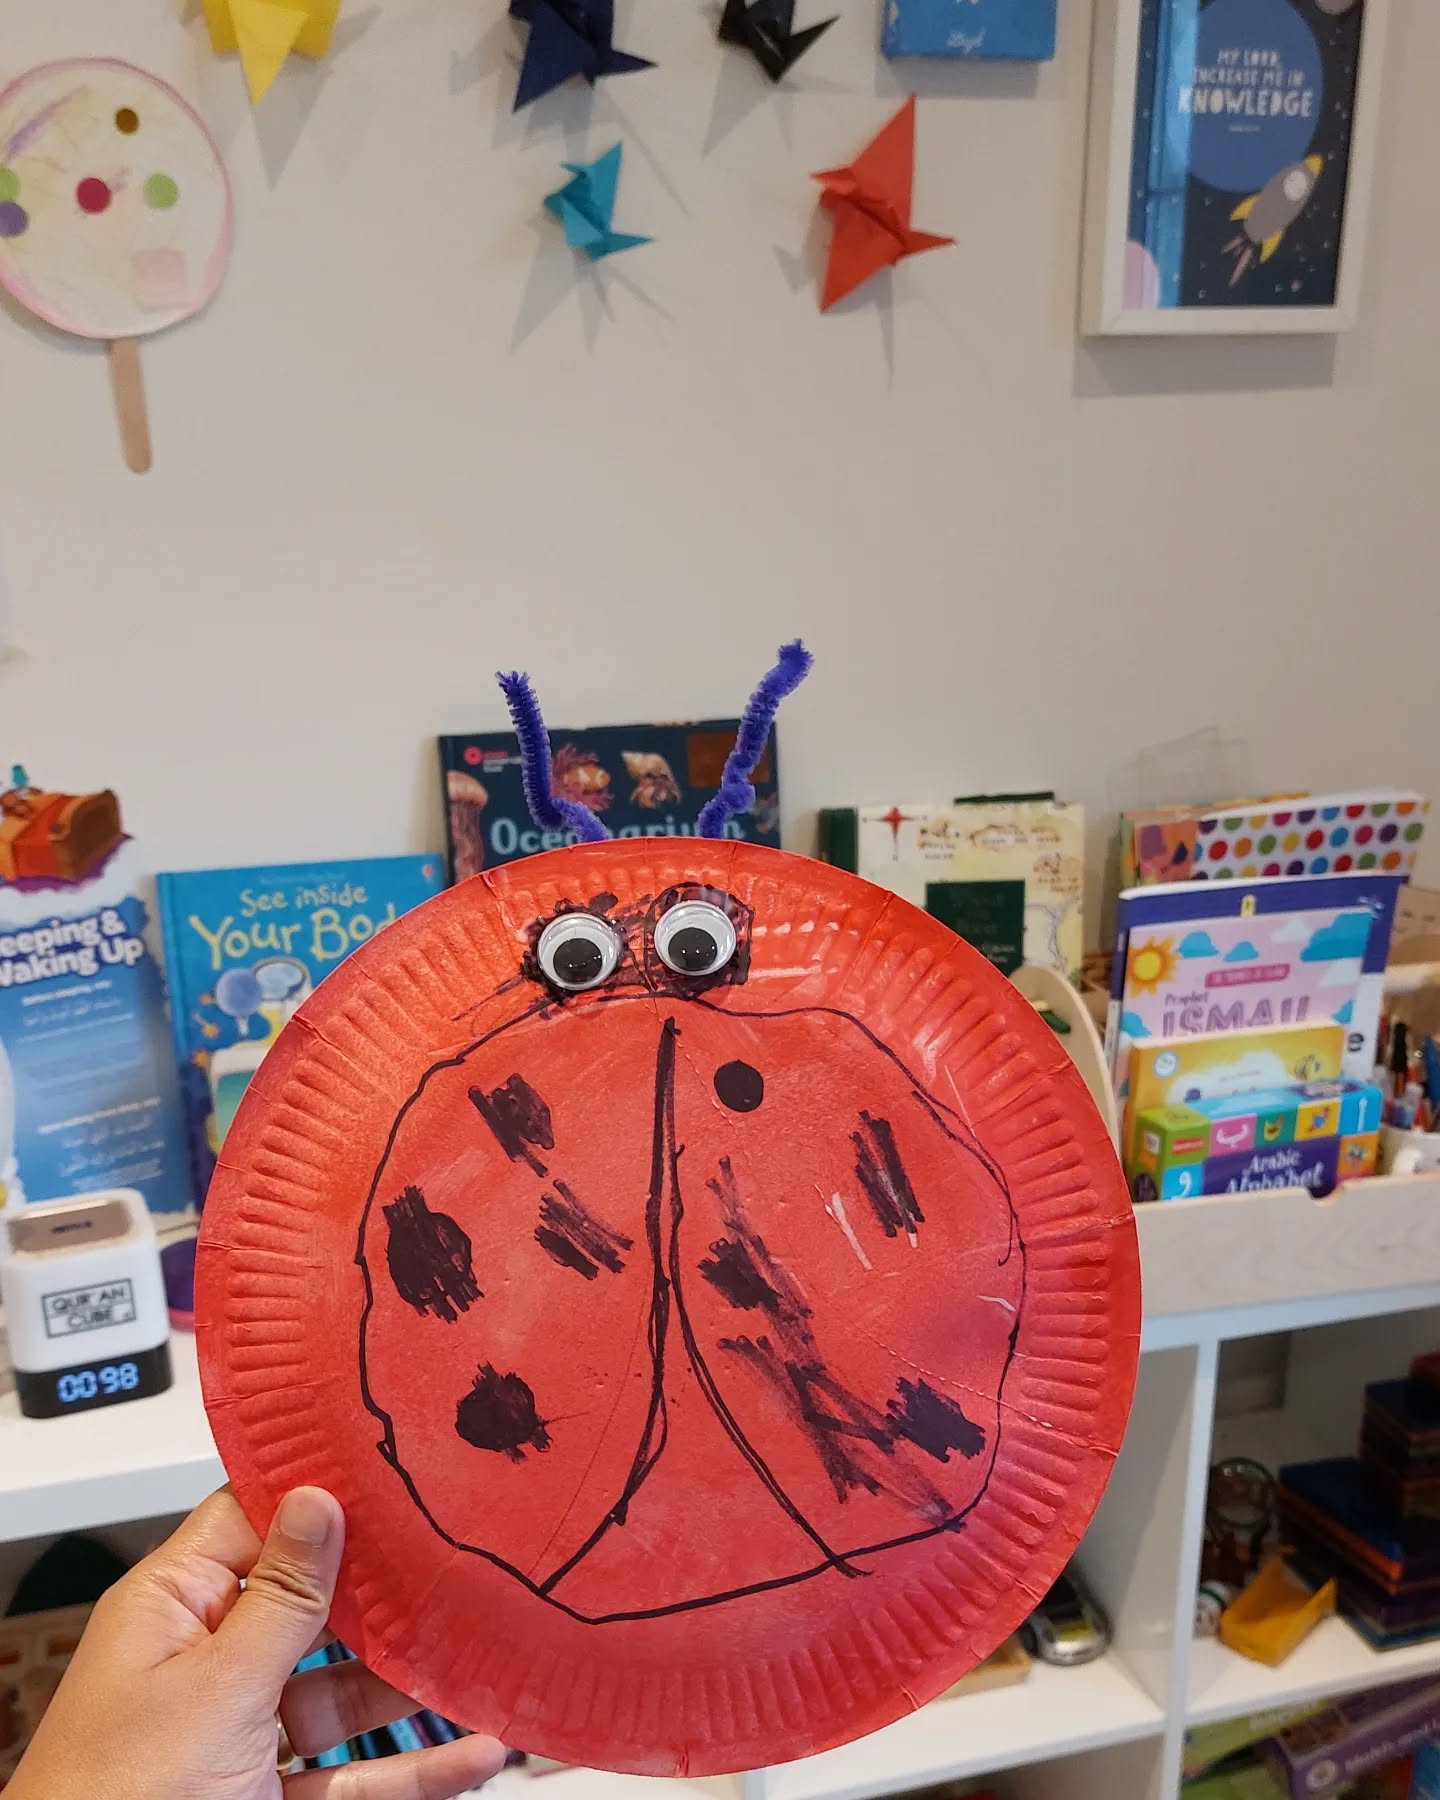
11. Plate Craft
To make this, take a red plate, add big button eyes and draw a lady bird bee with marker. After that foe the antenna you can add some black spring over the eyes.
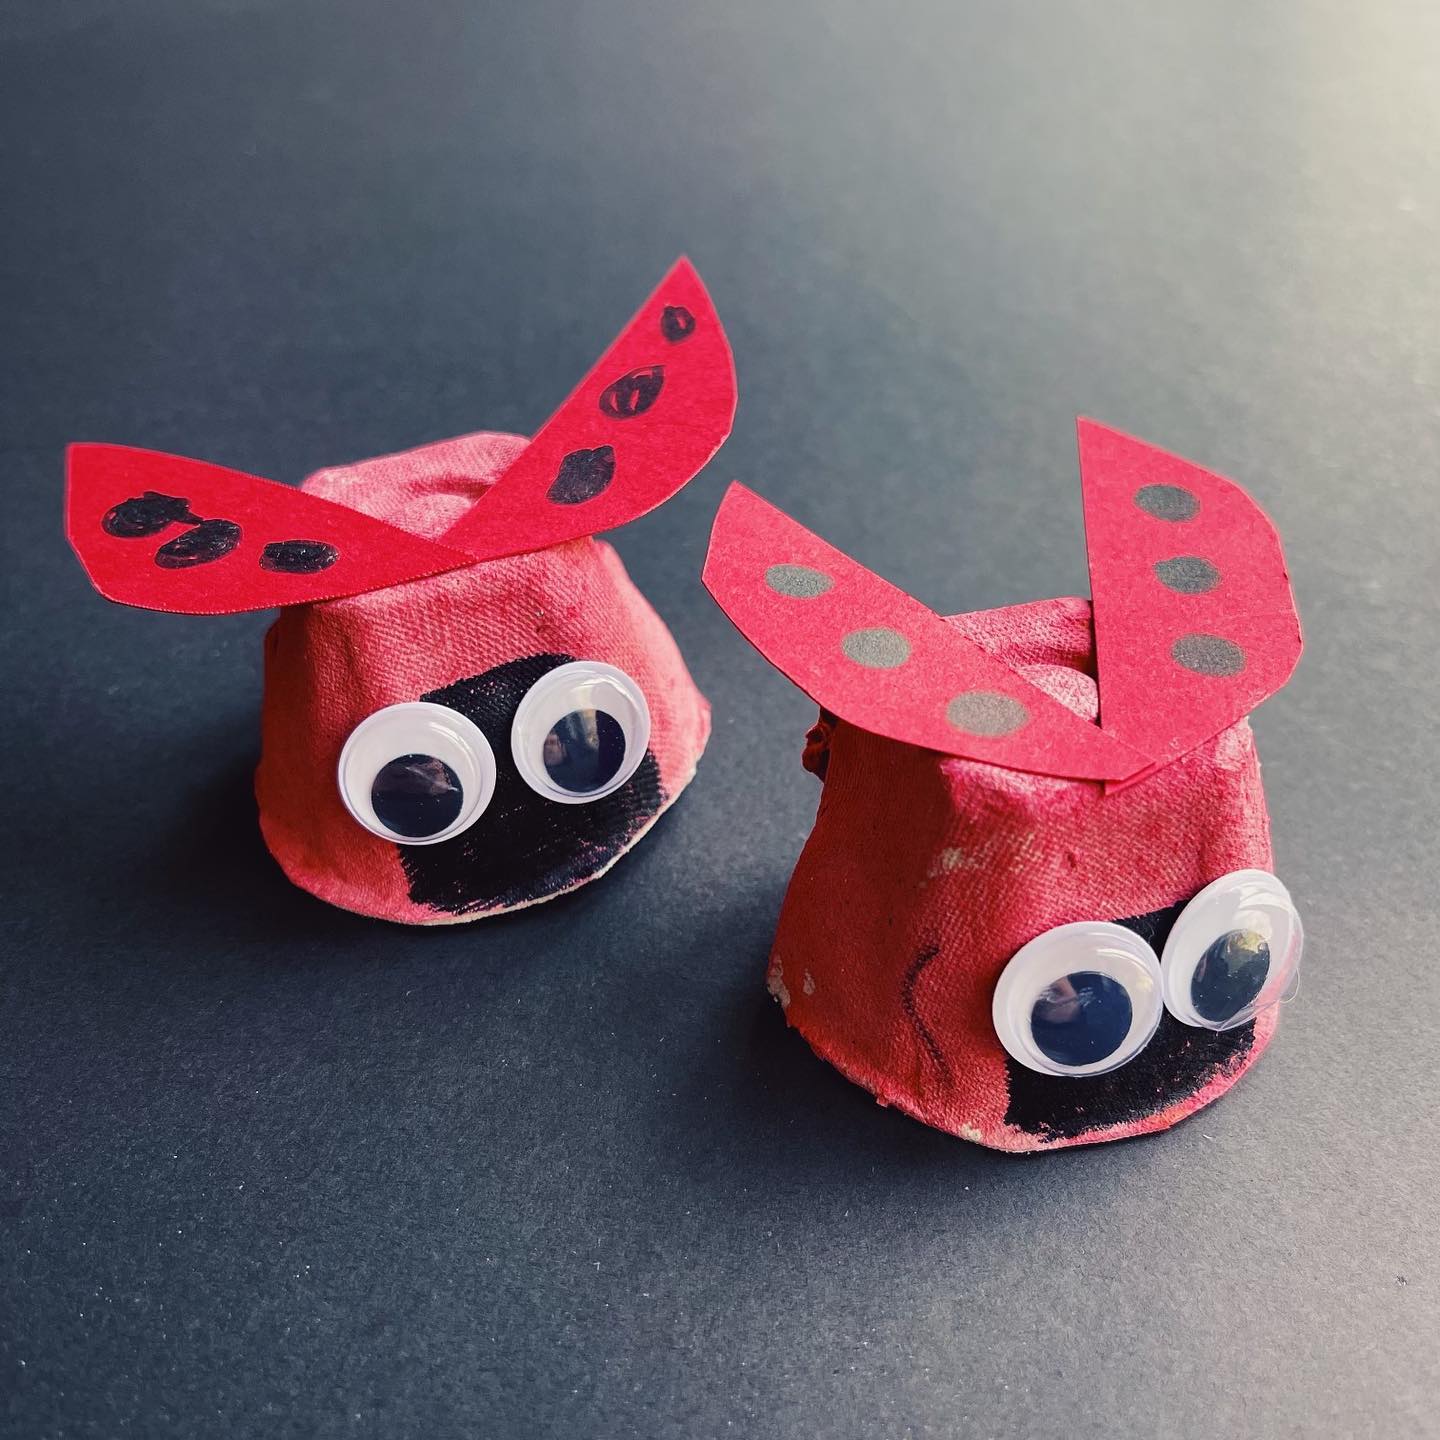
12. Lady Bird
To make these cute ladybugs, start by cutting out individual cups from an empty egg carton. Paint each cup red and let them dry completely. Once dry, paint a small black semicircle at the front for the ladybug’s face. Next, glue on a pair of googly eyes over the black area. Cut two wing shapes from red paper, and add black dots using a marker or black paint. Glue the wings to the top of the egg cup, slightly apart, to resemble open wings. These recycled ladybugs are a fun and eco-friendly craft that’s perfect for kids!

13. Easy Bear
To make this cut a bear shaped black paper and keep it simply on black paper. After that put some white ink randomly all over the black paper and some in the outlines. Now remove the bear shaped paper and you are good to go.
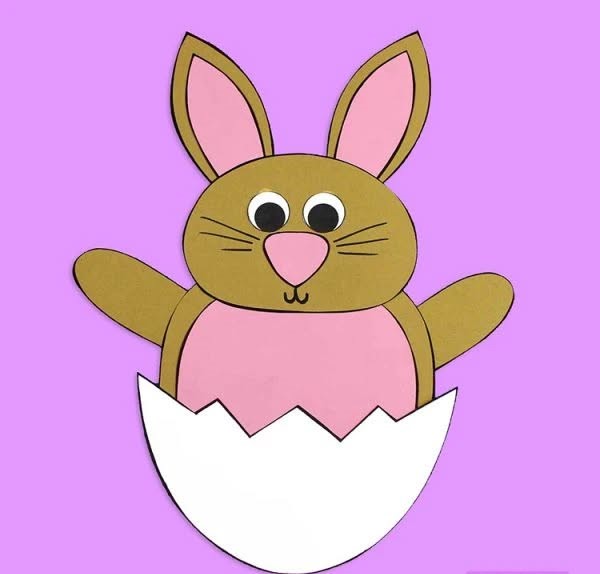
14. Bunny Egg
To make this adorable bunny-in-an-egg craft, start by cutting out a large oval shape from brown paper for the bunny’s body and a smaller oval for the head. Cut out two ears from brown paper and slightly smaller inner ear shapes from pink paper, then glue the pink parts onto the brown ears. Attach the ears to the top of the head. Create two arms from brown paper and a pink belly oval to glue onto the body. Add googly eyes or cut white and black circles for the eyes, then cut a pink triangle or oval for the nose. Draw whiskers and a little mouth under the nose. Finally, cut a cracked egg shape from white paper and glue it over the lower half of the bunny’s body. Assemble all the parts on a colorful background, and your sweet bunny-in-egg craft is ready!
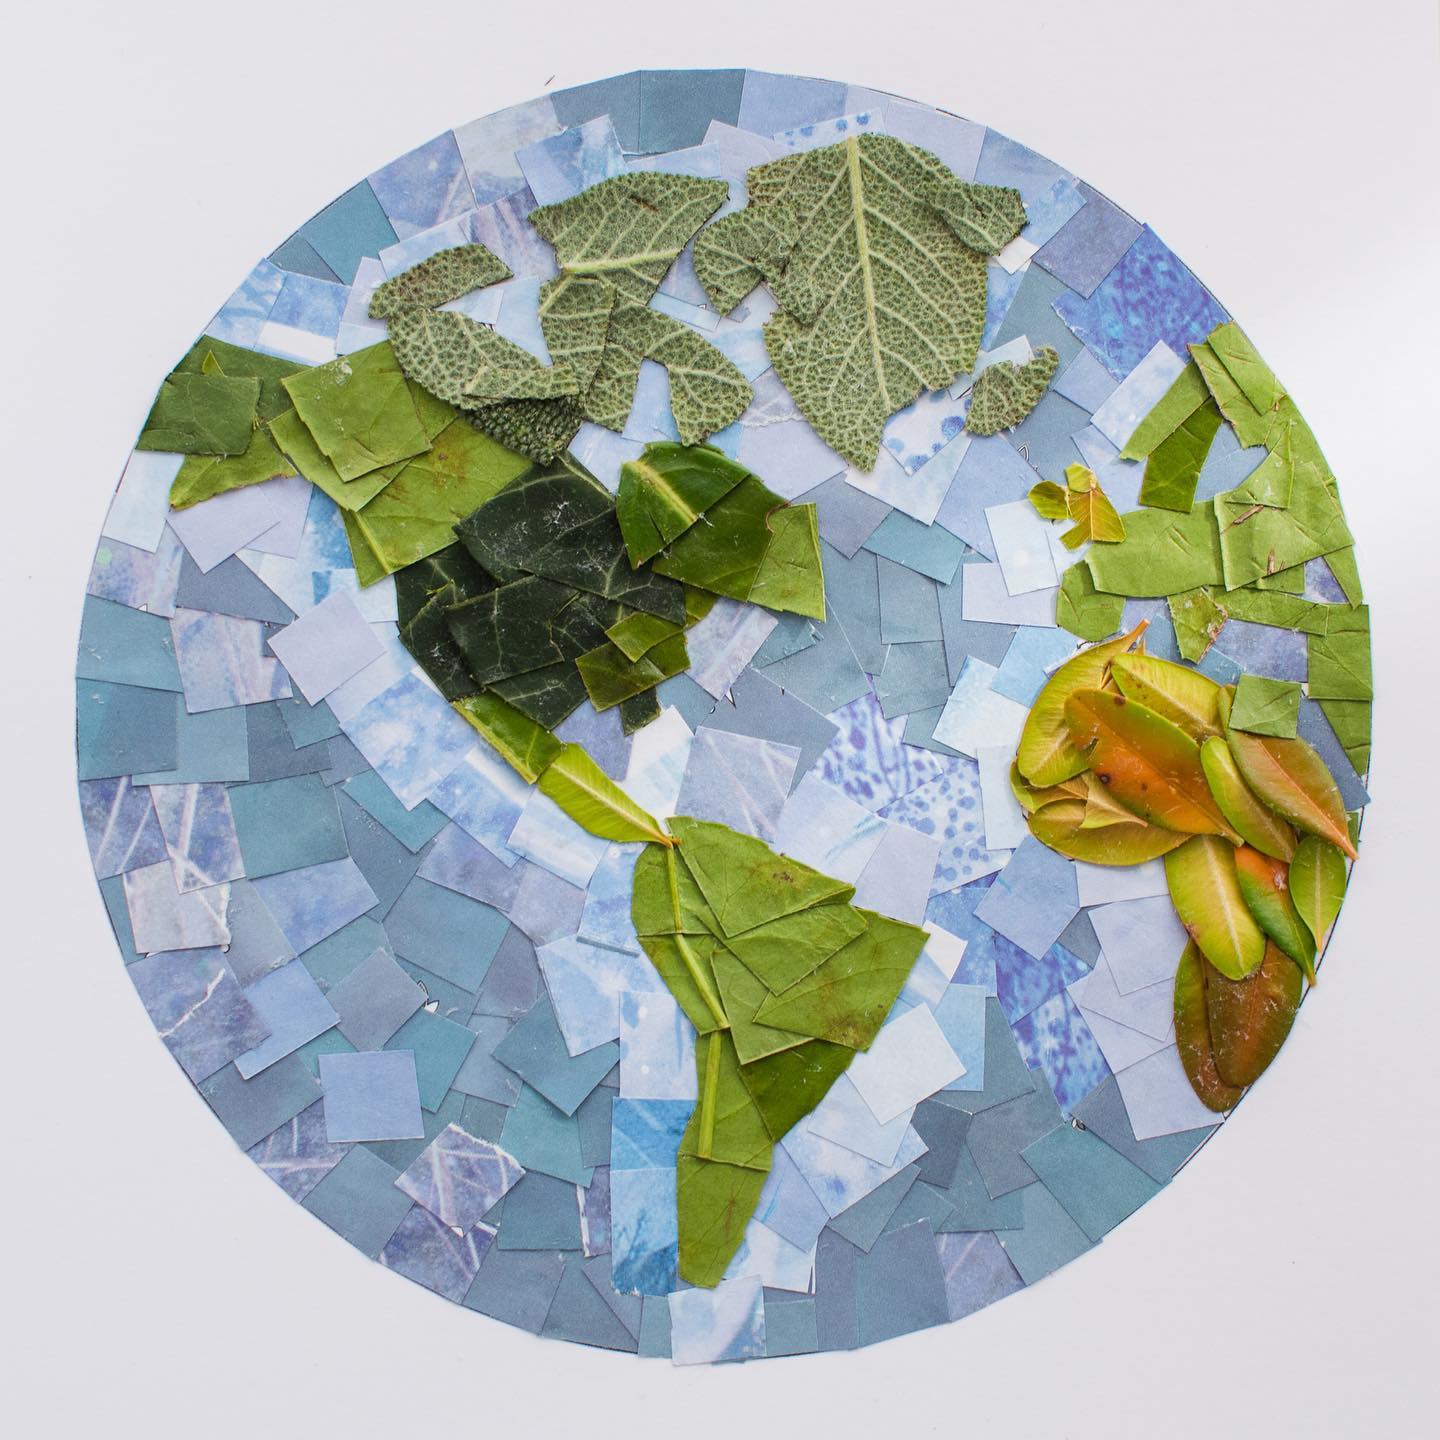
15. Collage
To make this beautiful Earth collage, start by cutting out a large circle from a piece of white cardstock to serve as your base. Use various shades of blue paper—such as magazine pages, construction paper, or old gift wrap—to create the ocean by cutting them into small squares or rectangles and gluing them around the circle, leaving space for the continents. Next, gather green leaves and small natural materials to represent the land. Tear or cut the leaves into smaller pieces and arrange them in the shape of continents over the blue background. Glue the leaf pieces carefully to form recognizable landmasses. Once everything is dry, you’ll have a stunning nature-inspired representation of our planet, perfect for celebrating Earth Day or learning about geography.