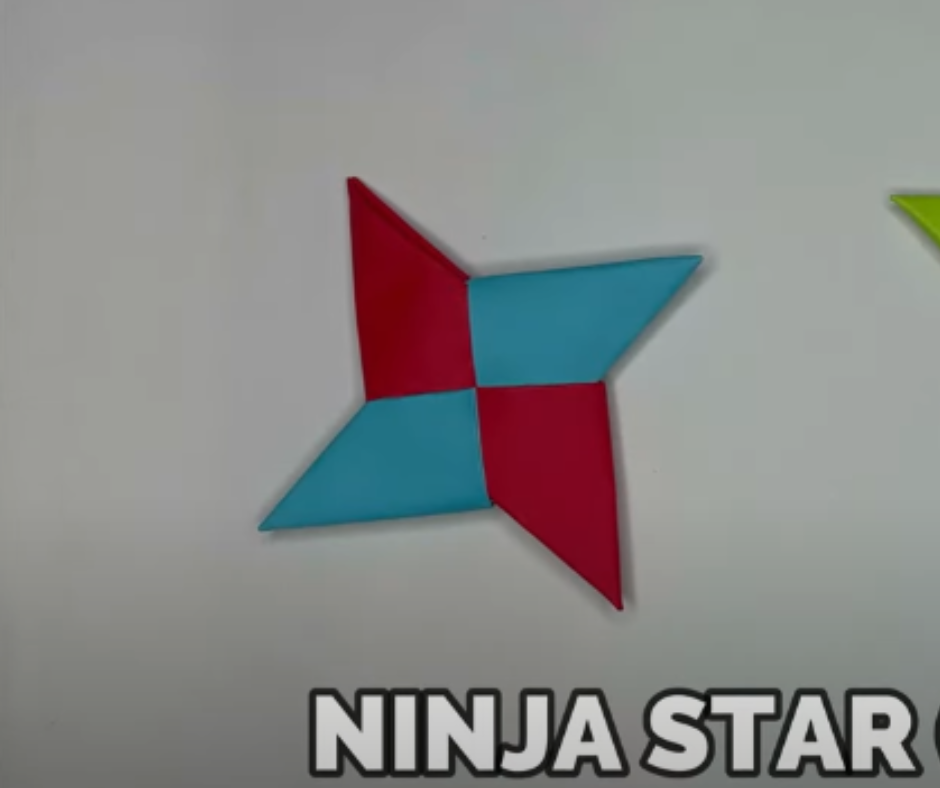
For everyone, playing with Ninja Star is an enduring way to pass the time. In addition to being entertaining, the process of creating Ninja stars, also known as origami star (Shuriken), is also highly engaging. Ninja stars can be created effortlessly because no glue, scissors, or other craft supplies are required. Two square pieces of paper will suffice to make your time joyful. Simply follow these 11 steps to incorporate this Ninja star into your activity.
How to make a Ninja star step by step with pictures

Step 1: Make a rectangle out of two square papers
To begin, take two square pieces of paper in the color of your choice and fold them into half-rectangles.
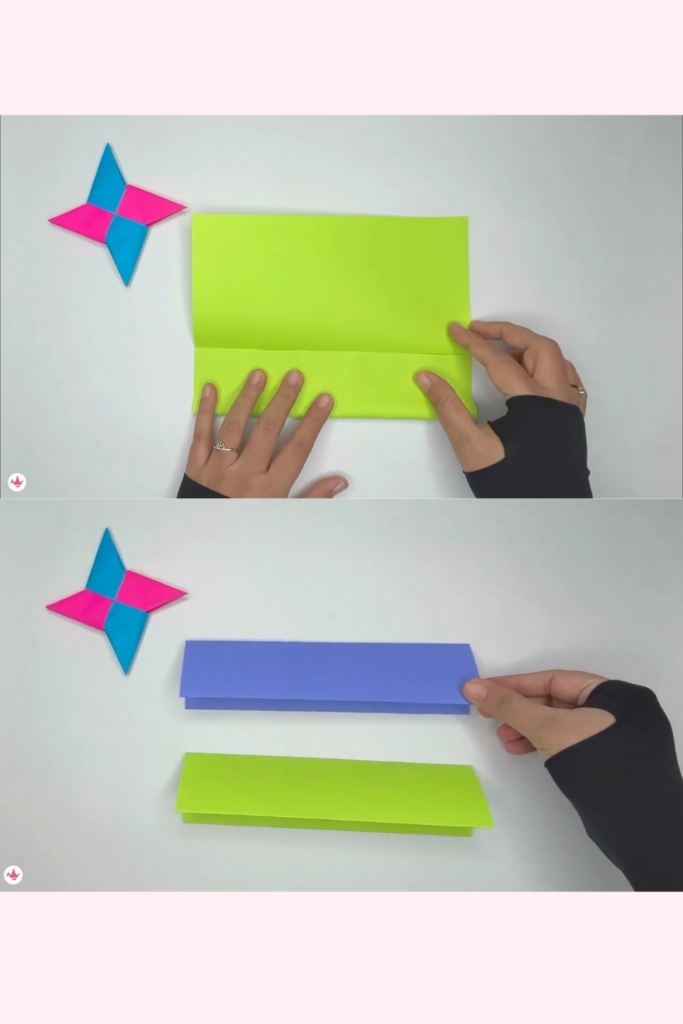
Step 2 : Fold those rectangles in half
After the completion of the first step, unfold the papers; one will notice a
partition in the center of each one. Additionally, the paper needs to be folded
horizontally on both sides so that it touches the middle line. Furthermore,
combine those two horizontal folds to create a “book fold.”
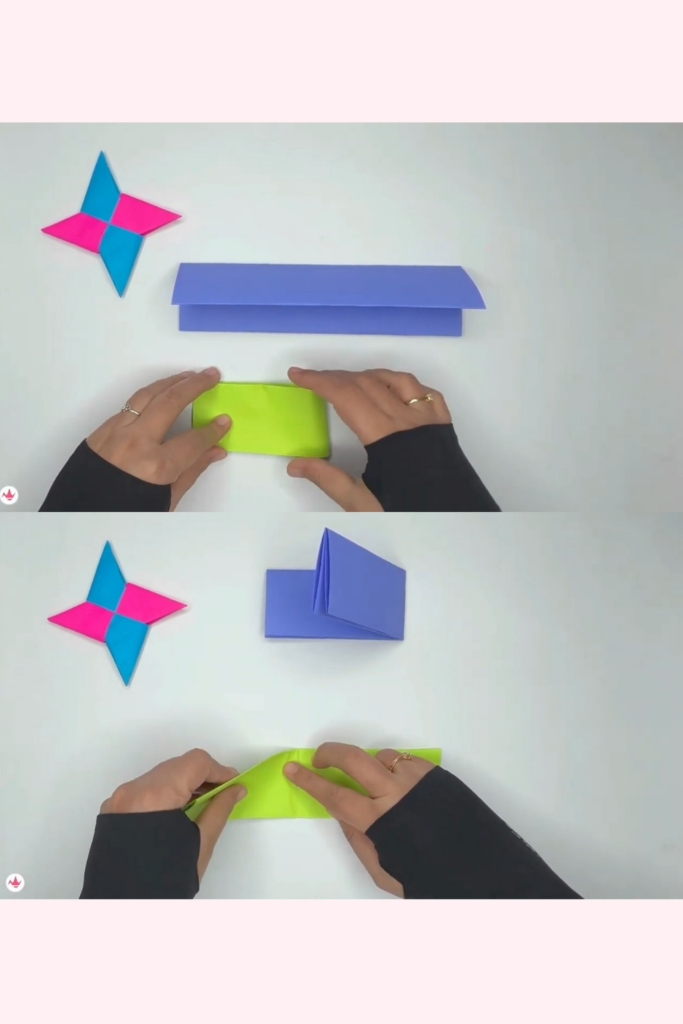
Step 3: Vertical fold is what’s needed
Take care to fold the papers vertically as indicated in the figure to form a rectangle, pressing it together so that when it is unfolded, a line can be seen in the center.
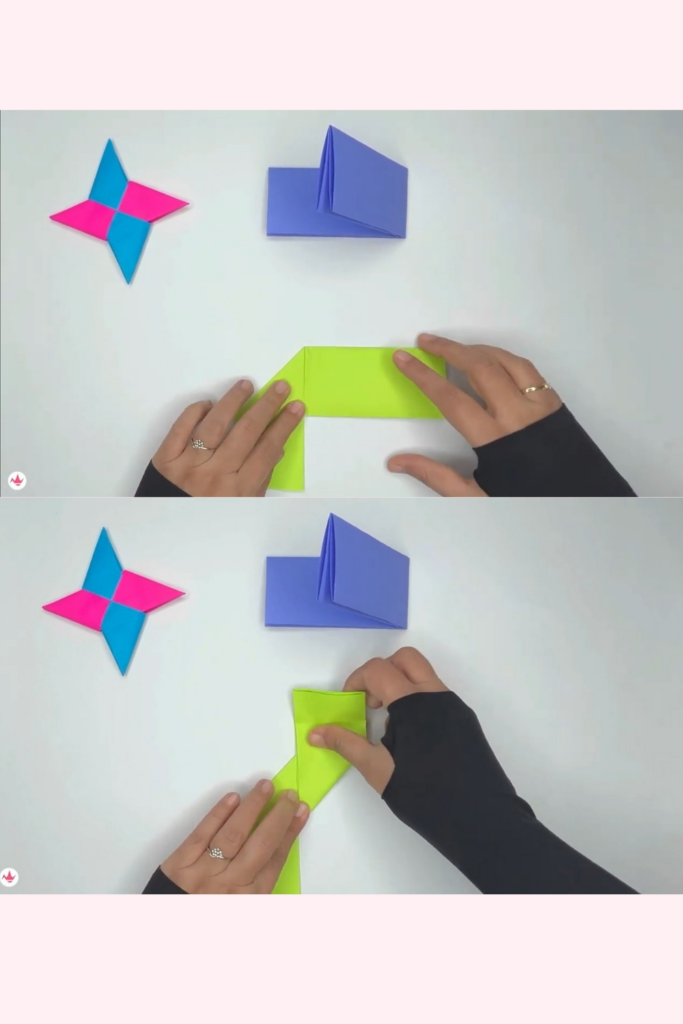
Step 4: Subsequently, create a horizontal cross, above and below the paper
By holding the top left corner, fold it across the line in an alternate direction. Similarly, fold the paper in the opposite direction by holding its right side at the bottom. For another paper, go through the same procedure again. Turn the paper such that a ‘Z’ shape is visible.
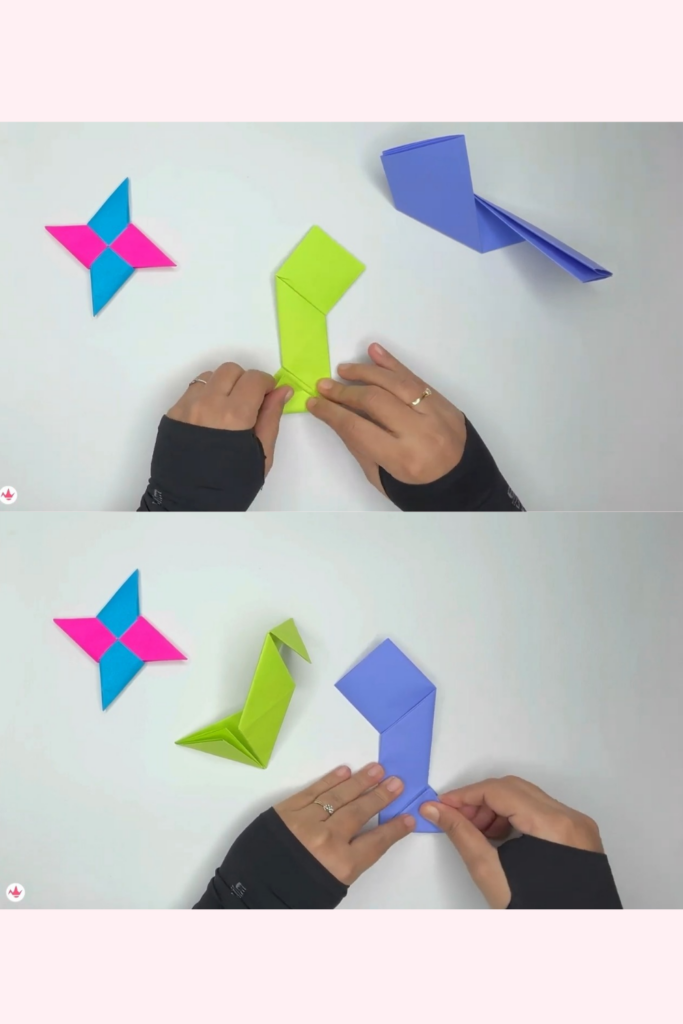
Step 5: From the square, form a triangle
Following the previous step, a square shape was created at the top and bottom of the paper. Hold the top left corner and fold the paper into a triangle. Repeat this step in another paper as well.
Step 6: Fold the triangles inward to get a parallelogram
Now take hold of the top triangle and fold them along the paper in the opposite
way, inside. Additionally, take hold of the lower triangle and fold the paper in the
opposite manner, inward. For another paper, follow the same steps. At this
point, a parallelogram shape became apparent.
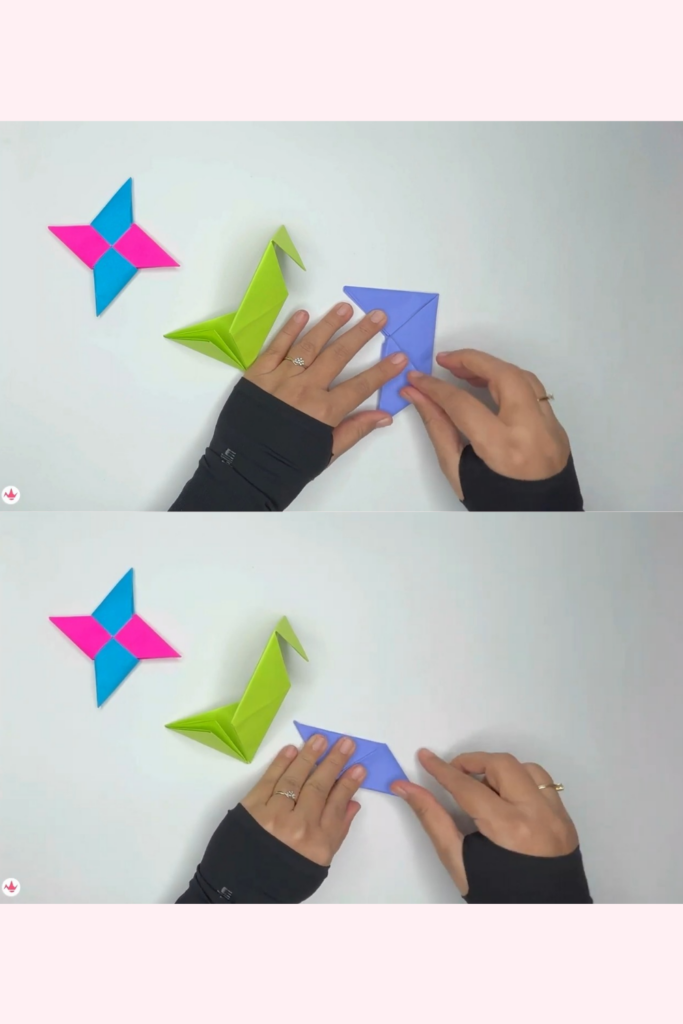
Step 7: After unfolding the triangle flaps, stack the papers on top of one
another
Once a parallelogram has been observed, the ‘Z’ shape can be seen once more by
unfolding those triangle flaps. Now arrange the two papers so that a plus or cross
sign may be seen by stacking them one on top of the other.
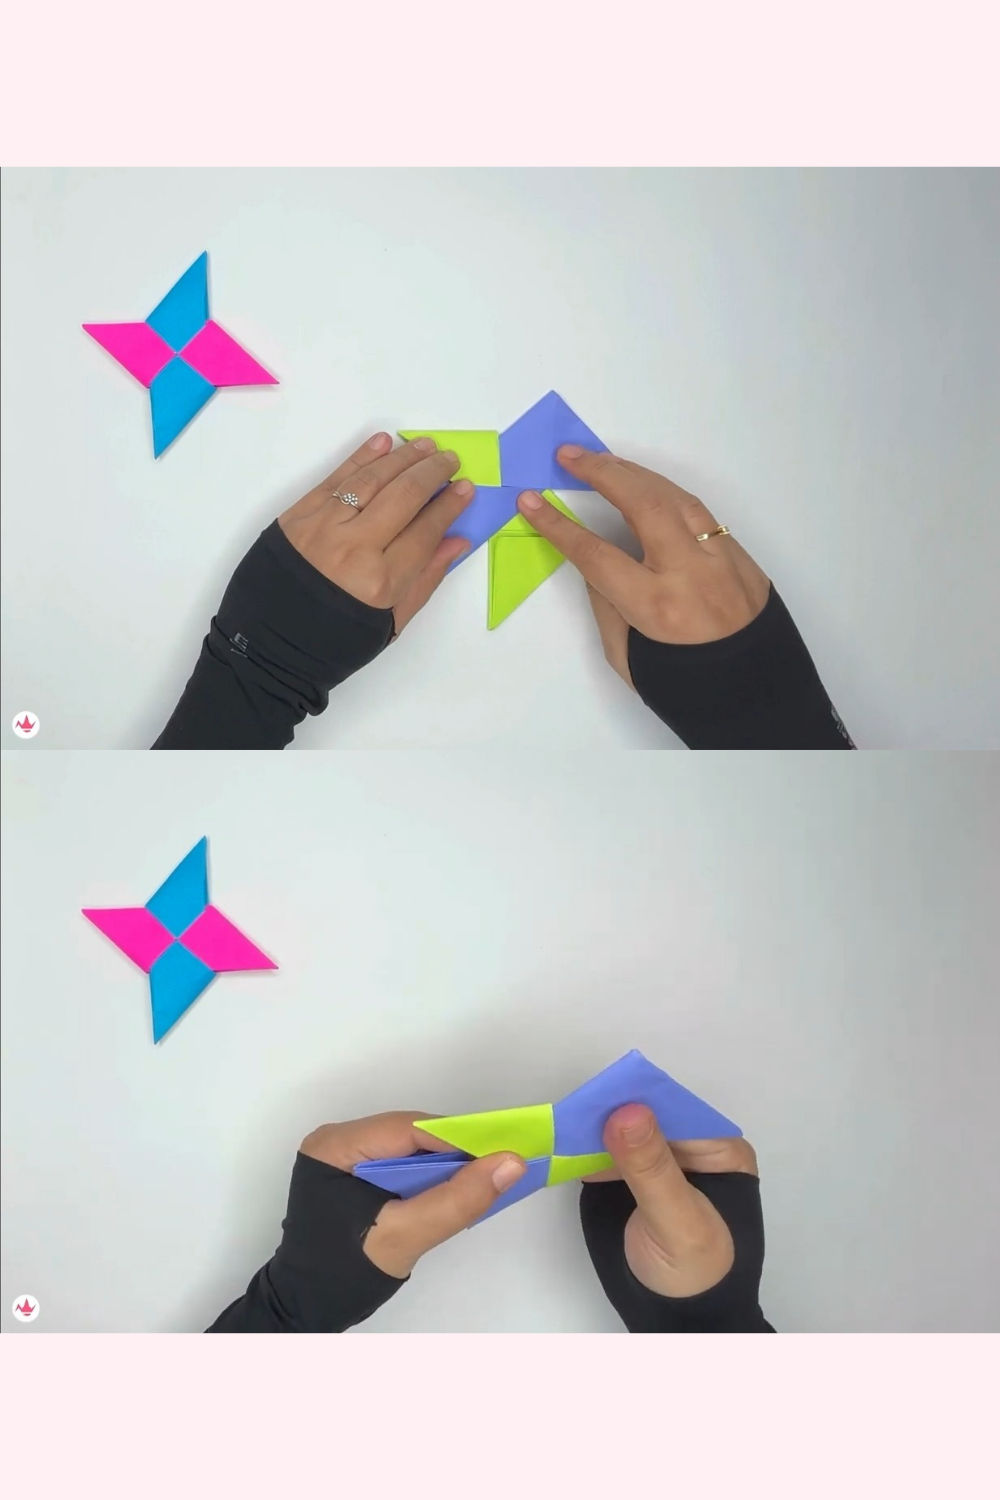
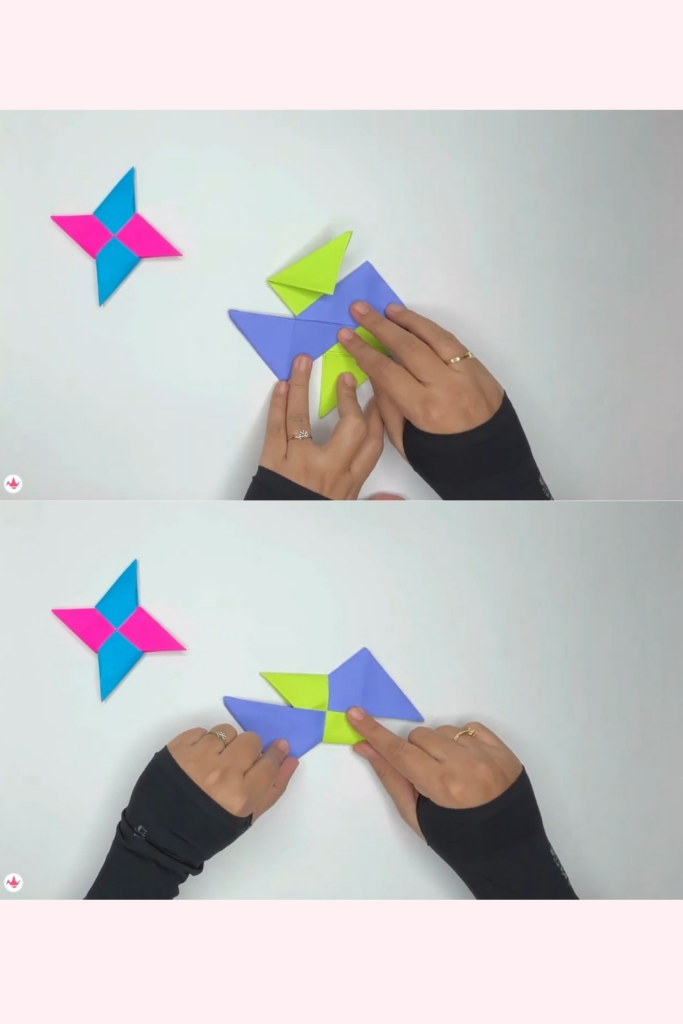
Step 8: Tuck those triangle flaps in
Tuck the top end of the green triangular flap into the violet paper’s pocket. Tuck the bottom end of the green triangular flap into the violet paper’s pocket

Step 9: Turn over the ninja star and proceed with the tucking process once again.
Turn the Ninja star over and slide the violet triangle flap’s upper end into the pocket of the green paper. Furthermore, tuck the violet triangle flap’s bottom end into the pocket of the green paper.
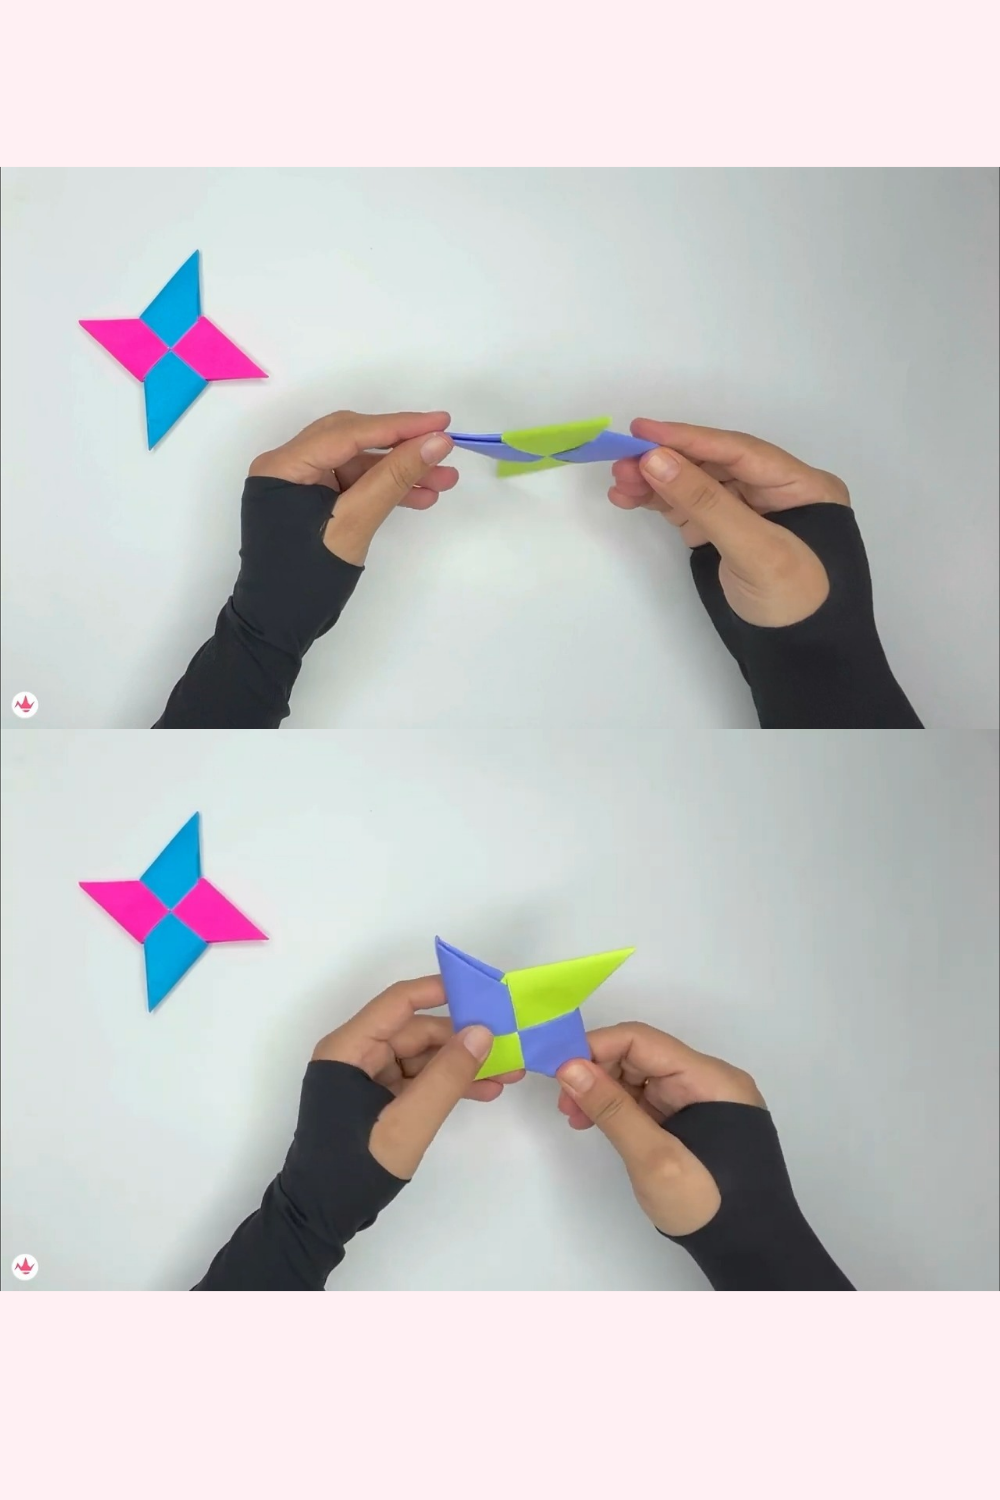
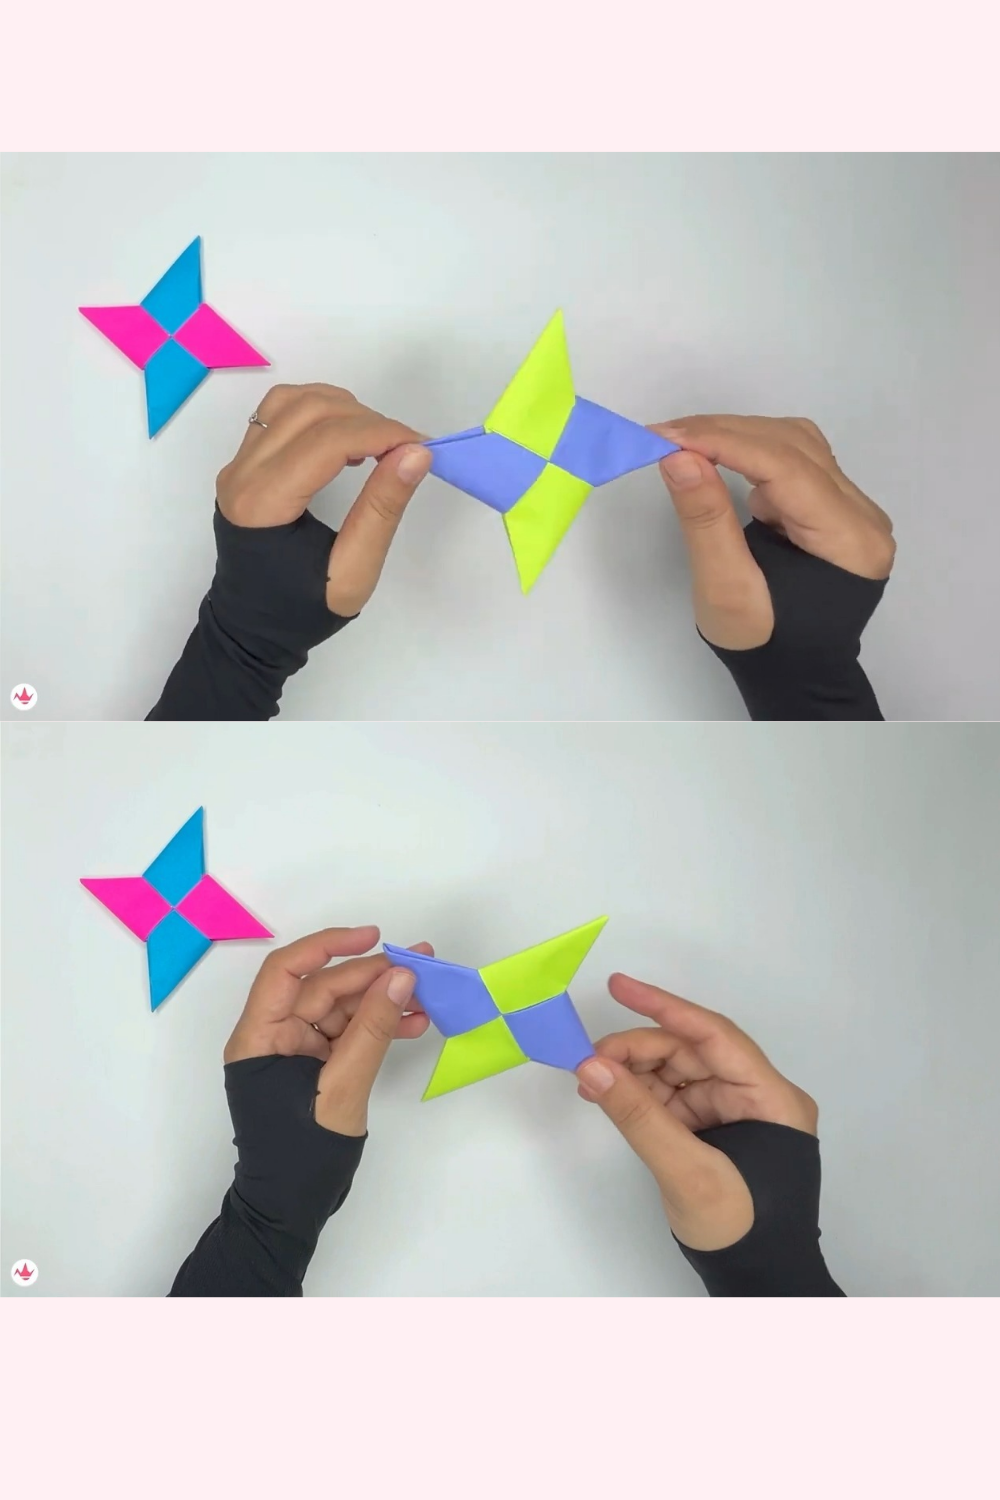
Step 10: Press the Ninja star all the way
After completing all the necessary processes, it’s time to make sure the papers have been tucked in securely. Press the paper back and forth to get a beautiful and appropriate shape of the ninja star.
Step 11: Time to have some fun
The Ninja Star is now prepared to enhance your playtime. To make the Ninja stars appear more appealing, they can also be embellished with drawings, glitter, or any type of crystal.