
Paper crafting isn’t just an enjoyable activity for kids—it also offers plenty of valuable benefits! It encourages creativity, builds confidence, and improves fine motor skills. On top of that, it’s a wonderful way for families to bond and create special memories together. Curious to discover some fun and easy craft ideas for your child? Keep reading to explore more!
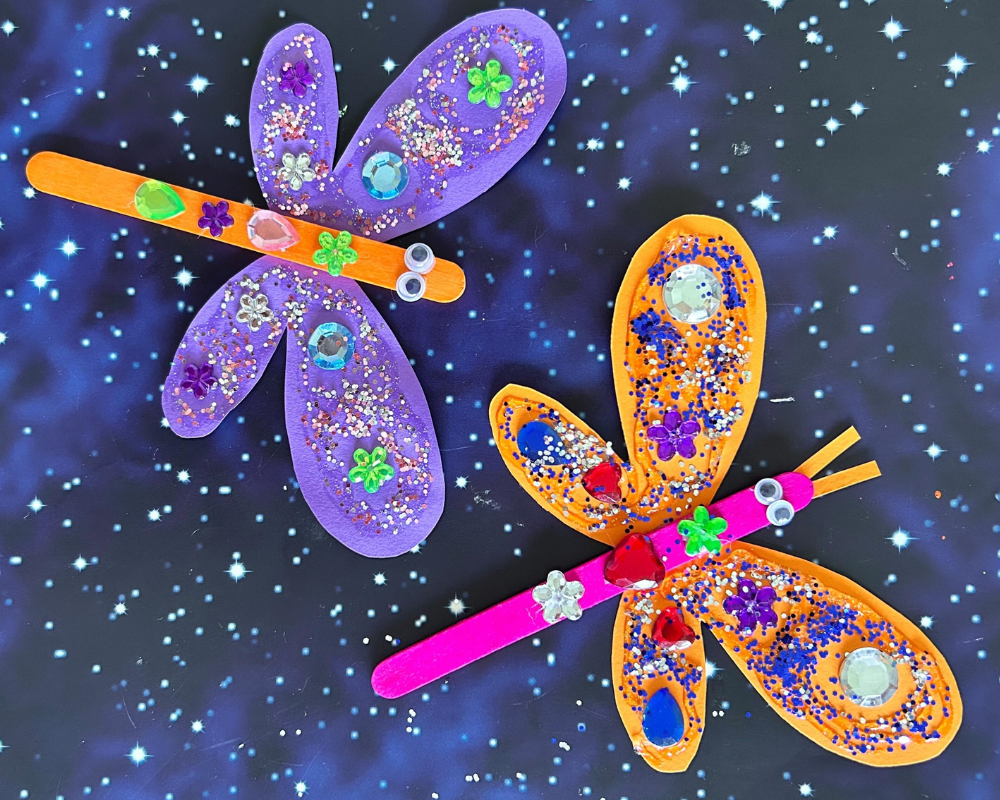
1. Dragonfly
To make a paper glitter dragonfly, start by cutting out two long, thin strips of colored paper for the body and folding them slightly to give shape. Next, cut four oval-shaped wings from craft paper or cardstock and decorate them with glue and glitter for a sparkling effect. Once the wings are dry, attach them to the body using glue or tape, making sure two wings are placed on each side. You can add small beads or a paper circle for the eyes to give it a more lively look. Finally, let everything dry, and your glittery paper dragonfly is ready to shine!
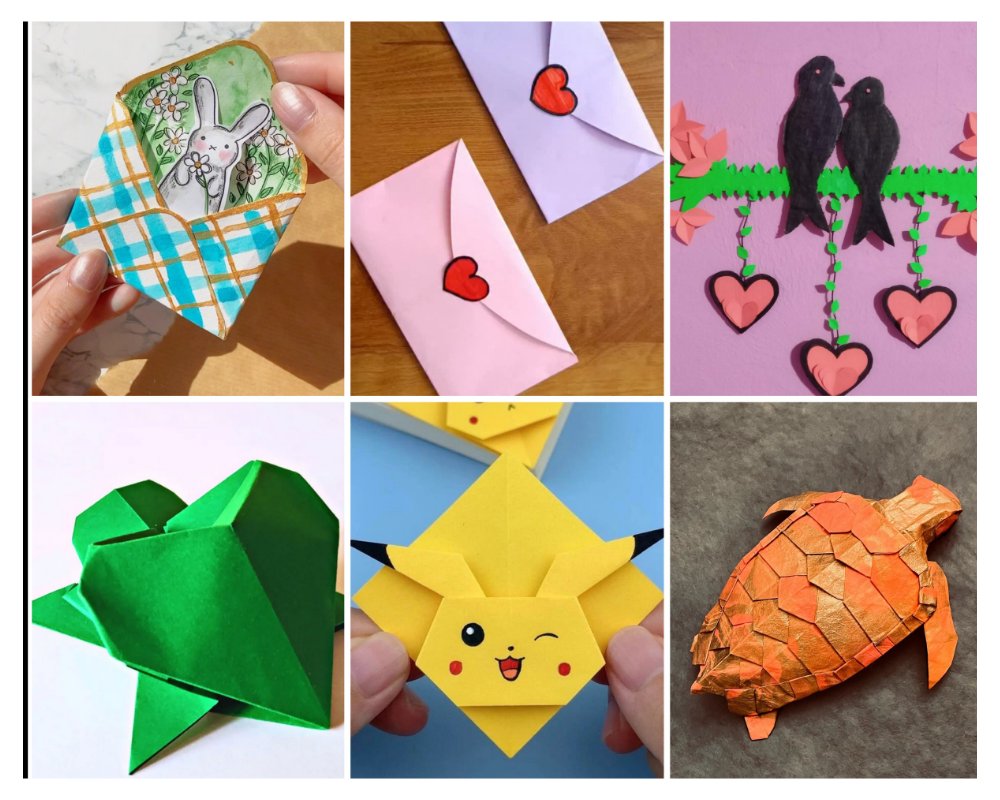
2. Paper Envelope
To make a paper envelope, start with a square piece of paper and place it in a diamond shape, with one corner pointing toward you. Fold the bottom corner up to the center, then fold the left and right corners toward the middle so they overlap slightly, creating the envelope’s sides. Secure the overlapping edges with glue or tape. Next, fold down the top corner to form the flap of the envelope. You can leave it as is or add a dab of glue or a sticker to seal it once you put something inside. Your simple and handy paper envelope is ready to use!
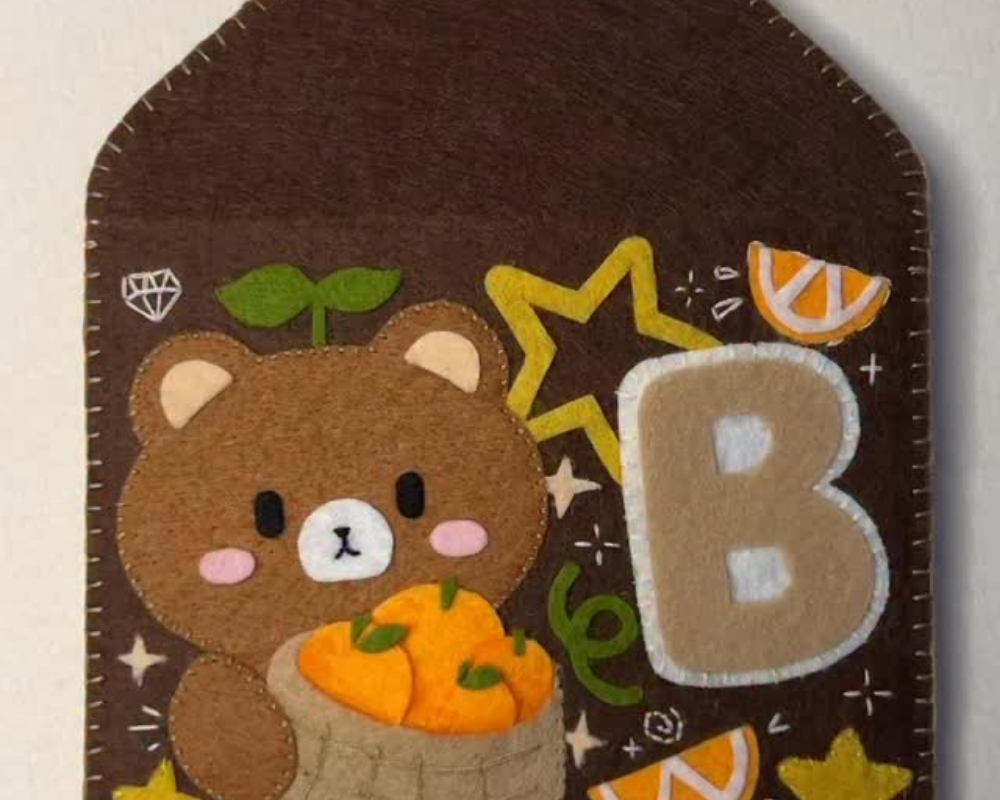
3. Cloth Paper Craft
To make this cute felt bear envelope, start by cutting out the base shape of the envelope from brown felt and stitching the edges neatly with a running stitch for a finished look. Next, cut out small felt pieces to create the bear, basket, oranges, leaves, and decorative elements like stars and letters. Layer and glue or stitch these pieces onto the envelope, arranging them so the bear looks like it’s holding a basket of oranges. Add extra details such as a diamond, slices of oranges, or stars to make it more lively and colorful. Once everything is attached securely, you’ll have a charming handmade felt envelope that’s perfect for gifting or decoration!
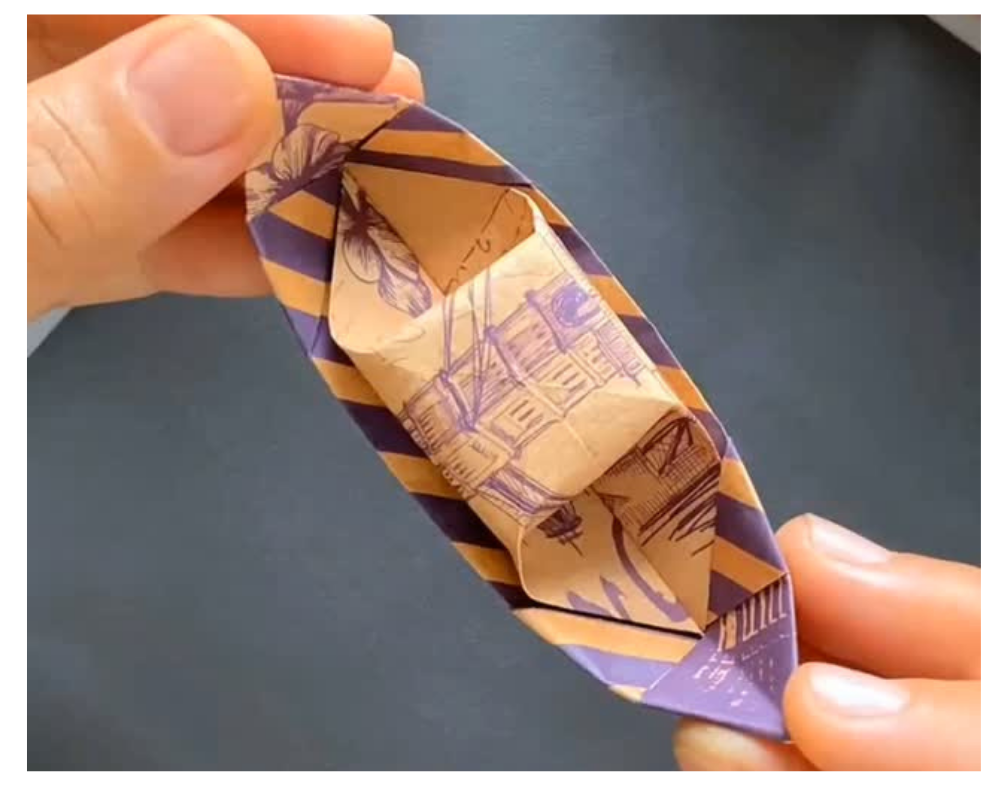
4. Paper Boat
To make a simple paper boat, start with a rectangular sheet of paper and fold it in half lengthwise to create a crease, then unfold. Next, fold it in half widthwise so the shorter edges meet. With the folded edge at the bottom, fold the top corners down to form two triangles that meet at the center. Fold the bottom edges upward—first the front flap, then the back flap—tucking them neatly. Open the bottom slightly and flatten it into a square shape. Fold up the bottom corners on both sides to form a triangle again, then open and flatten once more into a square. Finally, pull the two top flaps outward, and your paper boat will open up and be ready to float!
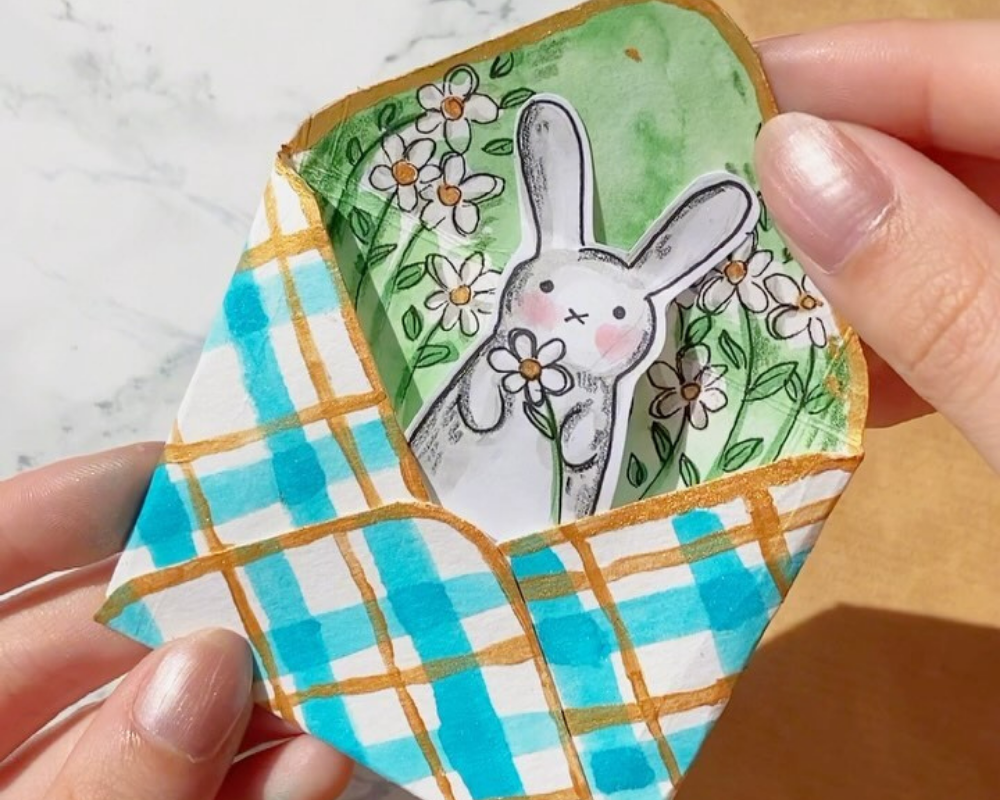
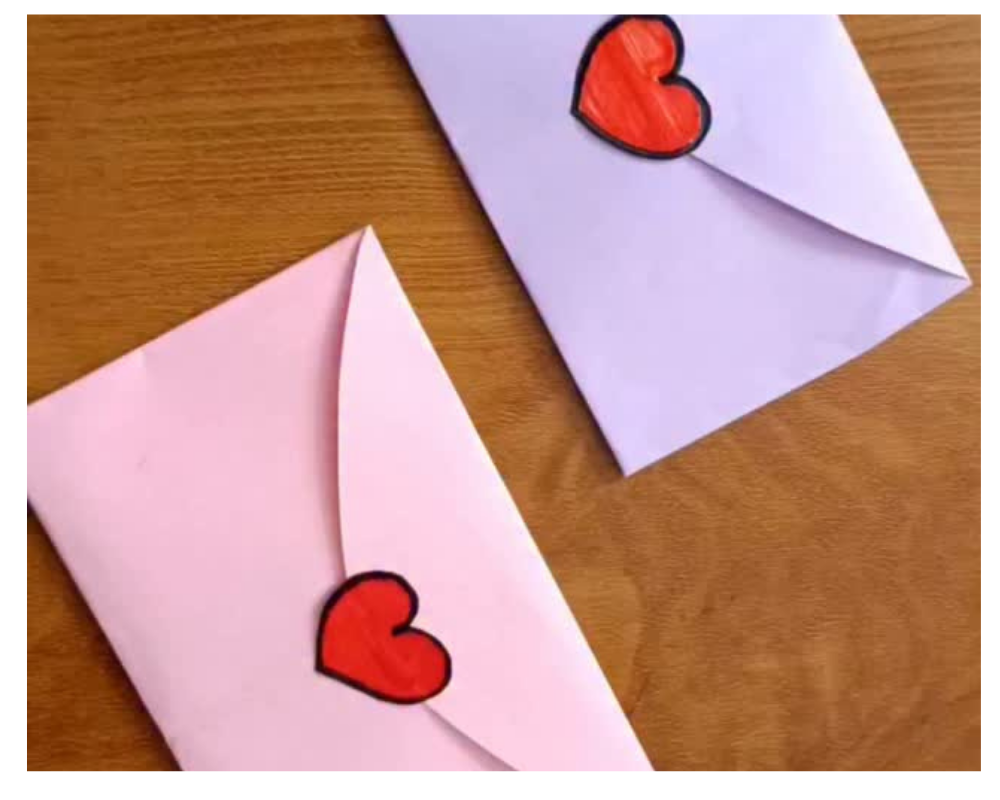
5. Cute Envelope
To make a cute envelope, start with a square or rectangular piece of colored or patterned paper. Place it in a diamond shape and fold the bottom corner up toward the center, then fold the left and right corners inward so they slightly overlap. Secure the sides with glue or double-sided tape. Fold the top corner down to create the flap of the envelope. To make it extra cute, decorate it with stickers, washi tape, or small cutouts like hearts, stars, or bows. You can also add a paper heart or ribbon seal to close the flap, making your envelope both functional and adorable!
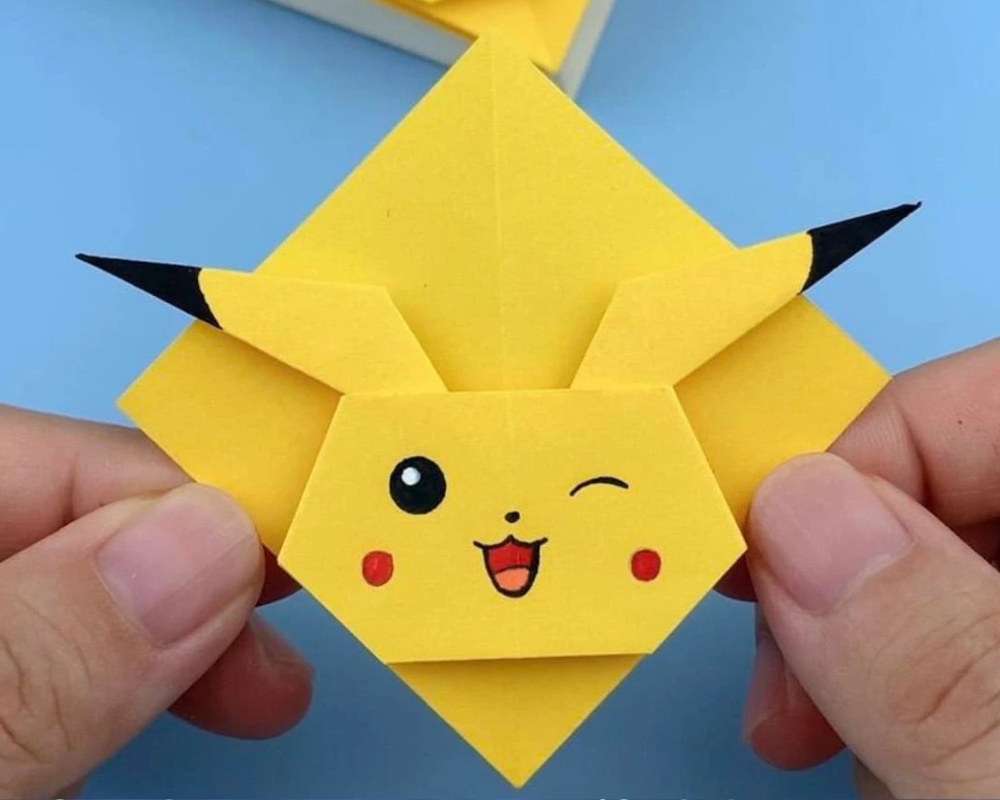
6. Pikachu
To make a cute paper Pikachu, start with a yellow sheet of paper and cut it into a square. Fold it in half diagonally to form a triangle, then fold the top corners down to shape Pikachu’s ears. Use a black marker to color the tips of the ears and add round eyes, a small triangle nose, and a smiling mouth with a little tongue. For the cheeks, cut out two small red paper circles and glue them on both sides of the face. You can also cut out and attach a lightning-shaped tail from yellow paper to complete the look. Your paper Pikachu is now ready!
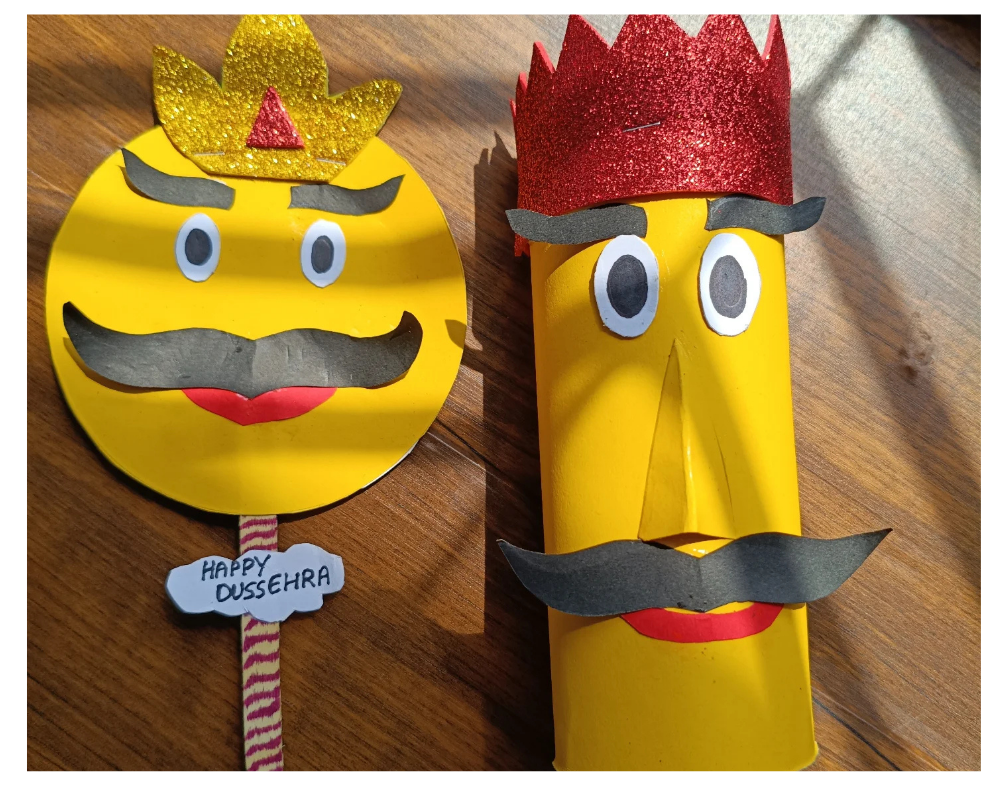
7. Festive Paper Craft
As festivities are around the corner. you can try this dusshera themed monster with yellow cardige paper and some glitters.
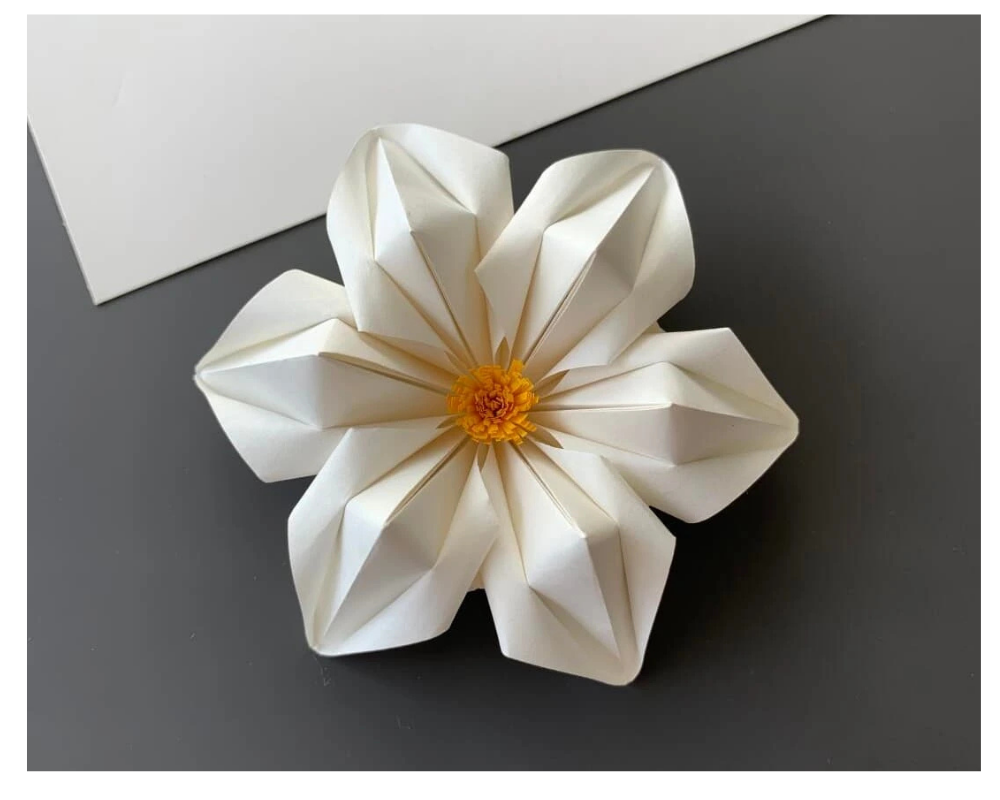
8. Paper Flower
To make a simple paper flower, take a colored sheet of paper and cut it into a circle. Fold the circle in half, then fold it again into quarters, and once more to form a small triangle shape. Cut a rounded edge at the wider end to create petal shapes, then unfold to reveal a flower with many petals. You can make several of these flowers in different sizes and layer them on top of each other for a fuller look. Finally, cut a small yellow circle for the center and glue it in place. Your beautiful paper flower is ready!
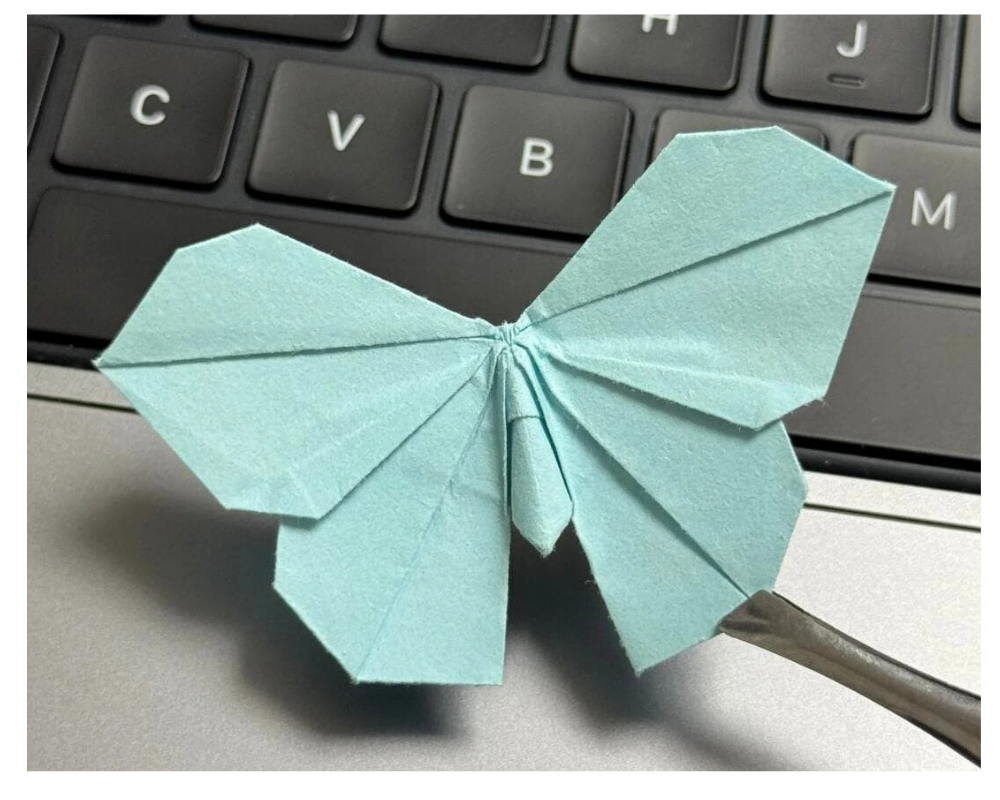
9. Paper Butterfly
To make a paper butterfly, start with a square sheet of colorful paper and fold it in half diagonally to form a triangle. Fold the triangle again into a smaller one, then open it up to see the creases. Next, fold the paper into a rectangle, then again into a smaller rectangle, and unfold to get cross creases. Pinch the center of the paper and fold it so that one half forms the upper wings and the other half forms the lower wings. Adjust the folds to shape the wings nicely, and press the center tightly to hold the butterfly form. Your pretty paper butterfly is ready to fly!
10. Shark
To make a paper shark, take a rectangular sheet of gray or blue paper and fold it in half lengthwise. Cut out the shape of a long oval with a pointed front for the head and a wider back for the tail. Next, cut out two small triangle shapes for the fins and a larger one for the tail fin, then glue them in place. Use a black marker to draw sharp teeth, eyes, and gills to give it a fierce look. You can also fold the fins slightly outward to make the shark look more realistic. Your cool paper shark is ready to swim!
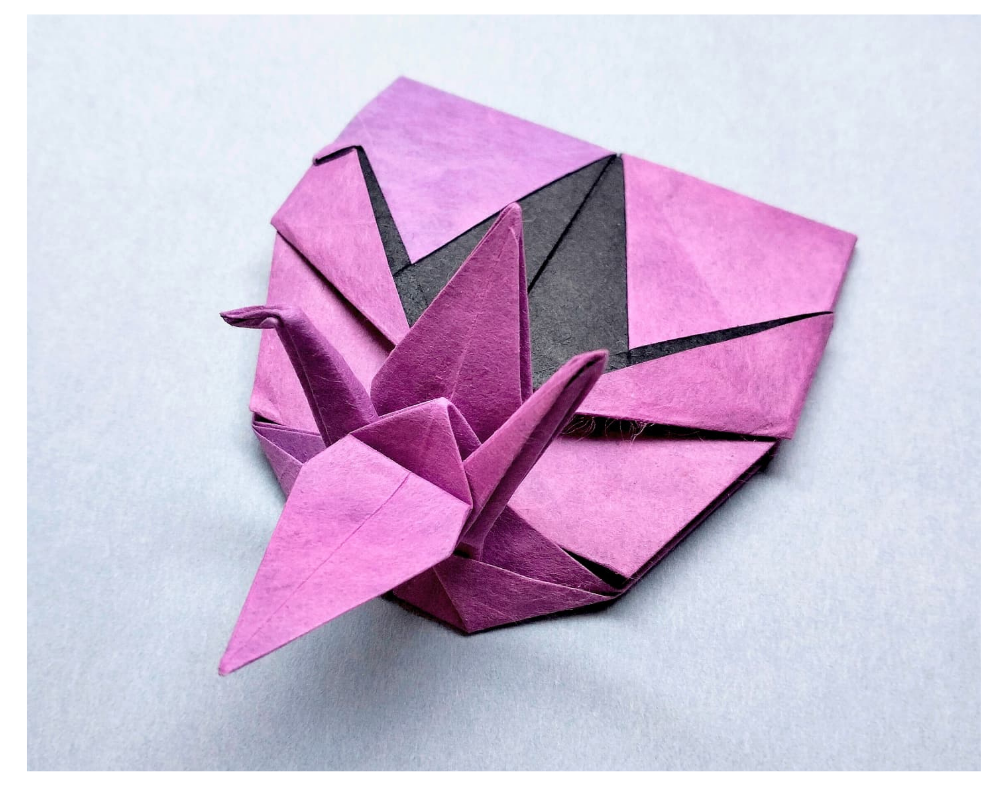
11. Cute Papercraft
Making a cute paper crane is a classic and rewarding craft! Start with a square piece of paper and fold it carefully along the traditional origami steps: fold diagonally both ways, then fold into a smaller square base. Next, fold the sides to form the wings and shape the neck and tail by folding the pointed ends. Gently pull the wings apart to give the crane a 3D look. You can draw tiny eyes on the head to make it look cute and add patterns or colors to the wings for extra charm. Once all the folds are complete, your adorable paper crane is ready to display as a decoration or gift!
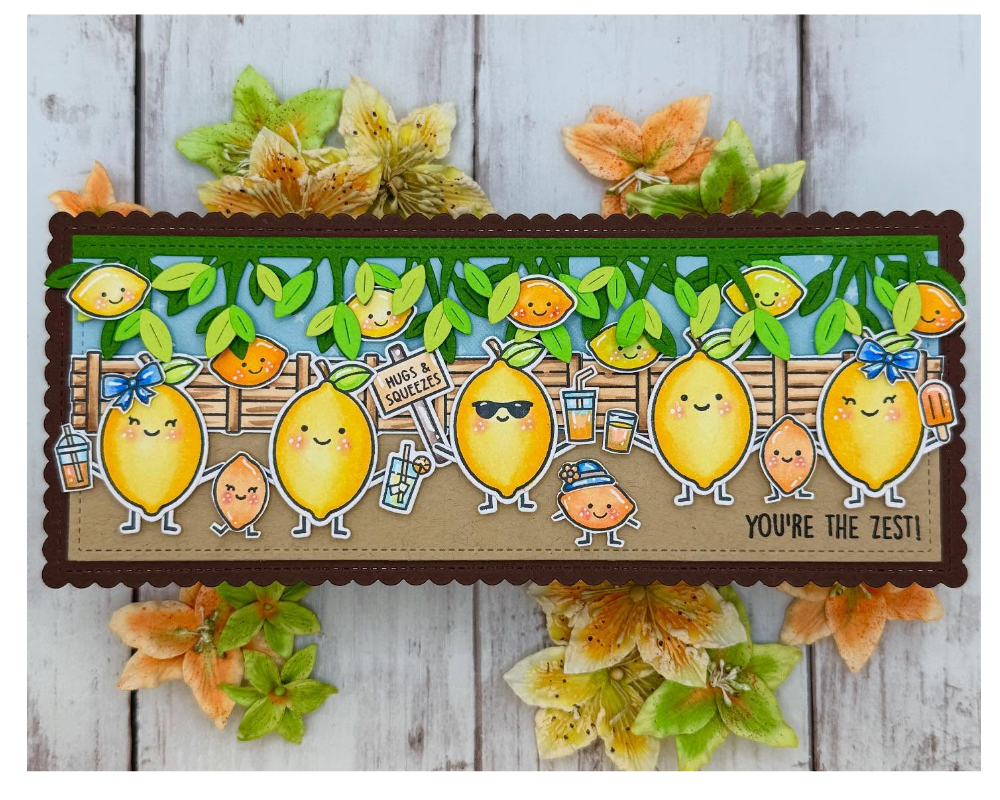
12. Mango Zest
To make this mango zest, draw cute mangoes and cut them out of paper. Make leaves and attach everything on the board. Decorate them as shown in the image and your mango zest is ready.
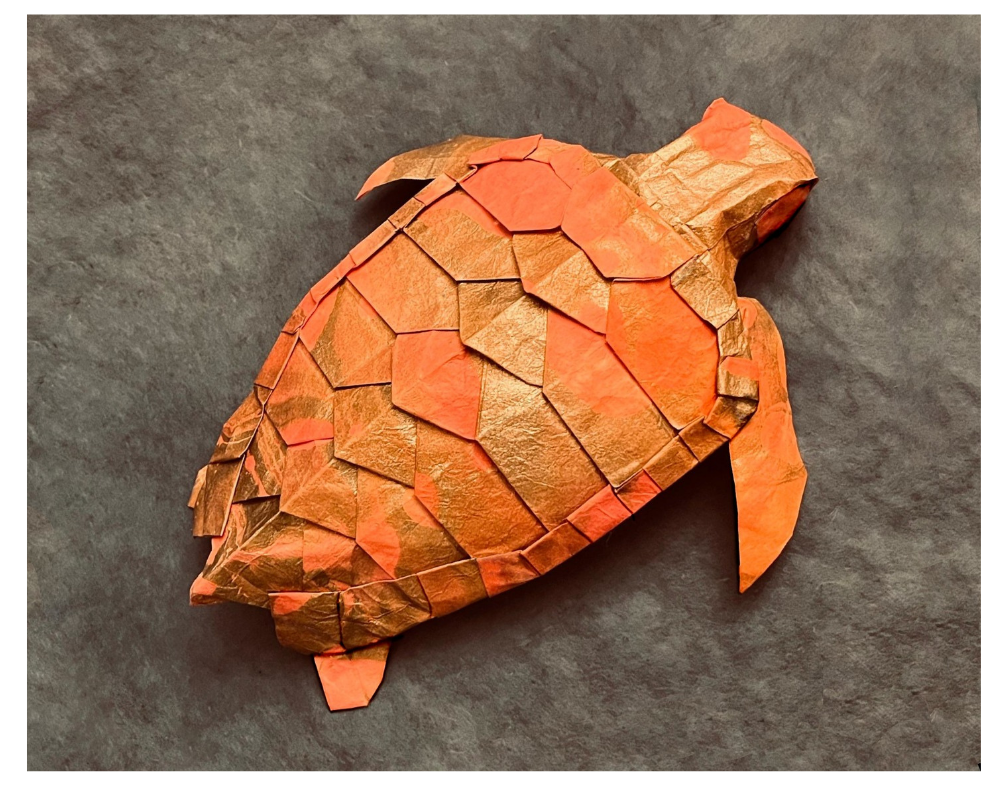
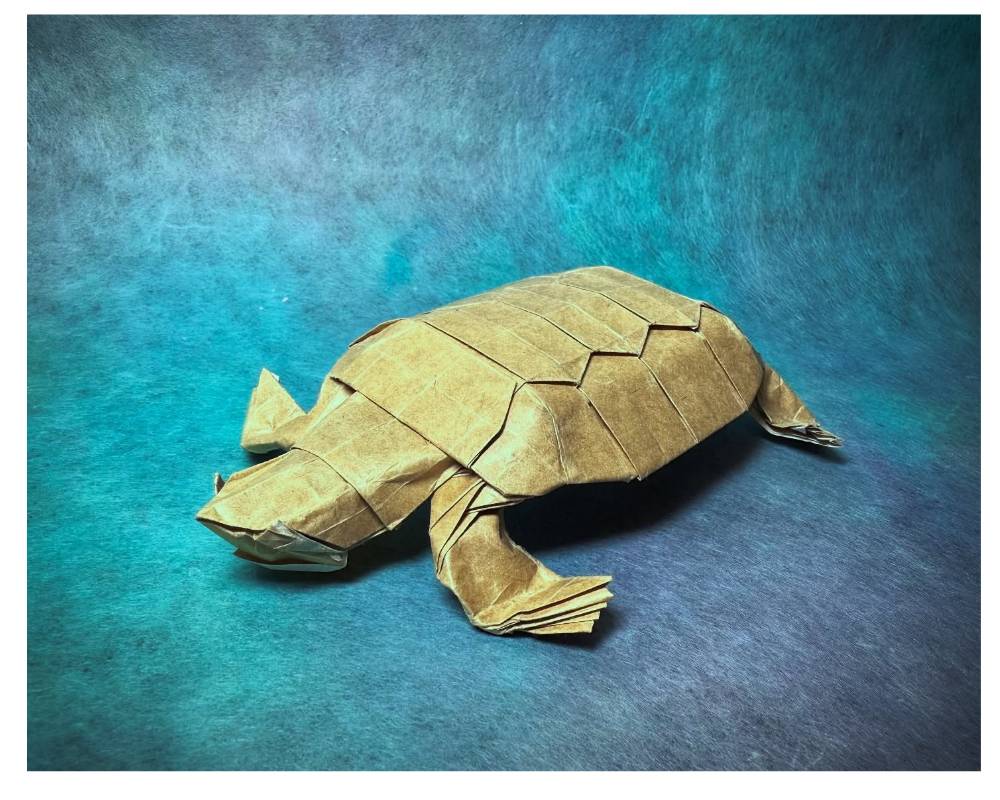
13. Cute Turtle
Making a cute paper turtle is a fun and simple craft project! Start by taking a green piece of paper and cutting out a large circle for the turtle’s shell and a smaller oval for its head. Next, cut out four small rectangles or ovals for the legs and a tiny tail. Decorate the shell with patterns or shapes using markers, crayons, or colored paper to make it look fun and lively. Then, carefully fold or glue the head, legs, and tail to the underside of the shell. Finally, draw cute eyes and a smiling mouth on the head, and your adorable paper turtle is ready to display!
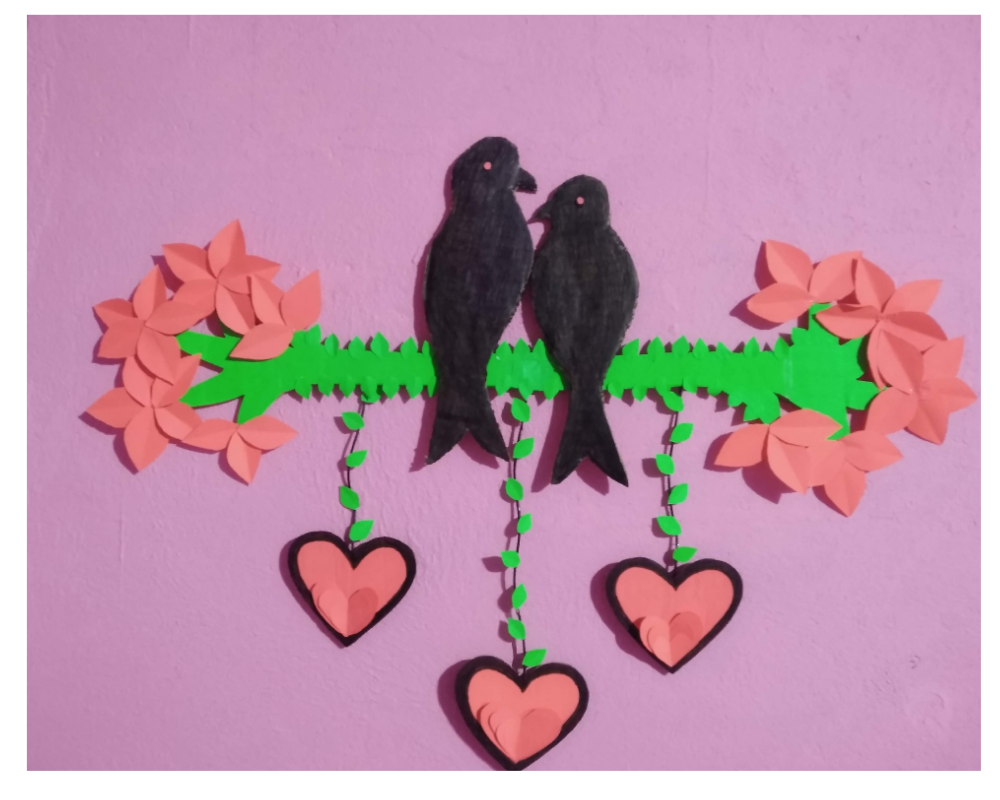
14. Cute Bird
Making cute birds with paper is an enjoyable and simple craft! Start by cutting out small oval shapes for the bird’s body and tiny circles or ovals for the wings from colorful paper. Cut a small triangle for the beak and little strips or shapes for the tail feathers. Decorate the body with patterns, dots, or stripes using markers or colored pencils to make your birds look lively and fun. Then, carefully glue the wings, beak, and tail onto the body. Finally, draw cute eyes on the bird’s face, and your charming paper birds are ready to decorate your room, card, or craft project!
15. Cute Paper Card
Making a cute greeting card with paper is a fun and creative activity! Start by folding a piece of colored paper or cardstock in half to create the base of your card. Cut out smaller shapes like hearts, stars, flowers, or cute animals from different colored paper and glue them onto the front of the card for decoration. You can also add drawings, stickers, or glitter to make it more lively and eye-catching. Inside the card, write a sweet message or a personal note using colorful pens or markers. Once everything is decorated and the glue is dry, your adorable handmade greeting card is ready to give to someone special!
16. Paper Leaf Turtle
Making a cute turtle with leaf paper is a creative and eco-friendly craft! Start by choosing a large, sturdy leaf for the turtle’s shell and a smaller leaf for its head. Cut out four tiny leaf pieces for the legs and a little one for the tail. Arrange them carefully, placing the head at the front, the legs on each side, and the tail at the back, then glue them onto the larger leaf. You can draw or paint cute eyes and a smiling mouth on the head to give your turtle personality. Once everything is in place, your charming leaf paper turtle is ready to brighten up any table or craft display!
17. Cute Doll
Making a cute spring doll with paper is a delightful and colorful craft! Start by cutting a small circle from paper for the doll’s face and a larger shape for the body, like a triangle or rectangle. Use pastel-colored or floral-patterned paper to make her dress, giving it a flowing, springtime look. Cut tiny strips for arms and small shapes for shoes, and attach them to the body. Decorate the face with sweet eyes, a small smile, and rosy cheeks using markers or colored pencils. You can also add paper flowers or a little hat to complete the spring theme. Once all the pieces are glued together, your charming spring paper doll is ready to brighten up any space!
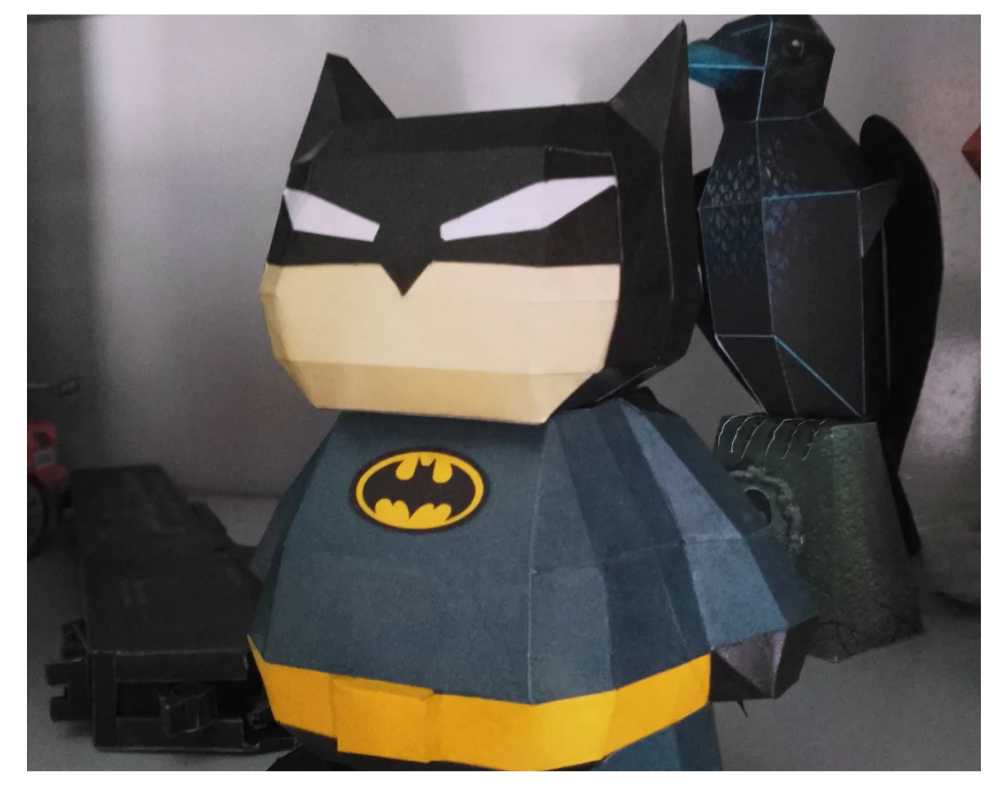
18. Batman
Making a cute Batman with paper is a fun and easy craft! Start by cutting out a small oval or circle for Batman’s head from black or dark-colored paper. Next, cut a larger piece for his cape and a smaller rectangle for his body. Use yellow paper to make the iconic Batman logo and stick it on the chest. Cut out tiny triangles or shapes for his ears and attach them to the head. You can draw his eyes and a small smile with a white or silver marker to make him look cute instead of scary. Finally, assemble all the pieces by gluing the head to the body and the cape behind, and your adorable paper Batman is ready to display!
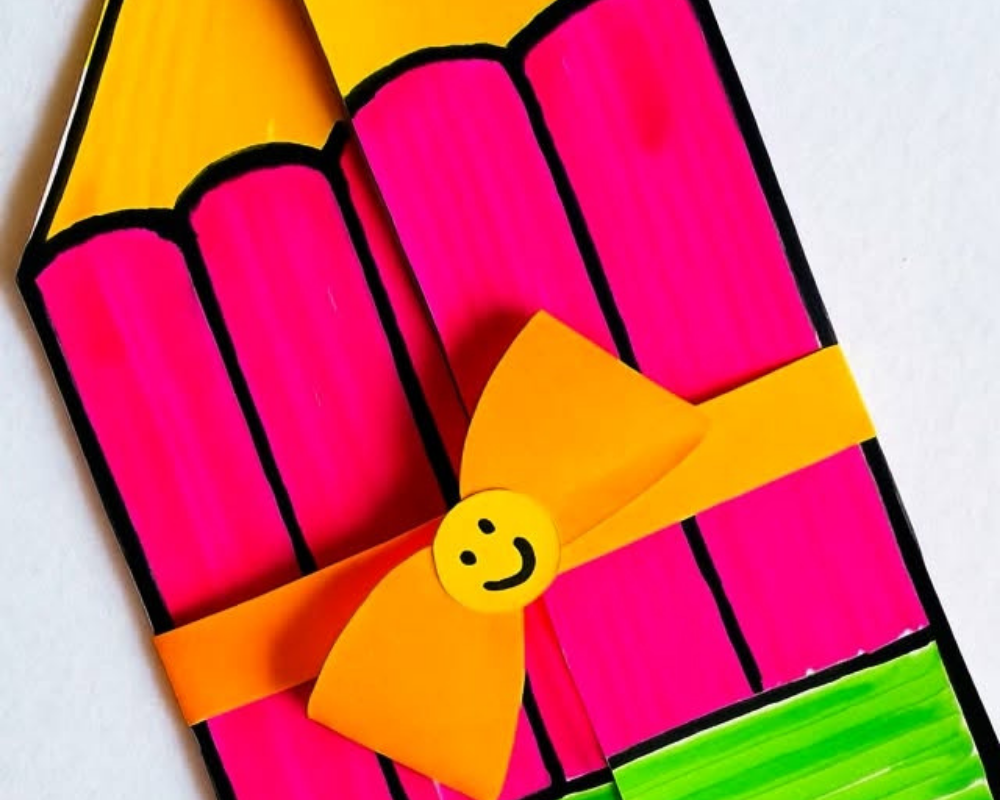
19. Paper Pencil Art
Making a cute paper pencil is a simple and fun craft! Start by cutting a long rectangle from yellow paper for the pencil’s body. Then, cut a small triangle from pink paper for the eraser and a thin strip of silver or gray paper to act as the metal band between the eraser and the pencil body. Glue the triangle and strip to one end of the rectangle. You can draw a smiling face or tiny eyes on the pencil to make it look extra cute. Finally, roll or fold the yellow rectangle slightly if you want a 3D effect, and your adorable paper pencil is ready to display or gift!
20. Paper Turtle
Making a green paper turtle is a simple and fun craft project! Start by taking a green sheet of paper and cutting out a large oval or circle for the turtle’s shell. Then, cut a smaller oval for the head, four little ovals for the legs, and a tiny triangle or oval for the tail. Decorate the shell with patterns or shapes using markers, crayons, or different colored paper to make it look lively. Next, carefully glue the head, legs, and tail to the underside of the shell. Finally, draw cute eyes and a smiling mouth on the head, and your adorable green paper turtle is ready to display!


